Revolve
"There's quite a bit that can be done combining Boolean operations and extrusion, but I want to make a vessel. I want to be able to draw a profile and spin it around on an axis. Is there an easy way to do that?"
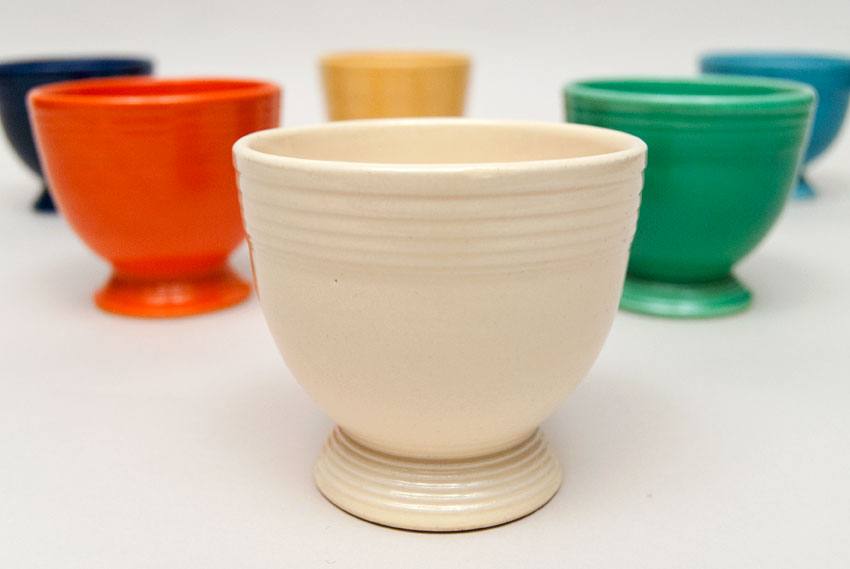
There is a really easy way to do that. The command he's asking about is called REVOLVE. This command takes a profile and spins it around an axis—exactly what he is looking for. Tell the guard you'll show him how to do what he wants by the end of the day. REVOLVE spins a profile around an axis. If your profile is a closed polyline shape, the result of the revolve will be a solid object. The profile can be revolved at any angle up to 360°. Similar the EXTRUDE, revolving open curves and line segments will produce revolved surfaces, which have no mass properties and therefore cannot be 3D printed.
You can also revolve REGIONS. This comes in quite handy as sometimes it is easier to get a complex profile with REGIONS, than with polylines.
Training
- Launch AutoCAD.
- Create a new drawing and use the acad3d.dwt template.
- Set your units to millimeters. Set FACETRES to 10.
- Change the view to TOP view.
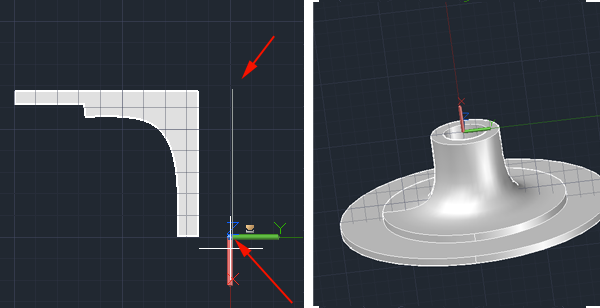
- Call the PLINE command. This is like the LINE command, but it creates a polyline (what you'll need to make a solid shape).
- Start your line at (10,0).
Here are the next steps
@2.25,0
@0,4.5
@.5<50
@.3<90
@.5<130
@-2.25,0
C and press <RETURN>

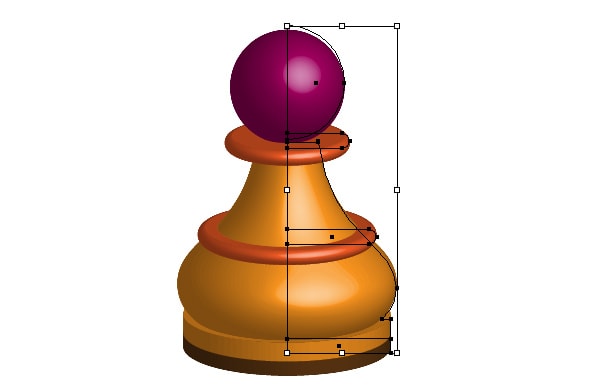
- Call REVOLVE and press <RETURN>:

- Select the polyline shape:

- Select the start of the axis line to revolve the profile around

- Select the end of the axis line to revolve the profile around

- Press <RETURN> to accept the 360° rotation or type in 360 and press and <RETURN>:

- Use 3DO to rotate around the solid you created. To exit the 3DOrbit, press ESC:

- Call the Circle command.
- Click on the center of the top circular face (enable OSNAPS) to specify where you want to draw the center
of the circle:

- Type d and press <RETURN> to specify the diameter:

- Set the diameter to 2:

- Call PRESSPULL and press <RETURN>:

- Click on the circle and specify a height of -4:


- Change view to TOP and call the BOX command. Specify (0,0) for the first point:

- Set the next point to (6,4).
- Set the height (Z) to 1.5:

- Call the MOVE command.
- Select the BOX and specify the base point as the top center:

- Specify the top center of your other object to be the destination:


- Call SUBTRACT:

- Select the cylindrical object first and press <RETURN>:

- Select the BOX and press <RETURN>:


- Save the drawing as Pin.
- The WBLOCK command allows you to save a model as a reusable block that can be inserted into other drawings.
This is great when you don't want to keep reinventing the wheel every time you need a wheel.
Select the model and then call WBLOCK
- Convert the selection to a block and click on Write Block

- Save the block somewhere where you will be able to locate it:

- When you want to use the block in another drawing call INSERT and navigate to where the WBLOCK is saved:

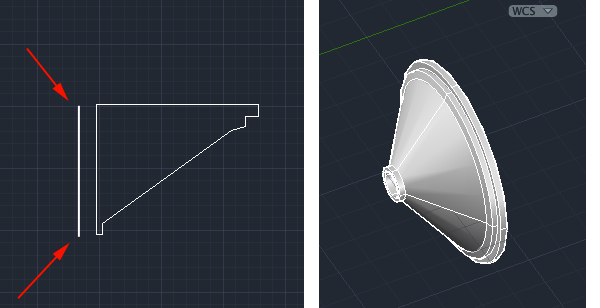
Making a funnel
- Launch AutoCAD.
- Create a new drawing and use the acad3d.dwt template.
- Set your units to millimeters. Set FACETRES to 10.
- Change the view to TOP view.
- Call Line and draw a guide line to help you estimate how large to make your curve.
This line is 40 millimeters:
- Call SPLINE and draw your curve:

- RIGHT+ click to select the contextual menu and then select
ENTER to end the curve:

- Call the command OFFSET and type in 1.5 for the value and
press <RETURN>:

- Click to the right of the curve to move the offset copy of the curve to the right:

- Enable ORTHO to create lines that cut across the curves at the top and bottom.
Call TRIM to create your closed boundary shape:

- Also call TRIM and fix the top of the curve:

- Call the command REGION and select the shape:

- Call the command REVOLVE, press <RETURN>,
click on the REGION and press <RETURN>.

- Indicate the axis you want to revolve around:

- Type 360 and press <RETURN>

Quest
"I need to give a gift by the end of day tomorrow. Make me something with REVOLVE by tomorrow night!" Use your skills to create an object using REVOLVE that can be given as a gift. Present it to the guard by end of day tomorrow. You can also use Boolean operations and extrusions to enhance your design.


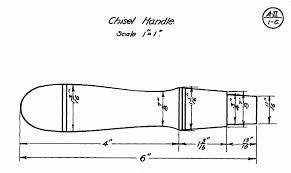
Image from The Project Gutenberg EBook of A Course In Wood Turning by Archie S. Milton and Otto K. Wohlers

Image from The Project Gutenberg EBook of A Course In Wood Turning by Archie S. Milton and Otto K. Wohlers


Source:
Cross, Nigel. Engineering Design Methods. Chichester: Wiley, 1989.
Omura, George; Graham, Richard (Rick) (2010-11-09). Mastering AutoCAD for Mac (Kindle Location 18101). Wiley. Kindle Edition.
Shih, Randy H. AutoCAD 2014 Tutorial Second Level: 3D Modeling. Mission, KS: SDC Publications, 2013. Print.
Shumaker, Terence M., and David A. Madsen. AutoCad and Its Applications: Basics. Tinley Park, IL: Goodheart-Willcox, 2004. Print.
Watson, David. "Learn AutoCAD with Our Free Tutorials." AutoCAD Tutorials, Articles & Forums. N.p., n.d. Web. 05 Jan. 2015.