Drawing Toy
TOMY created "Little Van Goes" in 1978. This product was a toy which allowed you to design your own custom artwork on paper.
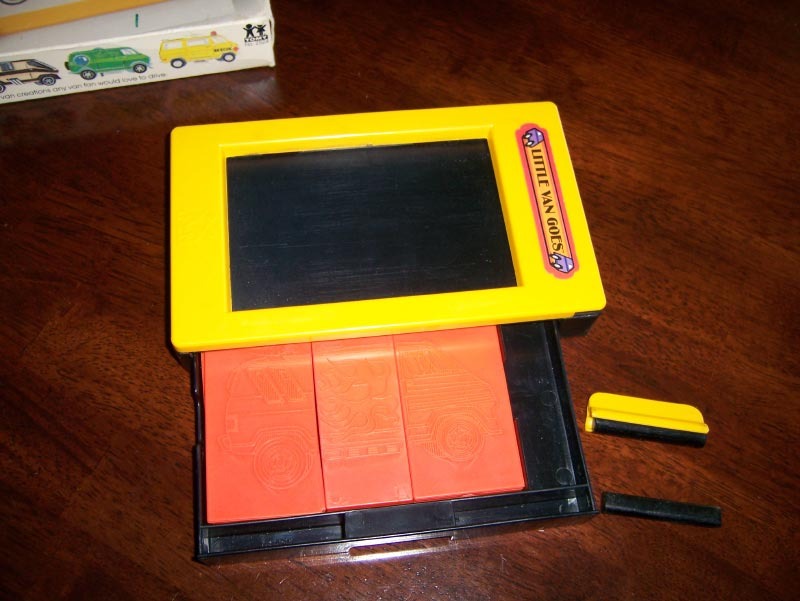
Image from www.artifactcollectors.com
Now that you have access to a 3D printer, the permutations could be limitless.
Overview: Use 3D printing in to create unique interchangeable panels. The themes you could explore might be realistic, abstract or even surrealistic. This project supports STEM by using software and hardware to fabricate the toy in a DIY manufacturing project.
Resources
- OpenSCAD
- TinkerCad
- MakerWare
Lesson Background
The Surrealist were interested in exploring the results of chance. Cadavre exquis (exquisite corpse) was a community endeavor, a collective collage of words or images. Based on an old parlor game, it was played by several people, each of whom would write a phrase on a sheet of paper or draw part of an image, fold the paper to conceal part of it, and pass it on to the next player for his contribution.
The technique derived its name from results obtained in an initial playing, "Le cadavre / exquis / boira / le vin / nouveau" (The exquisite corpse will drink the young wine). The fragments that came together to create something new and poetic were, according to Nicolas Calas, the "unconscious reality in the personality of the group."
The visual game included drawings and even collages. Players would be assigned sections and marks would be applied so the each player would know where to begin and end their imagery.
Lesson
This lesson idea was inspired by the work of
- Decide in the beginning on a theme:
- animals
- people
- plants
- faces
- objects
- abstractions
- fantastical/surrealist imagery
- Either download the following files:
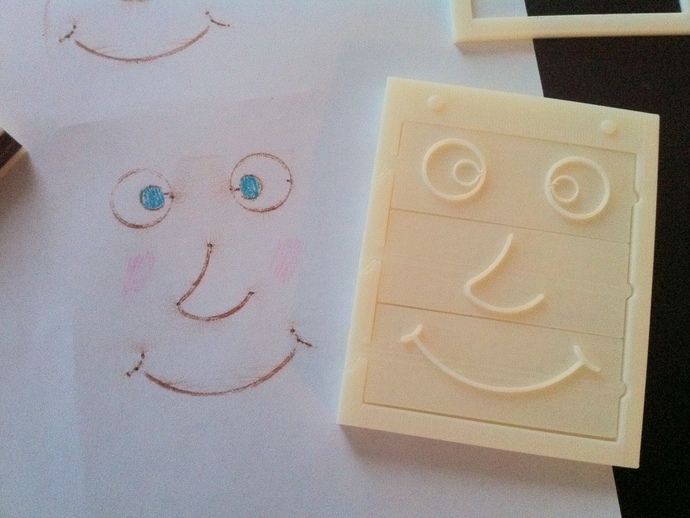
- base.stl -- The main piece you'll need, and the longest to print. This holds up to three plates securely and allows you place a piece of paper overtop and rub with a crayon to get the image.
- crayonholder.stl -- This is a piece to hold a crayon. It's not needed, but makes it much easier. You'll need to remove the paper wrapper from the crayon to be able to do rubbings (this piece is sized to not fit a crayon with wrapper still on)
- topper.stl - This optional piece was made to help hold the paper in place over the base and plates. However, since you can't see through paper, it is hard to align and use. If you do use this, you'll need to cut the crayons to the length of the crayon holder, otherwise it won't fit in between the walls of this piece.
- Print out the frame (the above pieces).
- Download the blank plate and open it in TinkerCad or OpenSCAD and customize away.
- Print out all your plates
- Arrange your plates in the desired order
- Place a piece of paper over the design, and close the frame down
over the paper.
- Insert the crayon into the holder, rub it back and forth over the surface of the paper to create your own exquisite corpse.
- Upload the plates to
 and tag them with coolrubbings. If your designs are created in OpenSCAD a customizer file can be created.
