Tutorial
Spin Tool and Blender
What is it?
Blender's Spin tool works by making copies of the selected vertices in a radial array around an axis indicated by the 3d cursor. Each copy of vertices are connected to previous vertices that corresponds to it with necessary geometry (edges and planes).What's the tutorial?
Using a Profile
- If you don't have Blender installed, download it from blender.org and install it.
- Open Blender
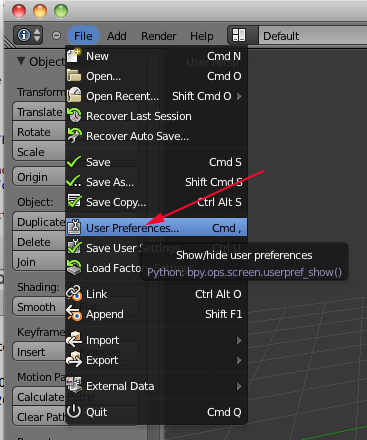
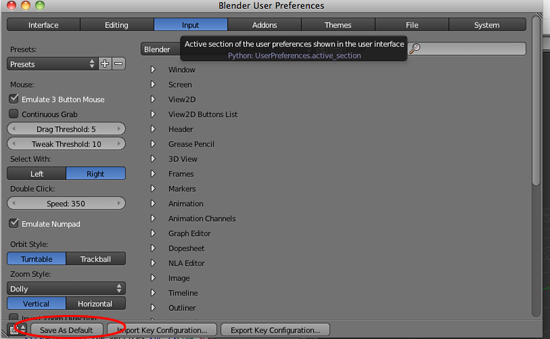
- If you have never used Blender before navigate to File>User Preferences or type (CMD+,).
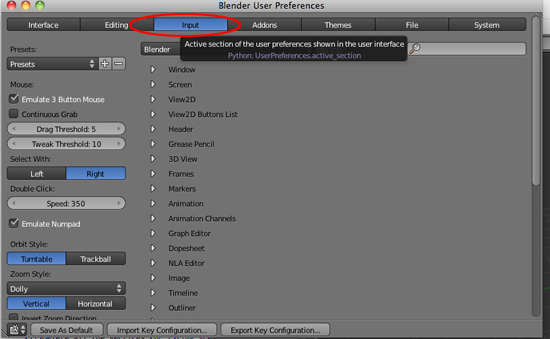
- Click on Input
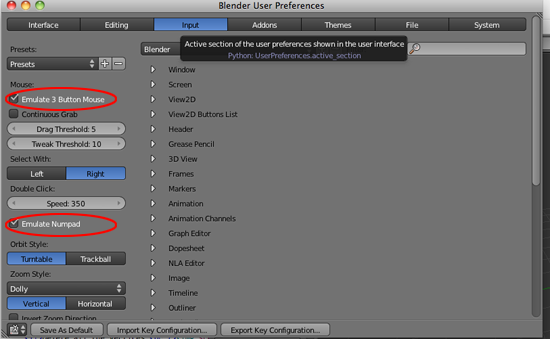
- Click on Emulate Button Mouse and Emulate Numpad
- Click on Save As Default
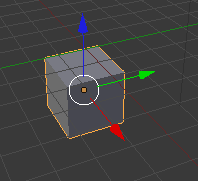
- If the cube is not selected (if there is not an orange line around it), RIGHT click on it to select it
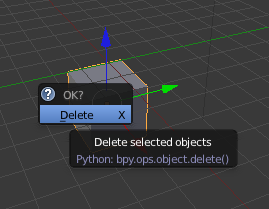
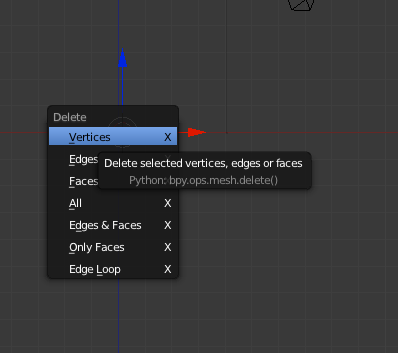
- Press X and click on Delete
- Set your viewport to Front View by pressing the number 1 on your keyboard.
- Press Num 5 to switch out of perpective mode and into orthogonal mode.
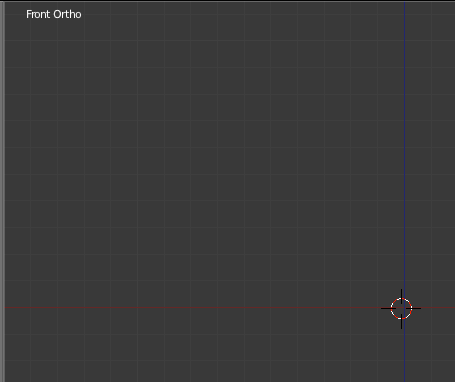
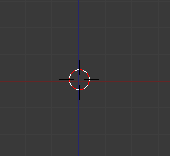
- Align the 3D cursor to the intersection of red and blue lines:
- Add a mesh that is a plane by pressing SHIFT+A.

- Press Tab to switch from Object Mode to Edit Mode.
- Delete all the vertices by pressing X
-
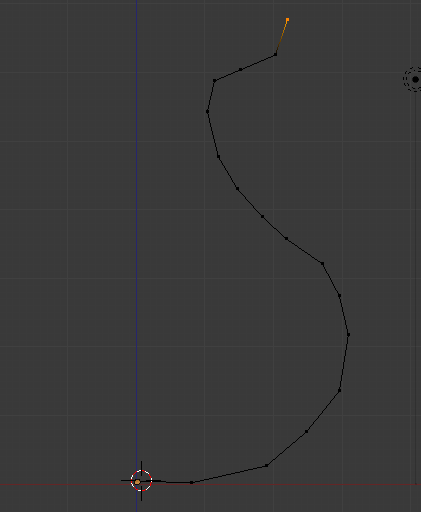
CTRL+LMB to add a new vertex point at the depth of the 3D cursor
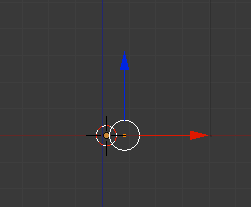
- If the axes bother you
toggle off the 3D manipulator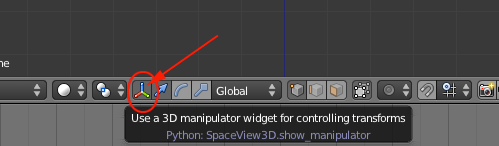
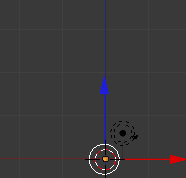
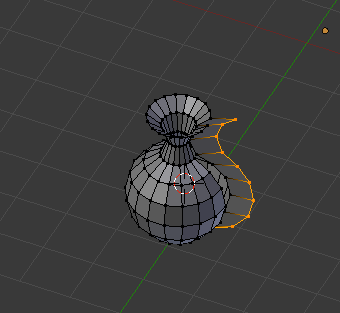
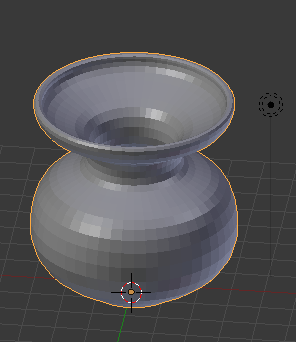
- Continue to use CTRL+LMB to drag out a profile of a vase:
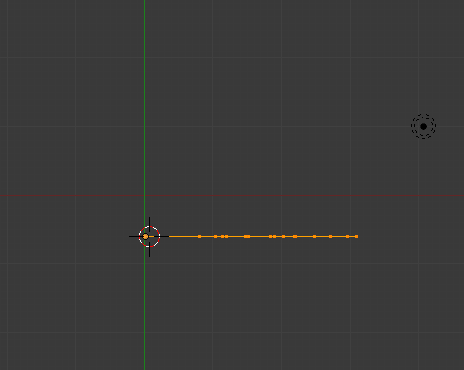
- Select all the points by press A to deselt all and A again to select all:

- Go to Top View (7)
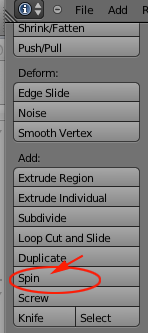
- Select spin:

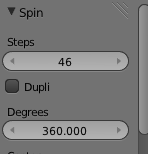
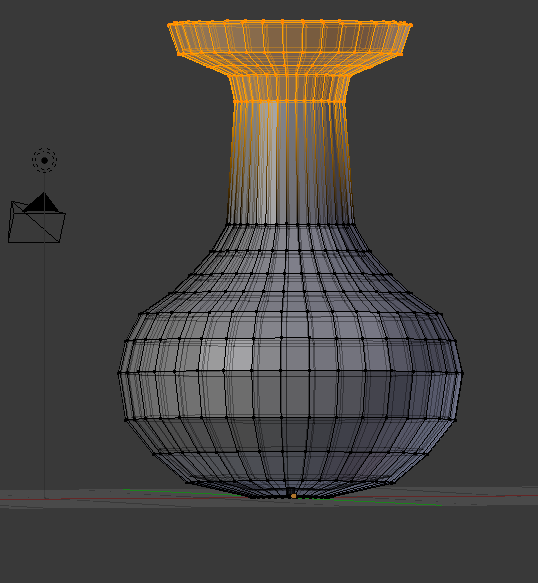
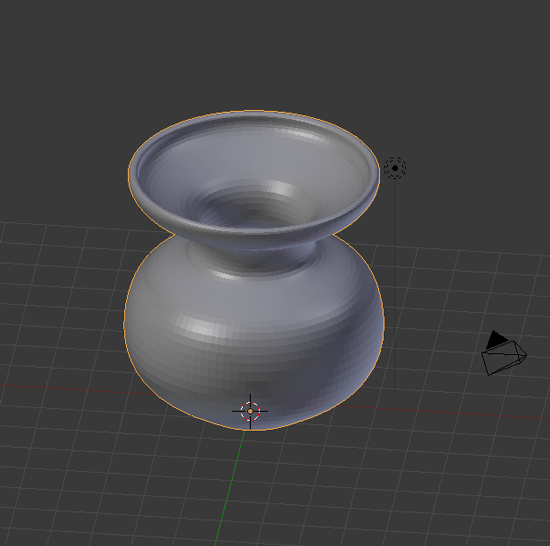
- Open up the Spin Menu and adjust rotation to 360 and segments to some value 16 or greater
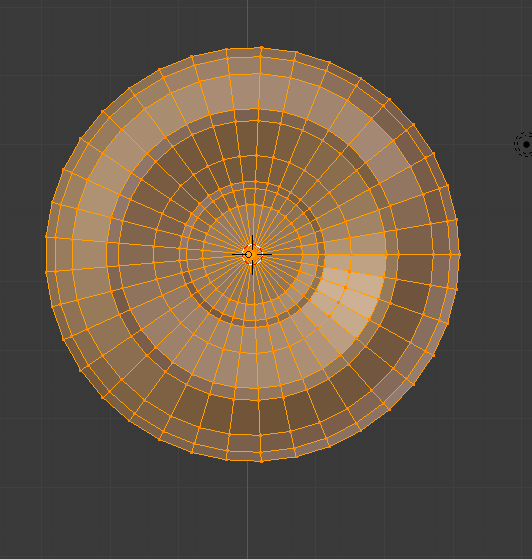
- You will have an extra set of vertices
- Select All by pressing A and then press W to remove doubles
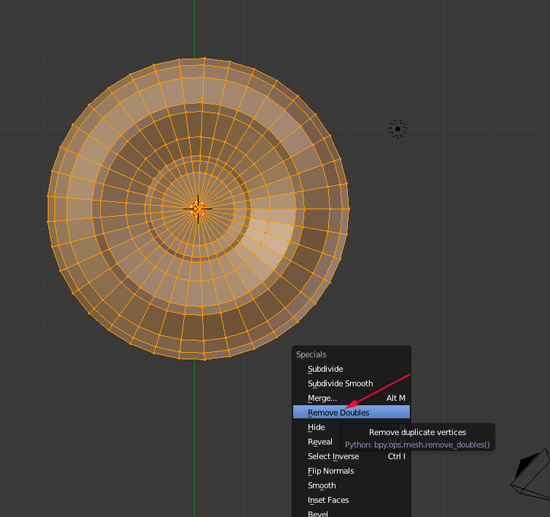
- Press A again to deselect.
- Edit as you see fit. To grab vertices, toggle the limit
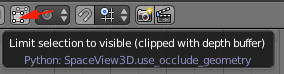
-
Press B for boundary select and drag a box around what you want to edit, press G to grab and move your mouse in a direction
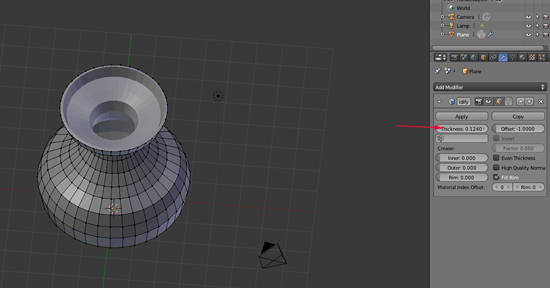
- Add a Modifier by clicking on the Wrench on the right hand side and selecting Add Modifier:
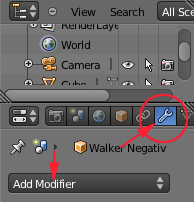 Select the
solidify modifier and scrub to add thickness
Select the
solidify modifier and scrub to add thickness - Press Tab to toggle back to Object mode.
- Click Apply
- Add another Modifier. This time add Multiresolution
- Click on subdivide a few times:
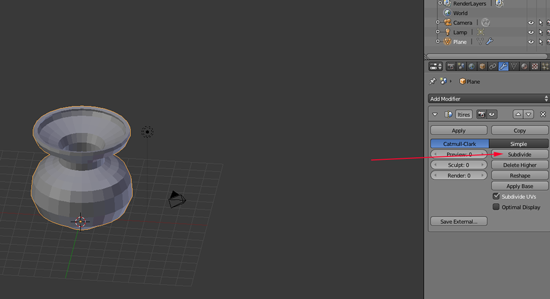
- Click Apply
- Select the model
- To export the model as an STL, select the model then choose File>Export>STL(stl).
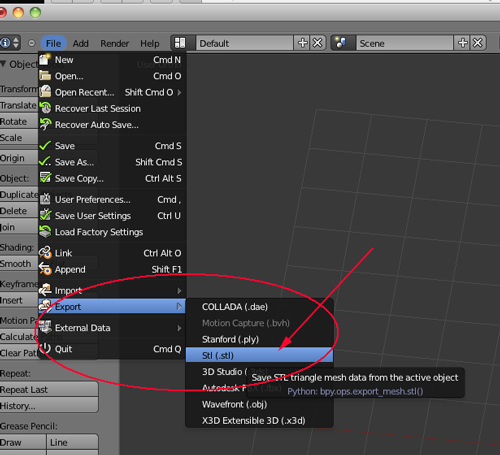
- Give the file a name with the .stl extension and save.
- Slice and print. You will need to scale the model up in ReplicatorG or MakerWare in order to get a decent vase.
Now what?
- Upload your vase to Thingiverse
- Come back tomorrow for more information and inspiration!
