Tutorial
Sketchup's Follow Me Tool
What is it?
The Follow Me tool allows you to make interesting and practical entities quickly.What's the tutorial?
Follow Me
- Open SketchUp.
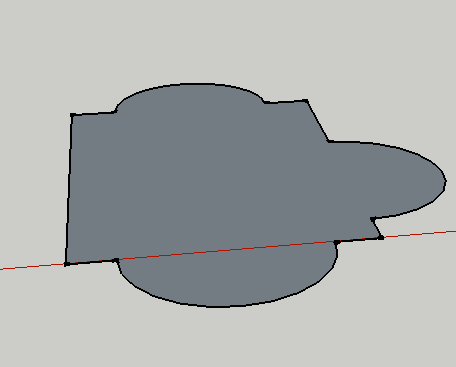
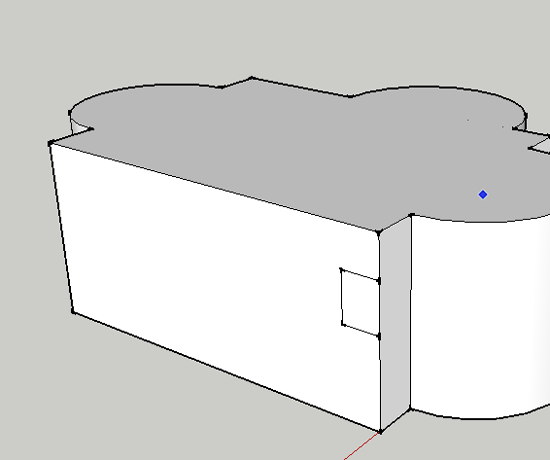
- Create a shape to your liking:
- Select the Push/Pull tool (P) and pull up the shape:
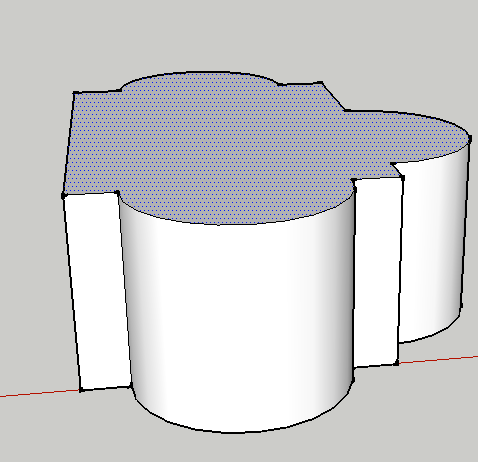
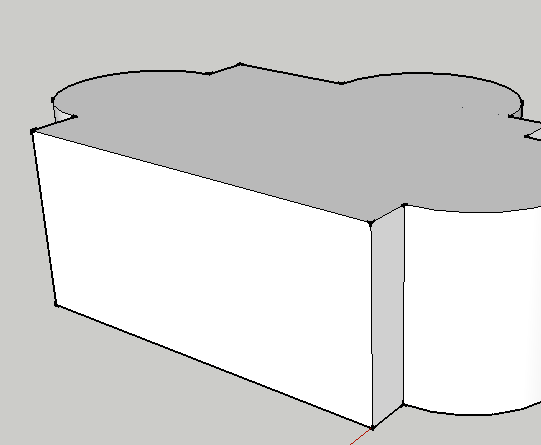
- Select the Orbit tool (O) and move around your shape:
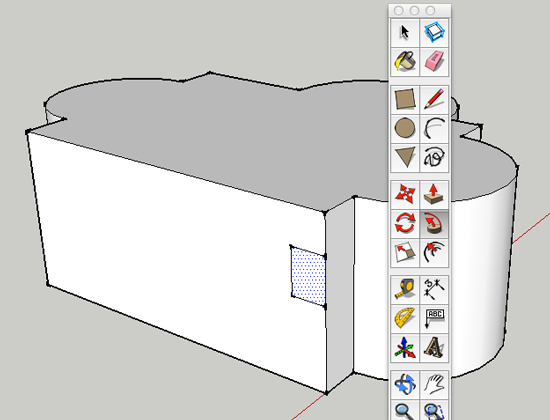
- Drag a shape onto a face. This will be the template for what will be cut out:
- Select the Follow Me Tool and click on the face of the template:
- On a Windows machine, hold ALT, on a Mac hold Command, and hover over the top of the entity:
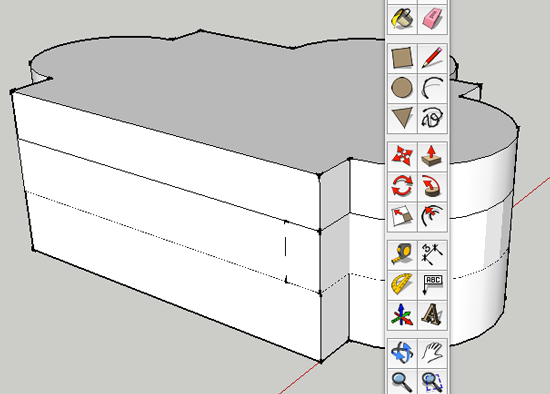
- Click to accept:
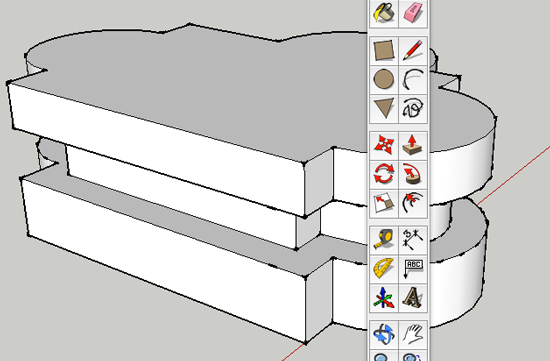
- Undo the Follow Me and delete the template. Orbit around the entity and make a new template. Choose the Select tool (spacebar) and select a few lines at the top of the entity. This time the Follow Me will not go around the entire entity:
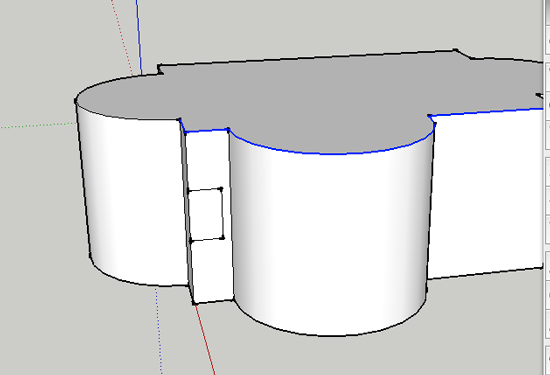
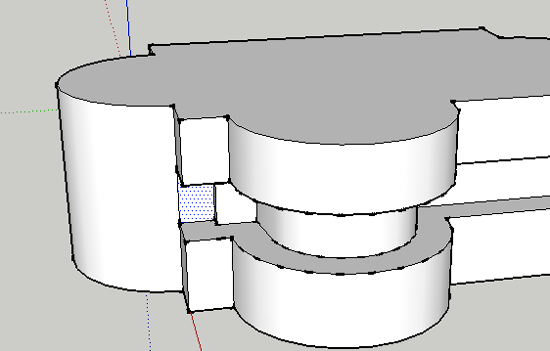
- Select the Follow Me tool and click on the face of the template:
With Circle
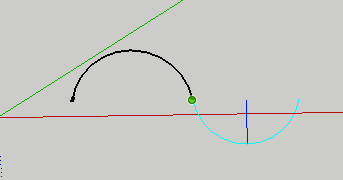
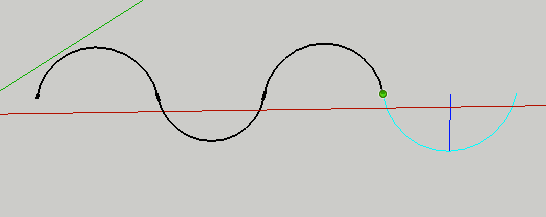
- Make two clicks. move tool to center and pull up to create an arc. Click to accept changes.

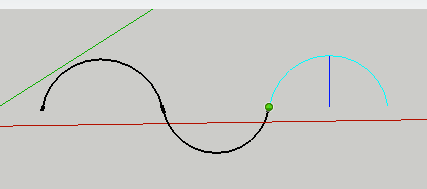
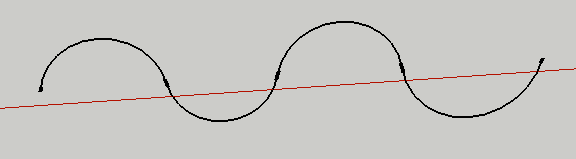
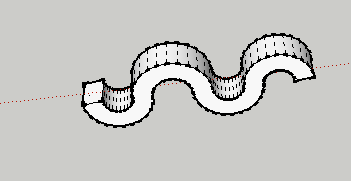
- Click last endpoint and drag. A new arc will form—the curve will act as a sine wave. Double click to accept form.
- Draw a circle at one end of the curve.
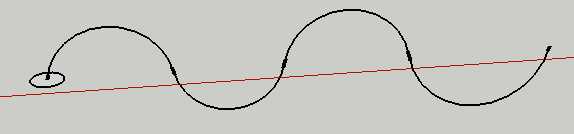
- Select the curve with the Select Tool (spacebar).
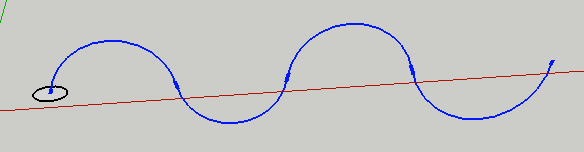
- Select the Follow Me tool and click on the face of the circle
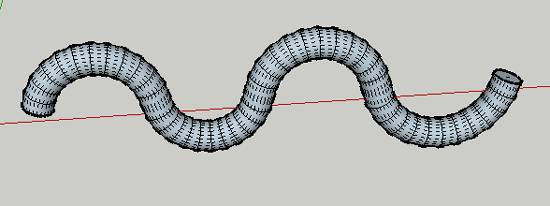
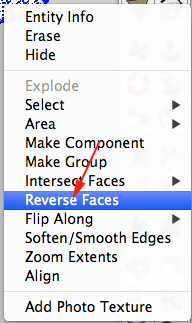
- Triple click on the form and select Reverse Faces from the Context Menu
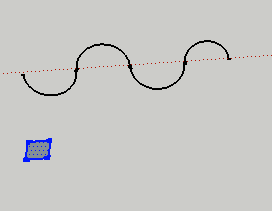
With Rectangle
- Create a new line

- Draw a rectangle and move to one end of the curve.
- Select the curve with the Select Tool (spacebar).
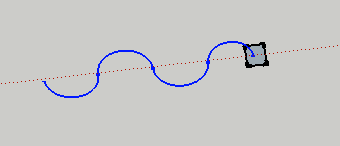
-
Select the Follow Me tool and click on the face of the rectangle
Now what?
- Create a model with Follow Me.
