FILLET/CHAMFER
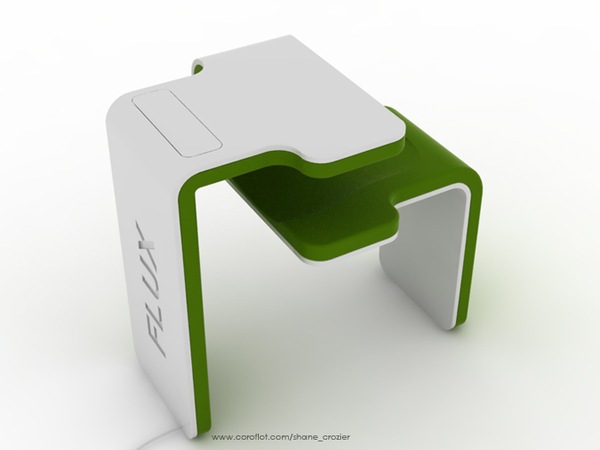
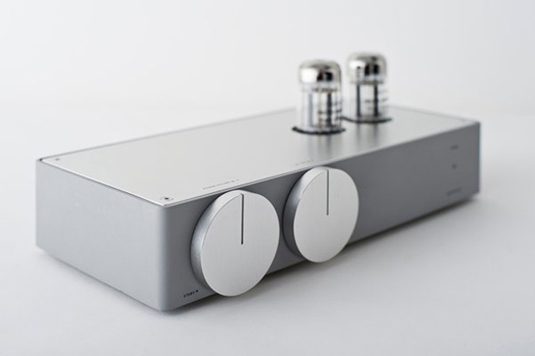
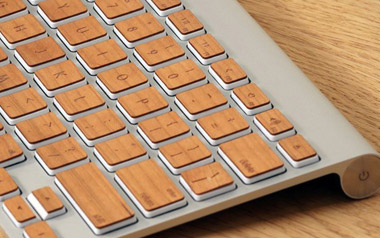
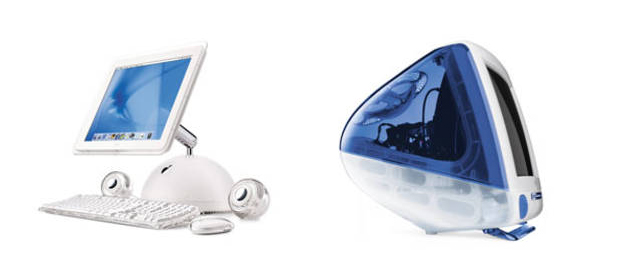
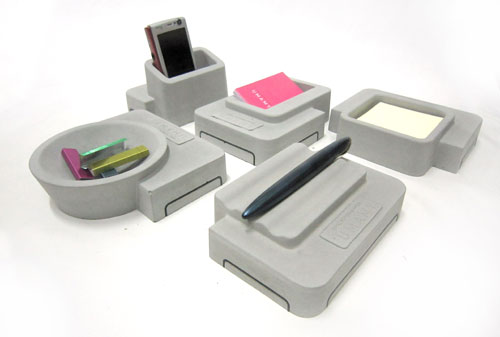
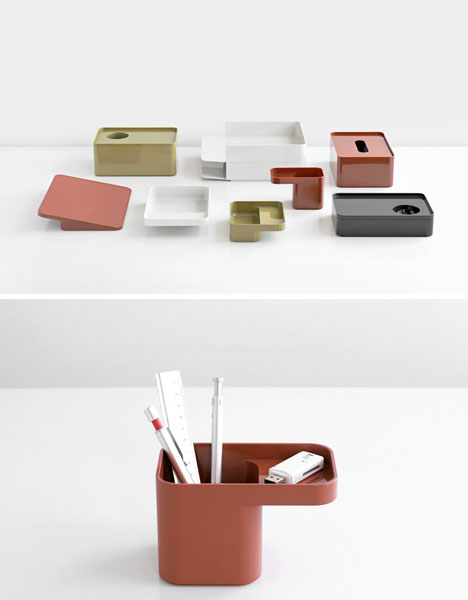
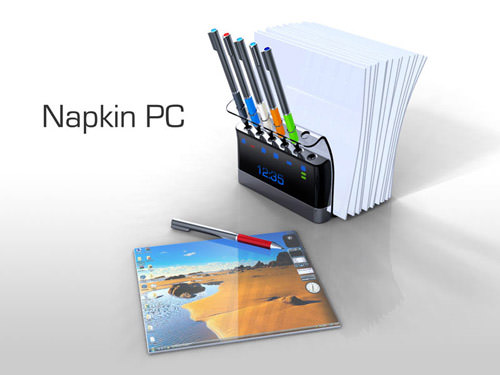
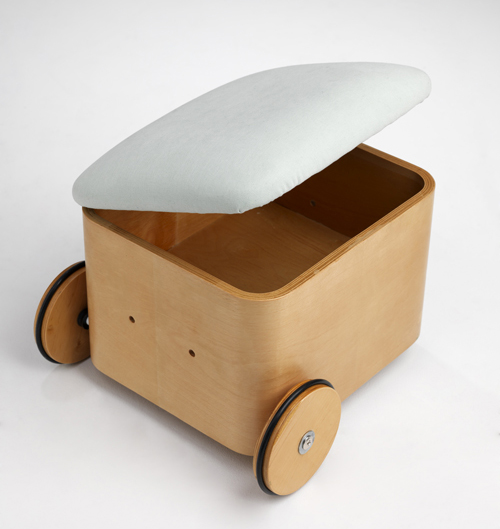
"All that you've shown me so far has been interesting, but how can I make objects that are cool, clean and modern. You know, how do those folks at Apple get their shapes?"
This one is easy. It's simple to do and it gives all your designs that finished look. Tell the guard you'll show him how to make cool, clean, simple and modern designs by the end of the day. FILLET and CHAMFER are commands that modify edges in 2D. When working with solids use FILLETEDGE and CHAMFEREDGE. While the commands themselves are different in 2D and 3D, their functionality is the same.
Training
- Launch AutoCAD.
- Create a new drawing with the 2D drawing template and set the units to millimeters and FACETRES to 10.
- Draw a rectangle 1 unit wide by 3 units tall with the bottom left corner positioned at (.75,.75).
- You are now going to rotate this rectangle 90° clockwise.
Start the ROTATE command. - AutoCAD asks you to select objects. Select all parts of the rectangle and press <RETURN>.
- Now indicate a base point. Think of this as a pivot point around which the rectangle will rotate. You want to select the bottom right corner (remember to use OSNAPS).
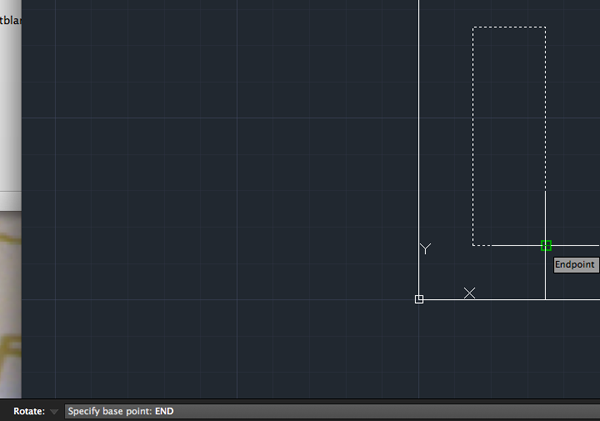
- Once you've selected the base point, the command line shows rotation angle: This means that 'Rotation angle' is the default, so type in the angle you want to rotate the object. Think about how AutoCAD measures angles. You want to rotate the rectangle counter-clockwise (-90°) or clockwise (270°). Type the number and press <RETURN>.
-
Make a COPY of the rectangle 2 units above the first one (remember to use your relative coordinates).
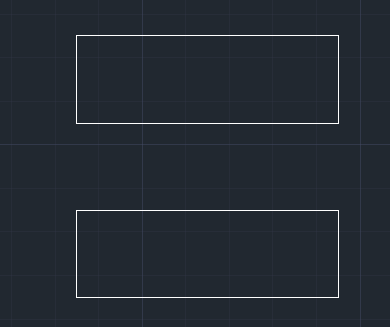
- Now you're going to modify the second rectangle so that it has rounded corners. Start the FILLET command.
- Look at the command line. It will look something like this:
AutoCAD first shows you what the current fillet radius is (0.0000). This will be the last value that was used. Once it's changed, it will keep the new value in memory.
Command: F <ENTER>  FILLET
Current settings: Mode = TRIM, Radius = 0.0000
Select first object or [Undo/Polyline/Radius/Trim/Multiple]:
The next line shows you what options you have in this command. Remember that the capital of each option selects that particular option.
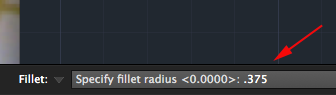
- What you want to do is change the fillet radius to 3/8 (or .375). To do this you have to type R and press <RETURN>. When you type this, AutoCAD will give you the chance to enter a new fillet radius. Type .375 and press <RETURN>
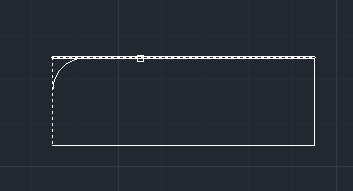
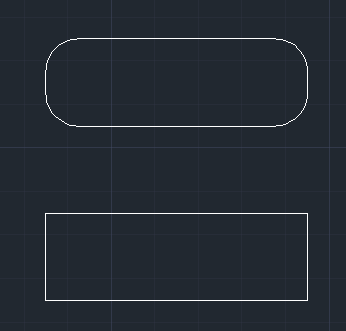
- The fillet radius is now .375. The default option is Select first object. Select the left side of the top rectangle.

- AutoCAD now asks you to select second object. Select the top line and AutoCAD will make a smooth round corner with a radius of .375. AutoCAD automatically ends the command at this point. If you had typed M when Multiple was an option, you could have continued to apply fillets to different corners.
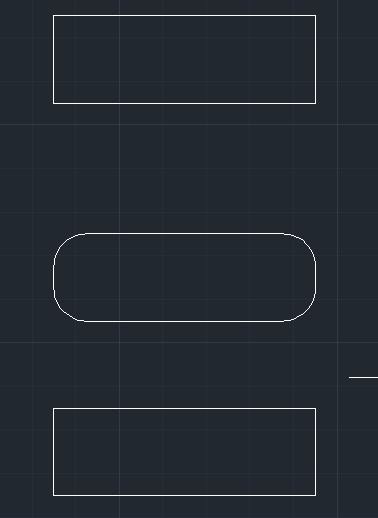
- Restart the FILLET command by Right clicking on the drawing and select Repeat FILLET and fillet the remaining corners:
-
Copy the first rectangle and move it to a point 4.5 units up:
- Now you will use the chamfer command to give this rectangle sharp, angled corners.
Start the CHAMFER command. - This is very similar to the fillet command. You have several options available. Want you want is an even 45 degree angle 3/8 millimeter in from the corner. Like the fillet command, you first have to tell AutoCAD what distance you want. To do this type D to select the Distance option:

- Specify first chamfer distance to be .375 and press <RETURN>.
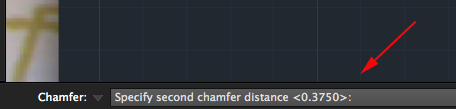
The command line now asks for the second distance. AutoCAD will automatically change the default of the second distance to match the distance you entered for the first:
-
Specify second chamfer distance as 0.3750 and press
<RETURN>:
- You will then be asked to Select first line. The chamfer command works just like the fillet command. Select the line on the left of the top rectangle. When prompted to Select second line, select the top line. You will now have a perfect sharp corner at a 45 degree angle 3/8 millimeter from the corner:
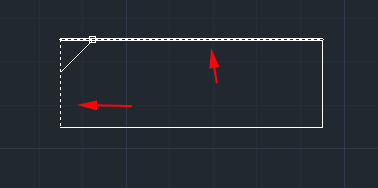
- Do this to the rest of the corners.

- Change your view to SE Isometric and change your settings to Shaded with Edges.
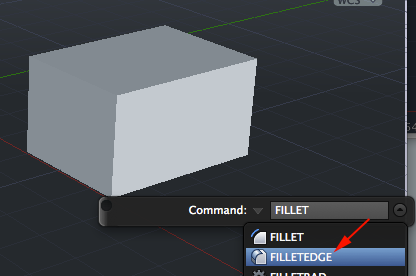
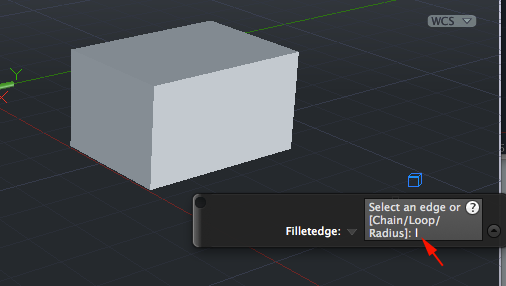
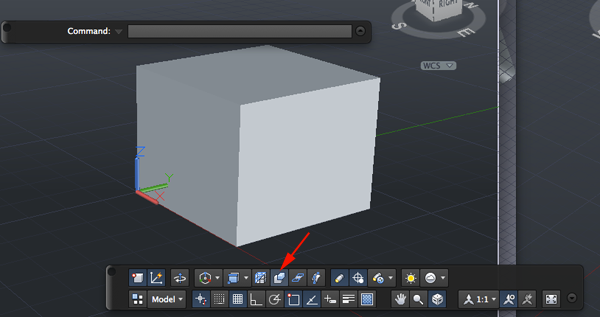
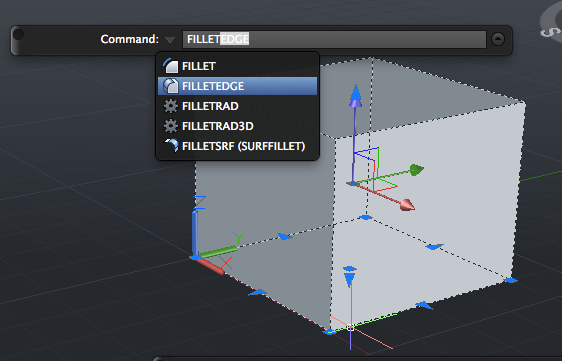
- Create a box and call FILLETEDGE:
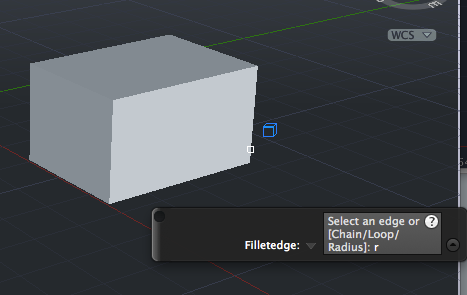
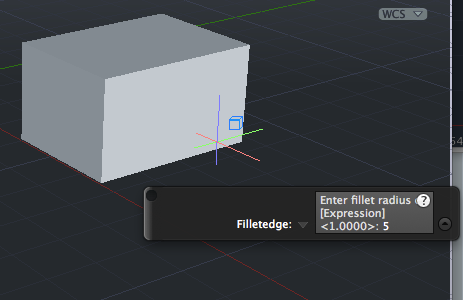
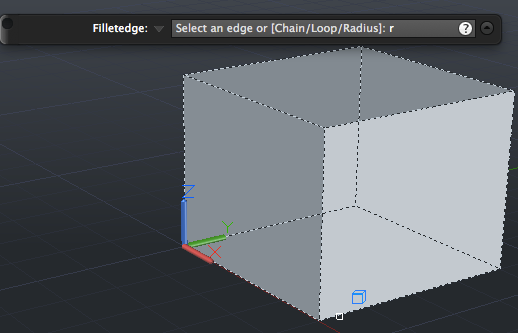
- Type r and press <RETURN>. This will select the Radius:
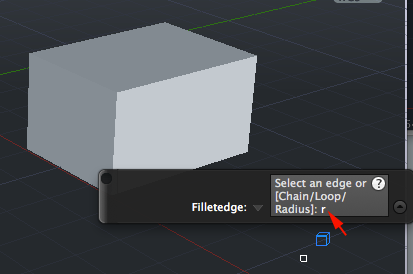
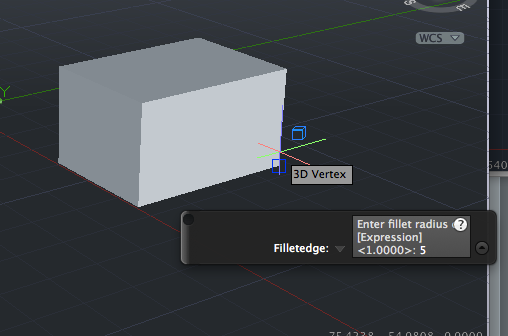
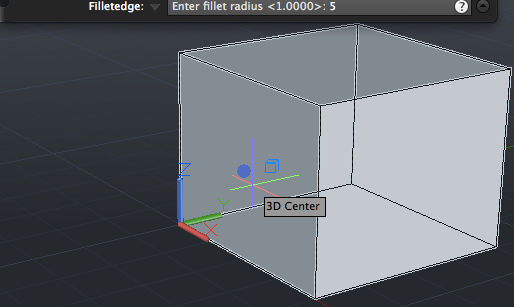
- Set the radius and press <RETURN>:

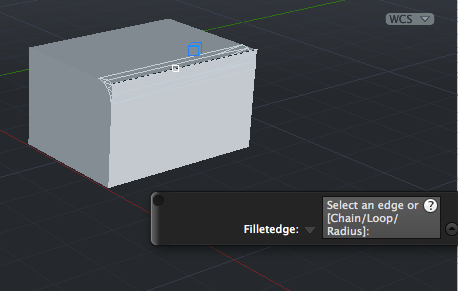
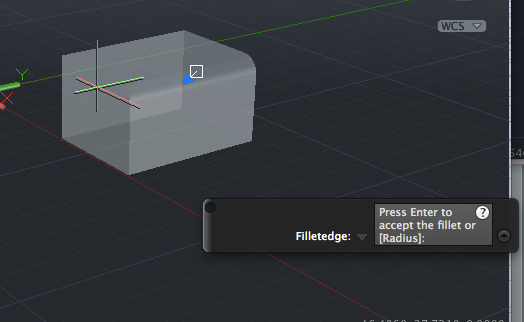
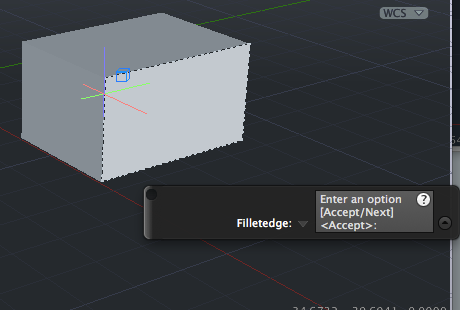
- Click on an edge. To apply the fillet press <RETURN>:
- Create another box.
- Call FILLETEDGE.
- Type r and <RETURN> to select the radius:
- Specify a value for the fillet and press <RETURN>:
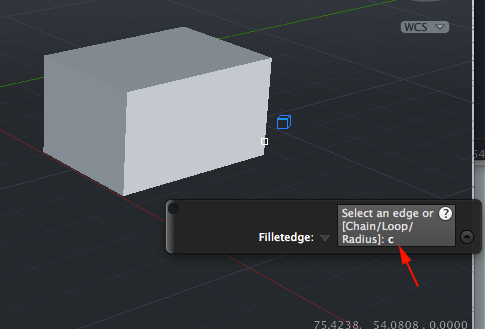
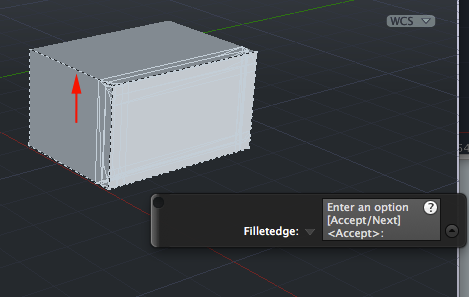
- Type c and press <RETURN>, This will chain the edges (select more than one edge):
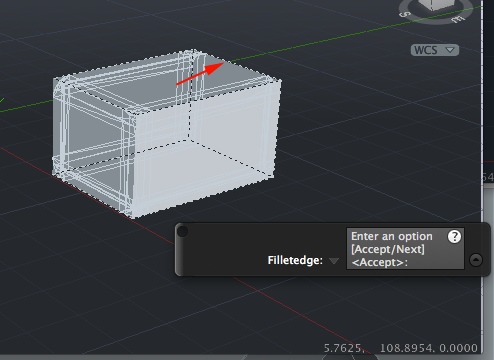
- Click an edge and press <RETURN> to add it to the chain:

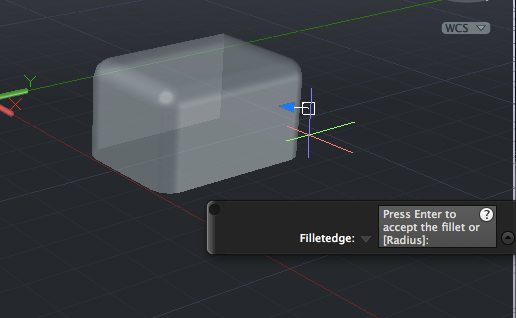
- Press <RETURN> to accept the fillet:
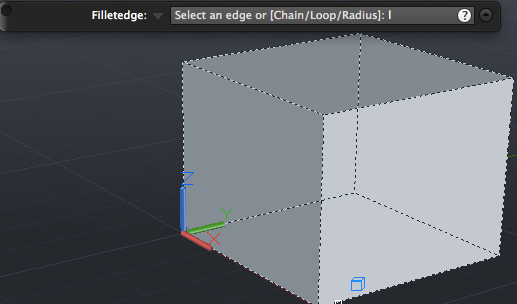
- Call FILLETEDGE. Type L and press <RETURN>. This will select a loop of edges:
- Specify the radius by typing r and pressing <RETURN>. Then add a value and press <RETURN>:
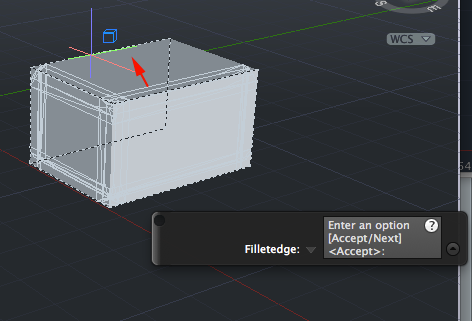
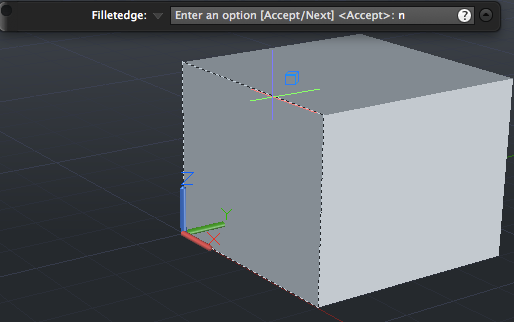
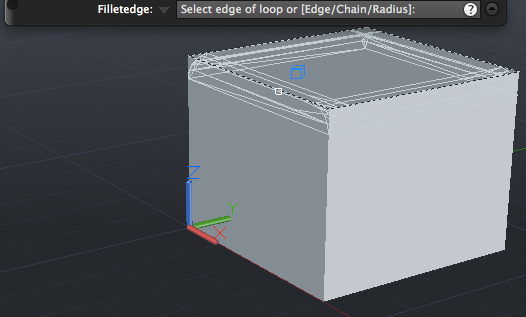
- Click on a edge and press <RETURN>. This will select a loop of edges. If the first loop is not the loop you want type n for next and press <RETURN>. When you are presented with the loop you want press <RETURN> to accept the selection:
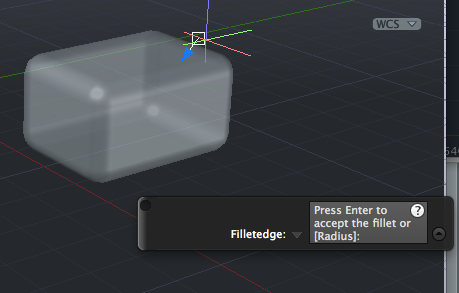
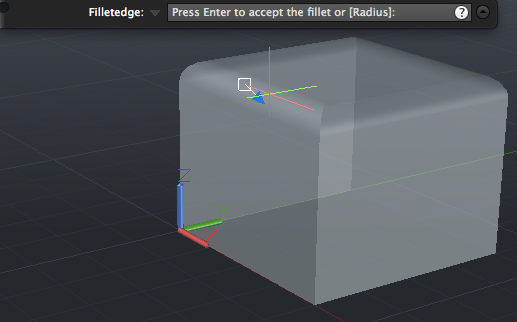
- Press <RETURN> again to accept the fillet:
- Create another BOX and add a chamfer with a distance of 3.
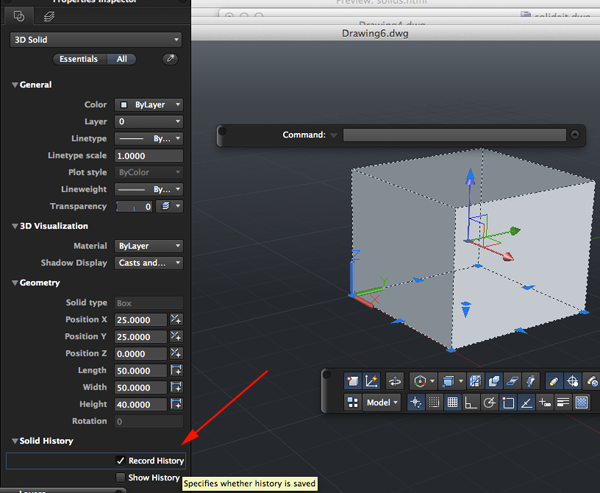
SOLID HISTORY
If you have enabled Solid History and you apply FILLETEDGE or CHAMFEREDGE to a solid, you will have the ability to CTRL+click on the fillet or chamfer edge and adjust the radius or distance in the Properties Inspector under Geometry.If Solid History was not enabled and you would like to adjust the fillet or chamfer, CTRL+ click on the fillet or chamfer and press Delete. This will delete the fillet or chamfer. Delete also works for holes and slots.
- Create a new drawing and set the units to millimeters.
- Draw a box.
- Type SOLIDHIST and press <RETURN>. Set the system variable to 1. Or in the status bar enable Solid History:
- Click on the BOX and in the Properties Inspector enable Record History:
- Call FILLETEDGE:
- Type r to select the radius. Press <RETURN>:
- Type a number for the radius and press <RETURN>:
- Type L to select loop and press <RETURN>:
- If the loop selected is not the desired loop type n and press <RETURN> to cycle through the edge loops:
- When you are presented with the desired edge loop press <RETURN> to accept:
- To apply the fillet press <RETURN> again:
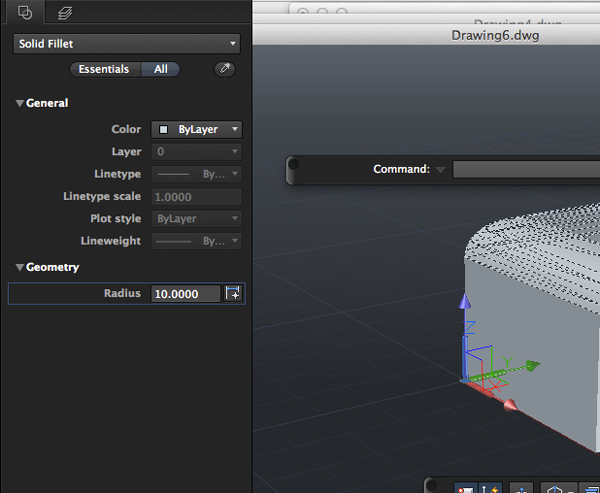
- To edit the fillet, CTRL+click on the edge
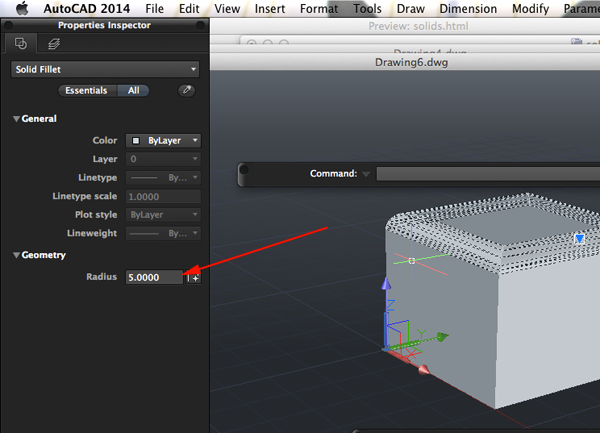
- In the Properties Inspector adjust the size of the radius of the fillet:
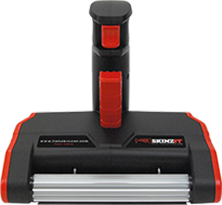
Quest
Create a simple, modern design that is uses fillets or chamfers and present it to the guard. You can also add boolean operations, extrusions, and revolutions.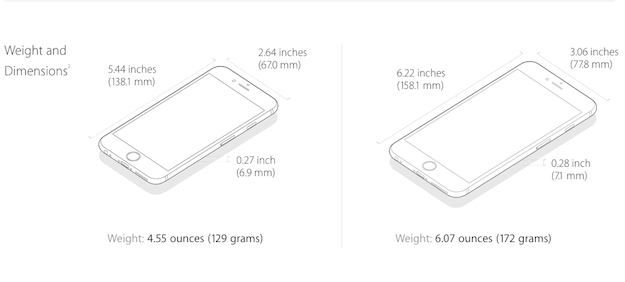


Source:
Cross, Nigel. Engineering Design Methods. Chichester: Wiley, 1989.
Omura, George; Graham, Richard (Rick) (2010-11-09). Mastering AutoCAD for Mac (Kindle Location 18101). Wiley. Kindle Edition.
Shih, Randy H. AutoCAD 2014 Tutorial Second Level: 3D Modeling. Mission, KS: SDC Publications, 2013. Print.
Shumaker, Terence M., and David A. Madsen. AutoCad and Its Applications: Basics. Tinley Park, IL: Goodheart-Willcox, 2004. Print.
Watson, David. "Learn AutoCAD with Our Free Tutorials." AutoCAD Tutorials, Articles & Forums. N.p., n.d. Web. 05 Jan. 2015.