Demonstration, Practice and quick exercise
60 minutesAutodesk® 123D® Design is a modeling application that allows you to drag, drop and combine primitive shapes. Similar to a professional CAD program, you can draw profiles and then apply basic functions to them to transform the 2D images into 3D forms suitable for 3D printing. 123D Design also has pre-defined models that can be combined either together or with primitive shapes.
- If you have not already done so download and install 123D Design and create an Autodesk account.
The difference between account types:Premium Basic - Commercial use of 3D models
- Unlimited premium 3D models
- 2D layout creation (DWG)
- Instructables Pro account
- Unlimited private circuits
- 5% discount on PCB orders
- Non-commercial use of 3D models.
- Free apps for 3D design and 3D printing
- Unlimited free, basic 3D models
- 10 premium 3D models / month
- Unlimited cloud storage
- Unlimited project, tutorial, and forum access
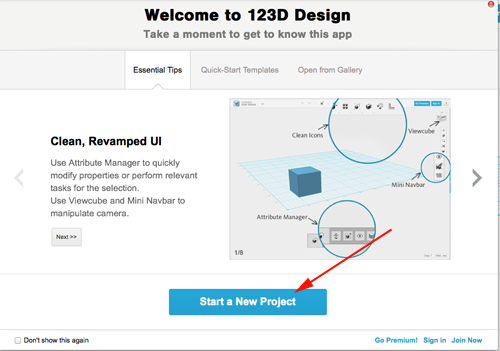
- Open the application:
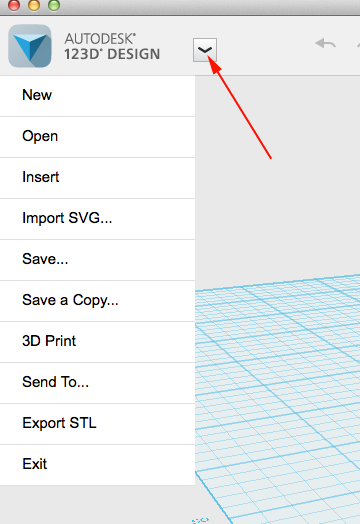
- In the upper left corner you will find the dropdown menu. Roll your cursor over the down arrow and select New to create a new document:
- Here are the tools to help you construct your models:

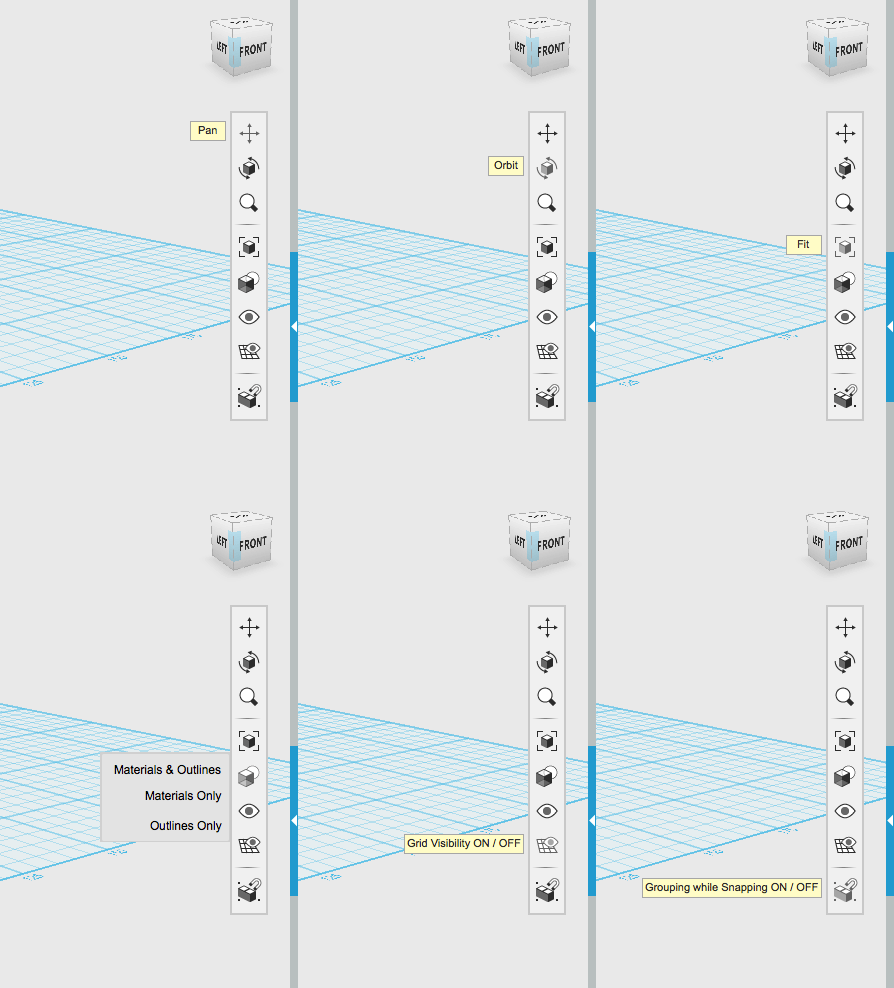
- Here are the navigation tools to help you move around:
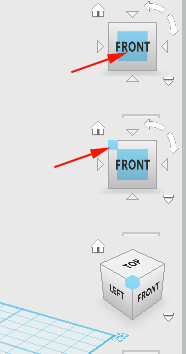
- You can also use the view cube to change the camera:
- Click on the kits arrow to browse pre-build parts:
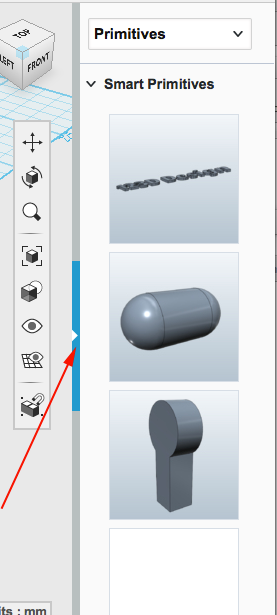
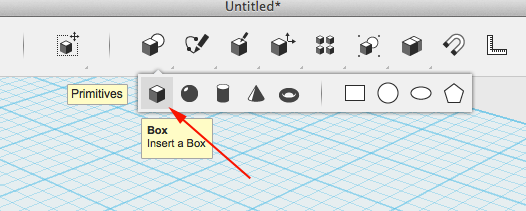
- Click on Primitives and select Box. Drag and drop the box on the grid. Adjust the dimensions:
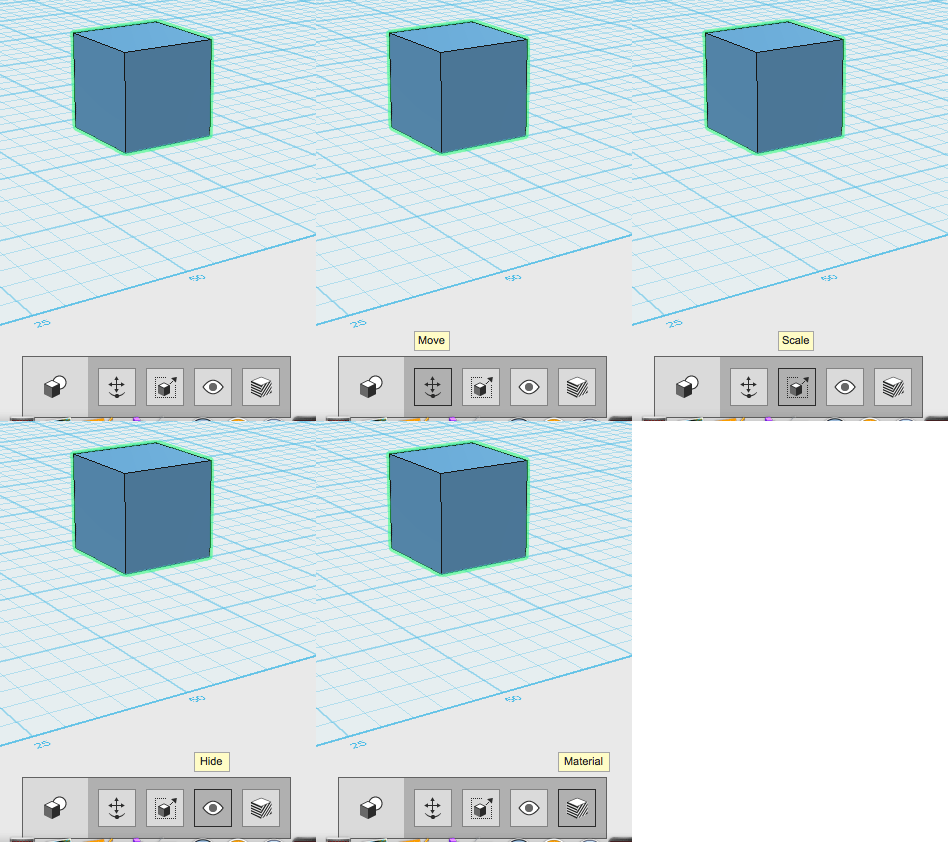
- You can modify (move, scale or hide) the entire form by clicking on the box and then clicking on the gear in the box:
- You can select just a face.
Select the primitive then roll over the face you want to edit. When the face is highlighted click on it to accept the selection. Then click on the gear in the box: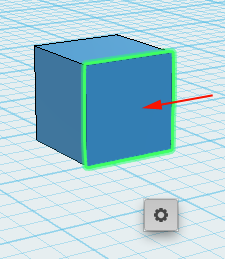
- Modifications you can make to the face are:
- Tweak:
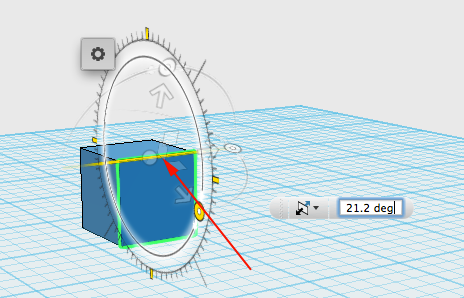
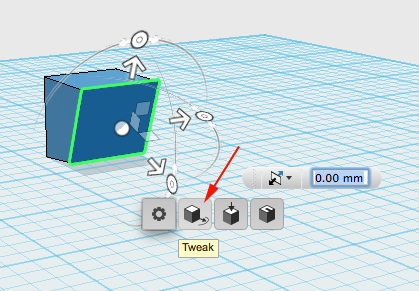
-
Push/Pull:
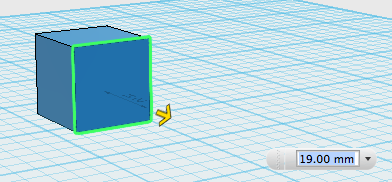
- Shell:
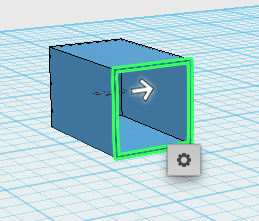

- Tweak:
- When editing, you can always enter exact measurements or use the mouse to manipulate the form.
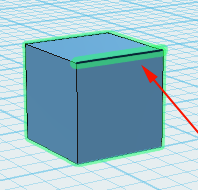
- 123D Design provides selection specific editing options for the entire form, a face and an edge. To select an edge, rollover it until it highlights, then click:
- Clicking on the gear will bring up the three options:
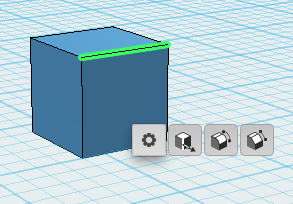
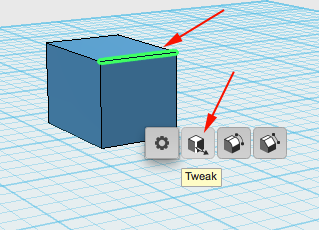
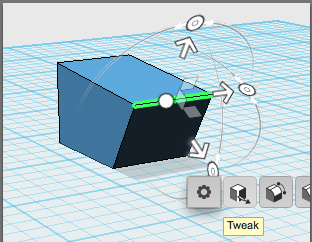
- Tweak:
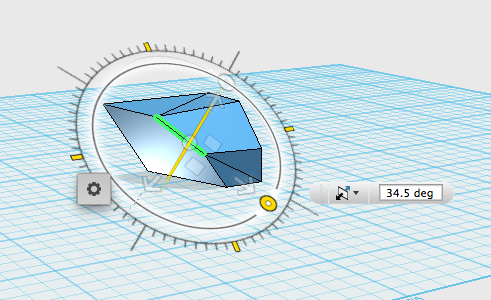
- Fillet:
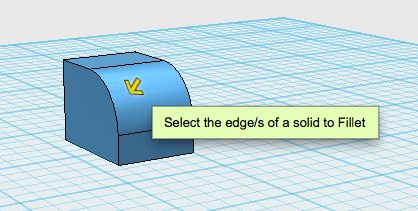
- Chamfer:
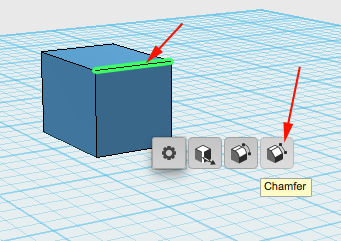
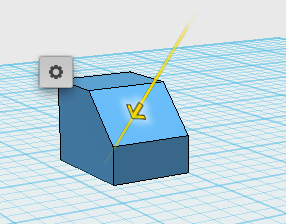
- Select the circle sketch:

- Click on the plane then select the center point:
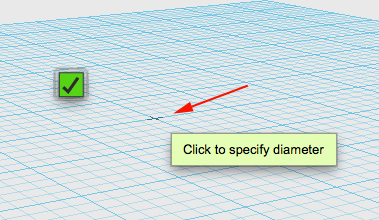
- Drag from center point:
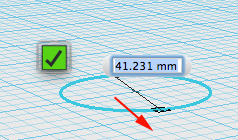
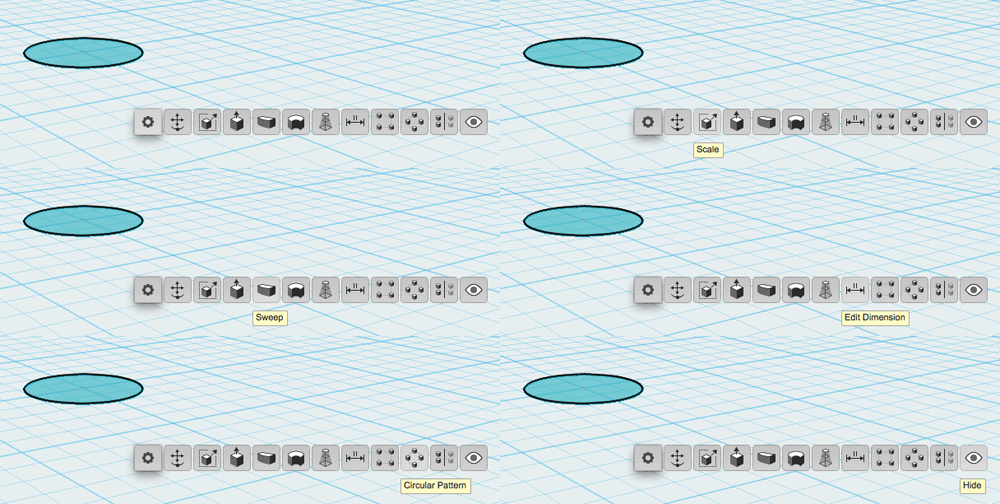
- Selecting the interior of a 2D circle provides the following options:
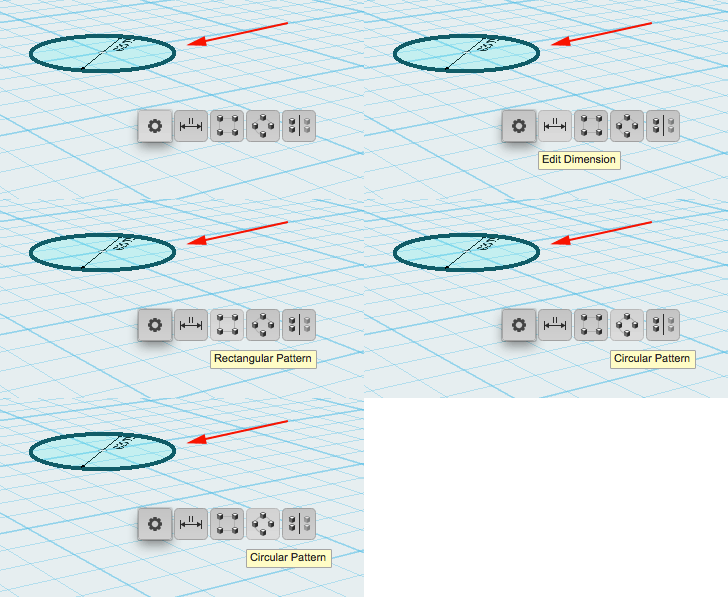
- Selecting the perimeter of a 2D curve provides the following options:
- Select the circle sketch tool.
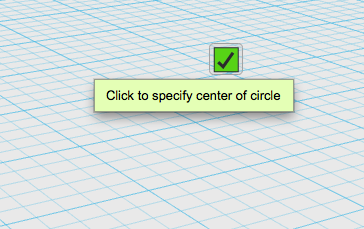
- Click on the Sketch Plane to select it:
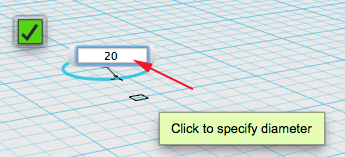
- Specify the diameter by dragging or typing a value:
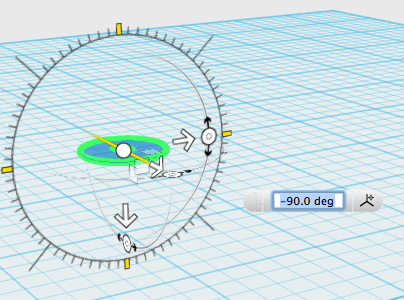
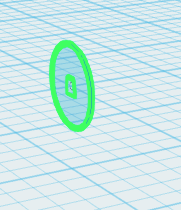
- Select the sketch and click on the Move icon. Rotate the sketch 90°:
- Select the sketch, copy, paste, move forward and rotate:
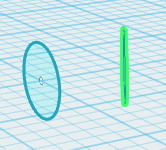
- Copy, paste, move and roate again:
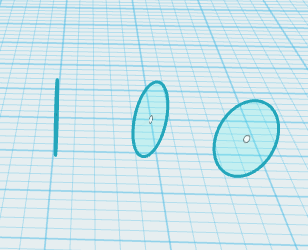
- Once again
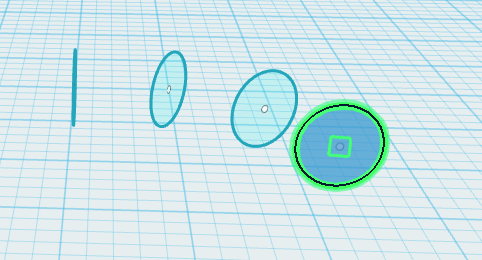
- One more time:
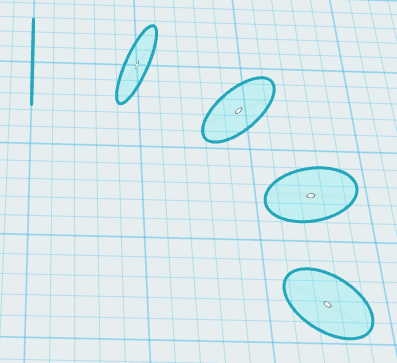
- Select all the sketches and move the cursor over the widget
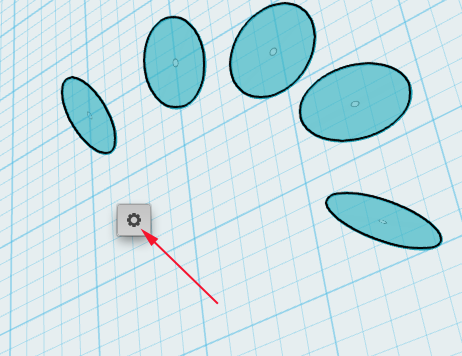
- Select Loft:
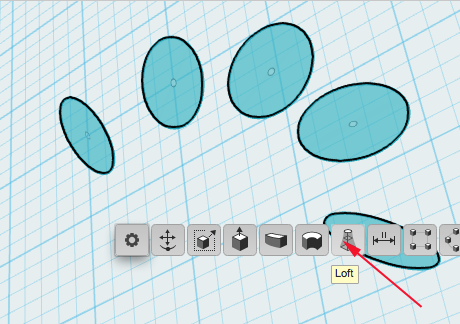
- Make sure you are creating a new solid
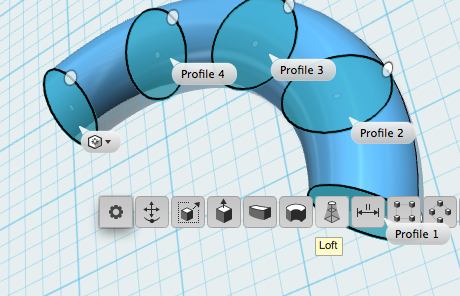
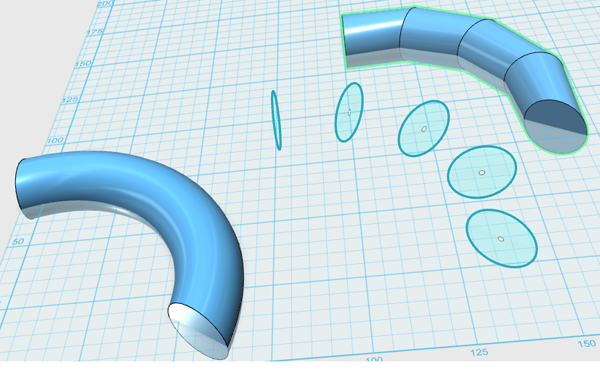
- This is the difference if you loft all at once or section by section:
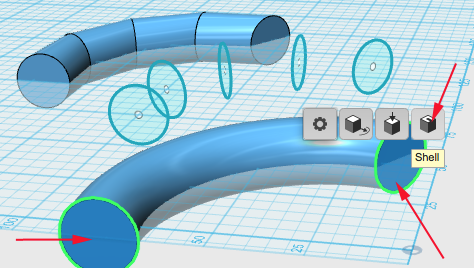
- Select both ends and then click on shell
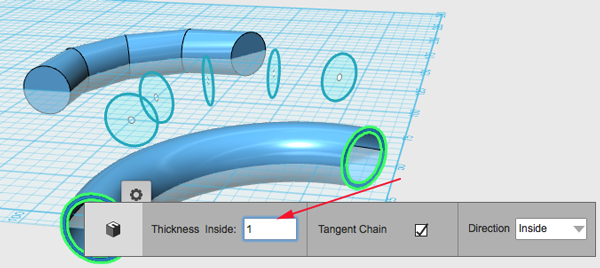
- Specify the amount to shell
- Create another 90° 2D circle sketch and then select the spline tool

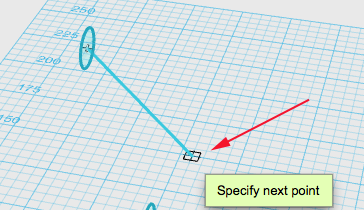
- Click to specify the Sketch Plane, then click on the center point of the rotated circle, the click and pull to create a smooth curve. Click to end or press ENTER:
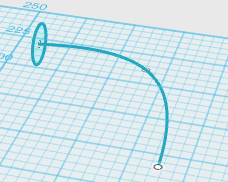
- You can adjust the curve by moving the sketch points:
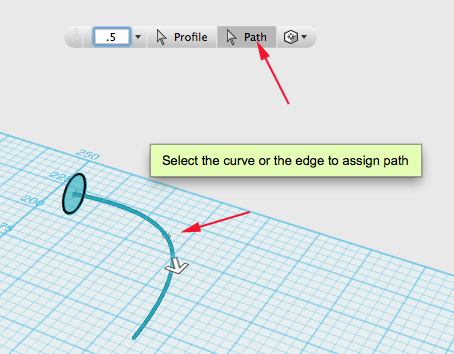
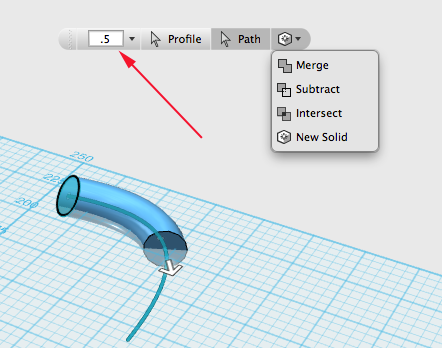
- Click on the sketch, select Sweep, make the polyline the path. The text entry allows you to specify the percentage to sweep. Here you can sweep by 50%:
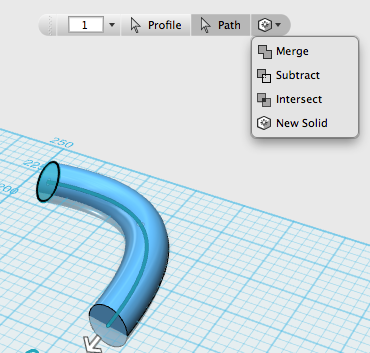
- Here is the full sweep:
- Unfortunately you cannot shell a sweep, but there is a way to acheive a similar effect:
-
Click on the sketch and select scale
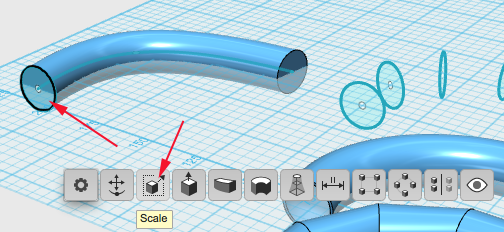
- Specify the scale amount:
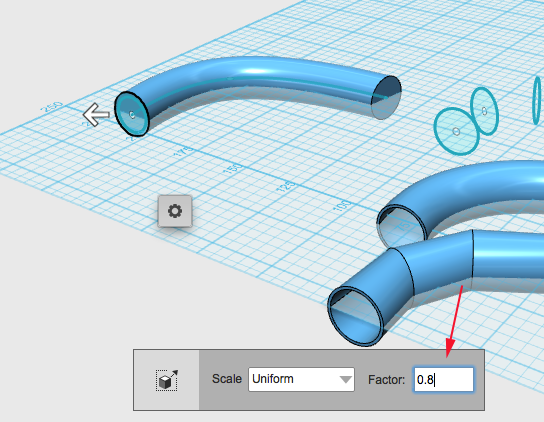
- Sweep the smaller sketch and select subtract:
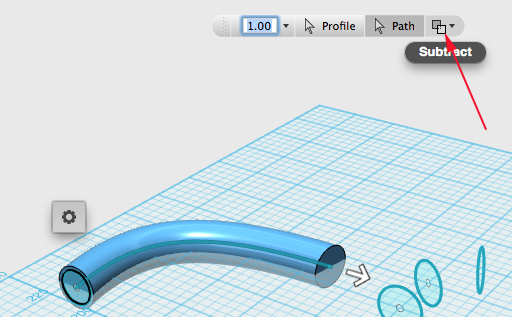
-
Click on the sketch and select scale
- Create another 2D circle sketch, then select the polyline tool:
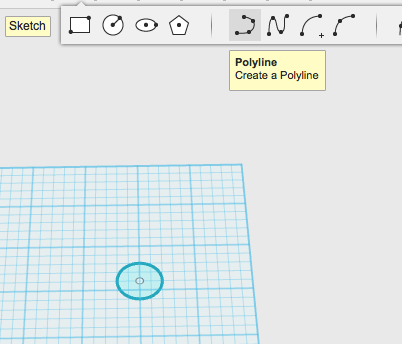
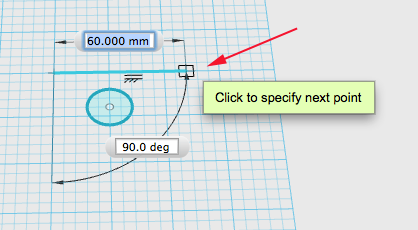
- Click the Sketch Plane then click two points (a starting point and an ending point). Press ENTER to end the line after clicking
- Select the 2D sketch then select Revolve. Choose the line you drew as the axis:
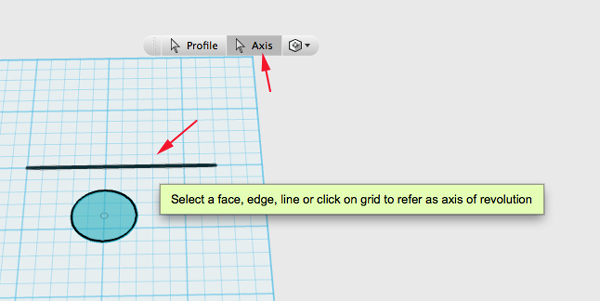
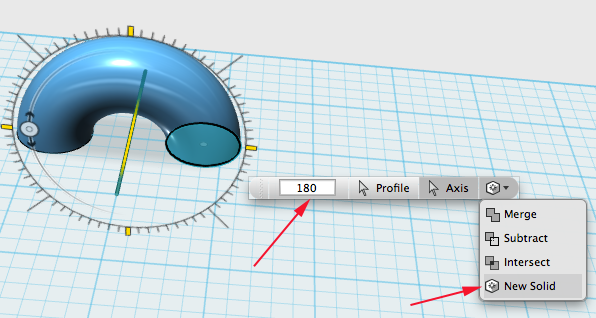
- Specify the revolution and make sure it is a solid:
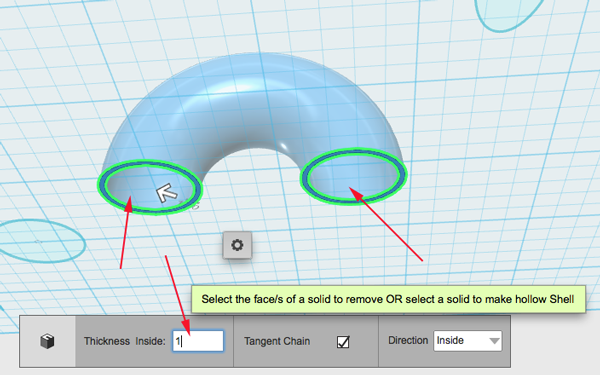
- Shell the revolved sketch:
- Experiment.
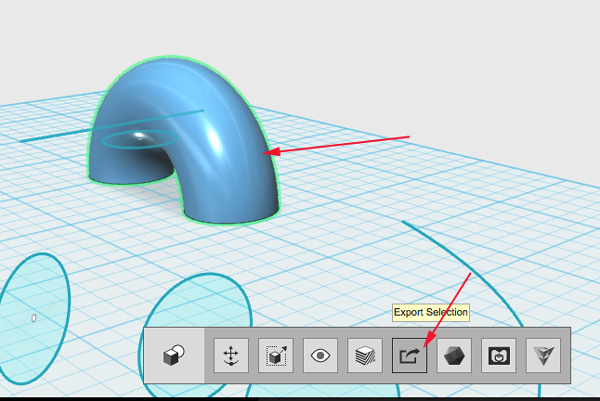
- Select a part and Export as an stl:
Boolean Modifiers
Combine
- Create at least two objects.
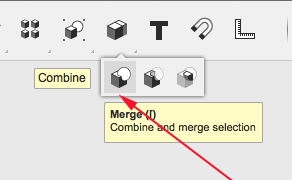
- Click on Combine>Merge
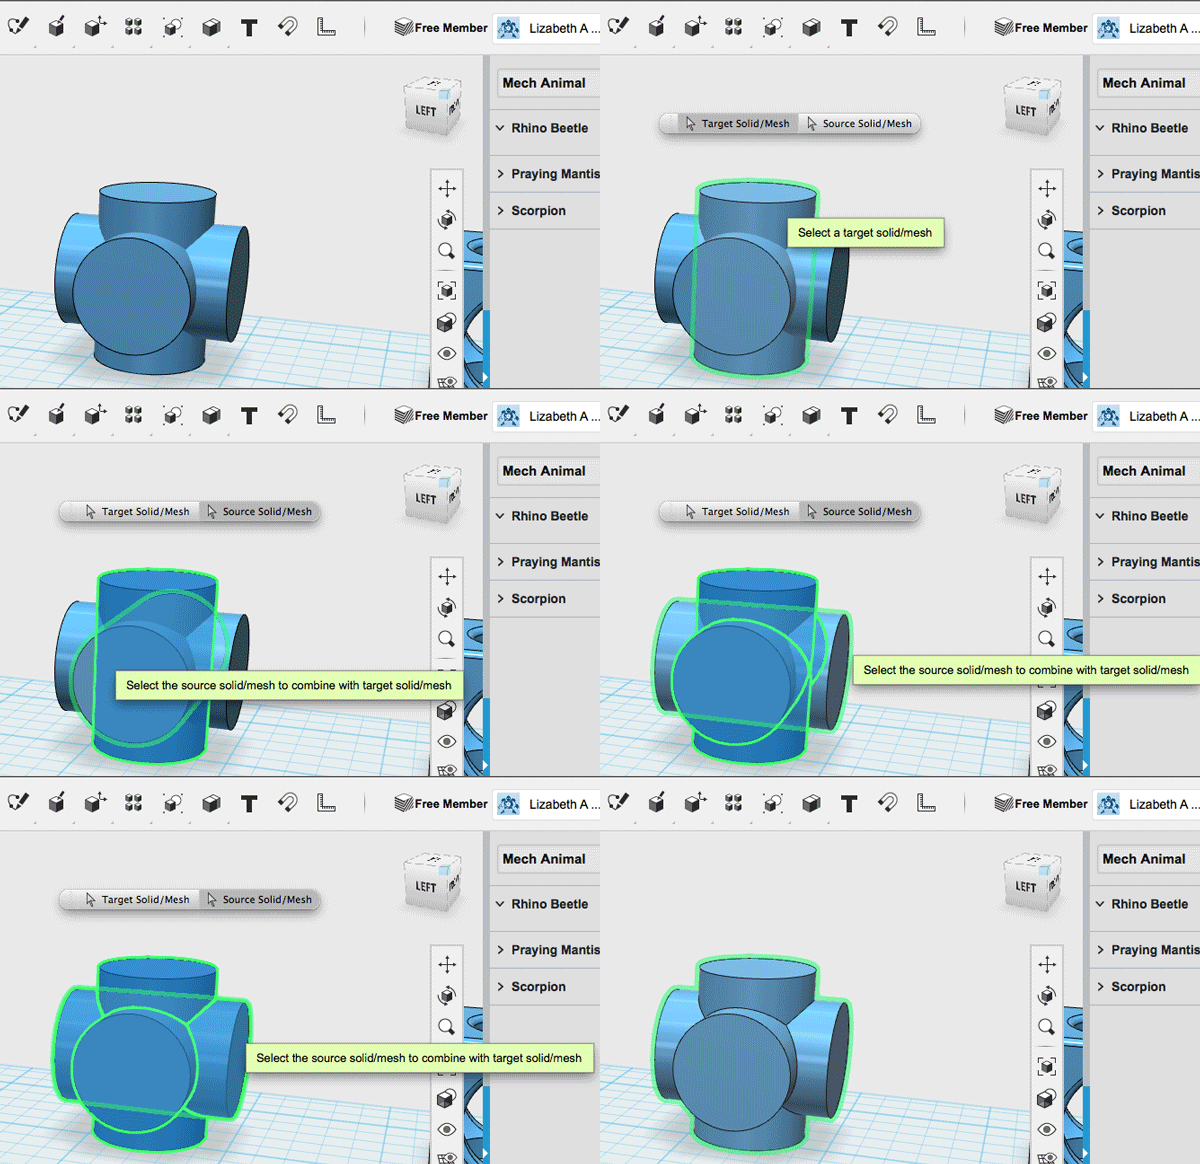
- Select all the objects and then press ENTER:
Intersect
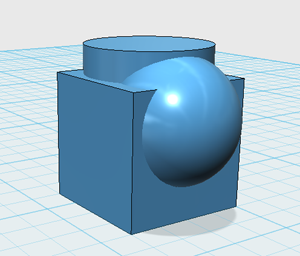
- Start with objects that you want to combine and find the intersection
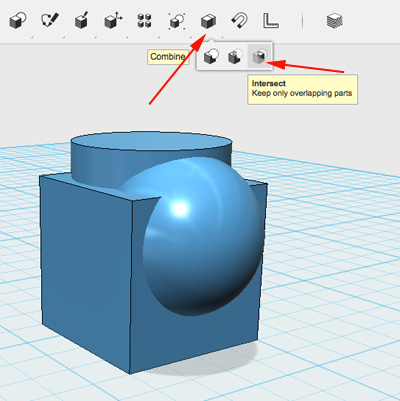
- Click on Combine and select Intersect:
- Select the objects:
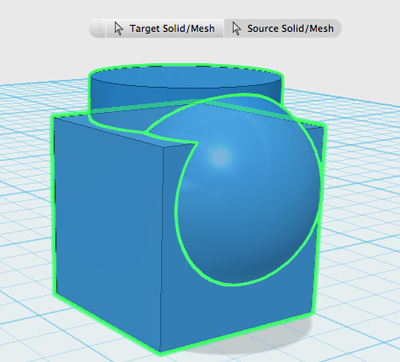
- Press RETURN:
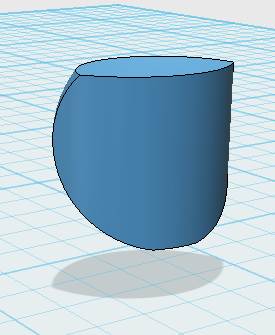
Subtract
Approach 1
- Start with an object that you want to make a hole in and an object that you want to act as the hole:
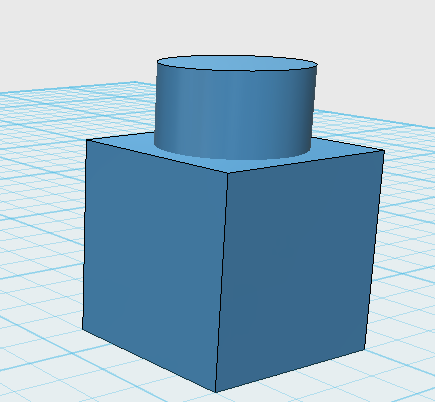
- Click on Combine and select Subtract:
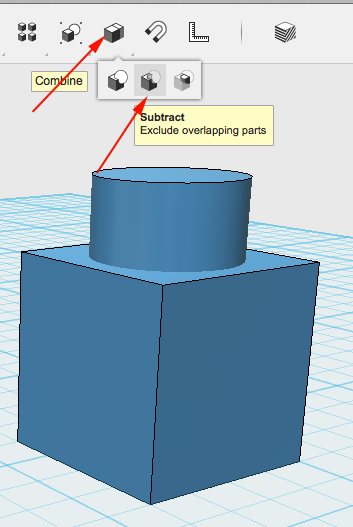
- Select the object that will stay (the box):
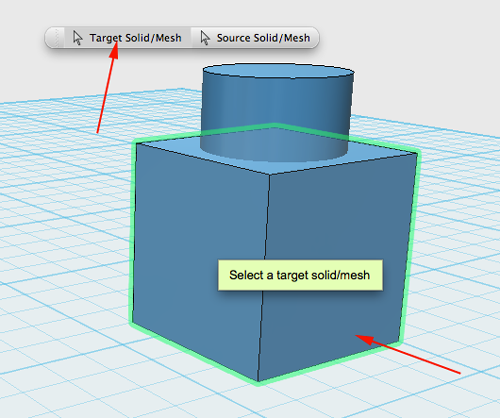
- Select the object that will be a hole:
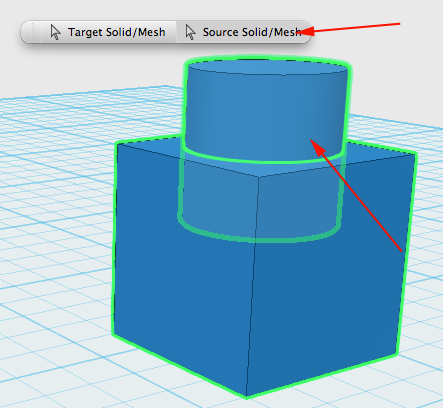
- Press RETURN
Approach 2
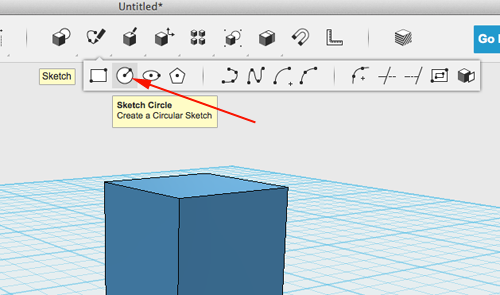
- Start with an object that you want to make a hole in. Then select a sketch tool:
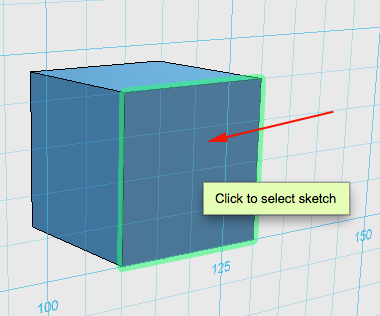
- Click on a face:
- Click where you would like the center of the circle:
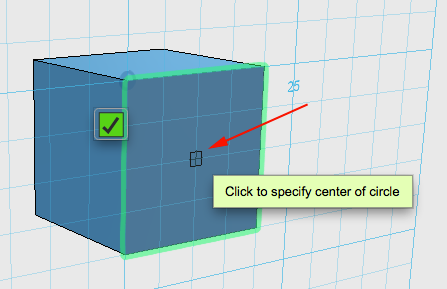
-
Drag out the radius:
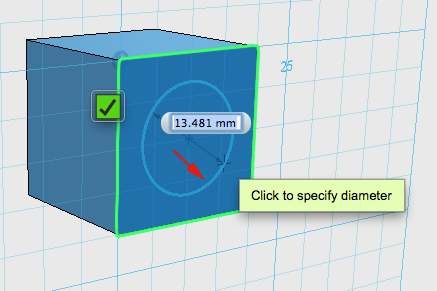
- Select the sketch and choose Extrude from the contextual menu:
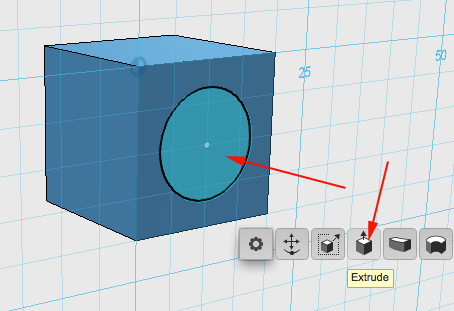
- Push the shape through the cube:
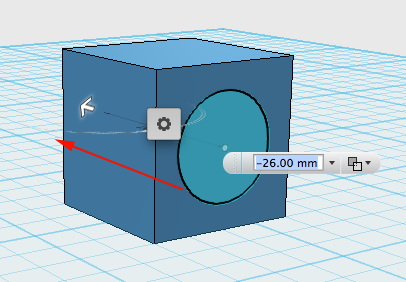
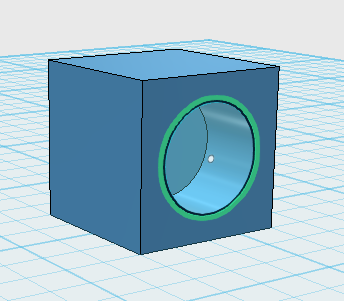
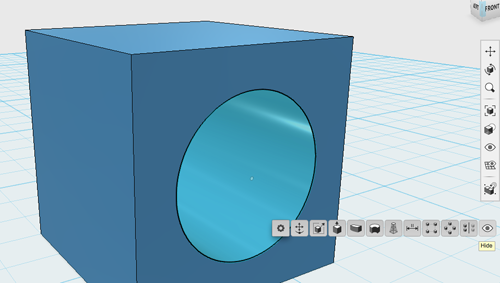
- Select the sketch, then click on Hide from the meunu:
Snapping
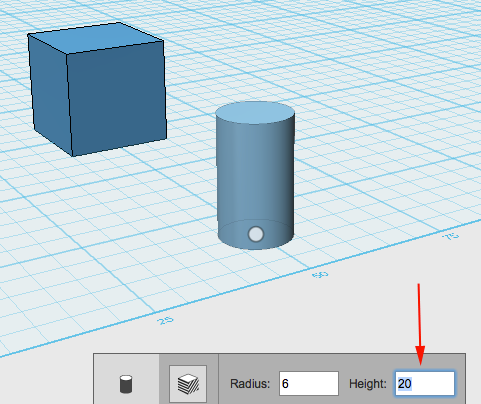
- Click on Primitives and place a Box and a Cylinder on the workplane:
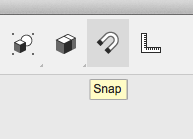
- Click on the Snap Tool:
-
Click on the top face of the cylinder. By selecting the cylinder first, the cylinder will move to the next object and align the face selected to the next face you select:
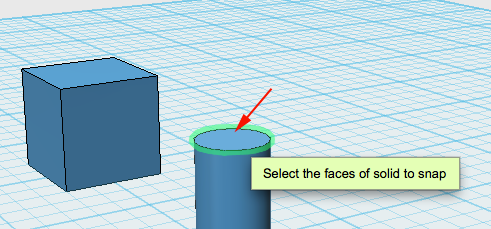
- Click on a face of the destination object:
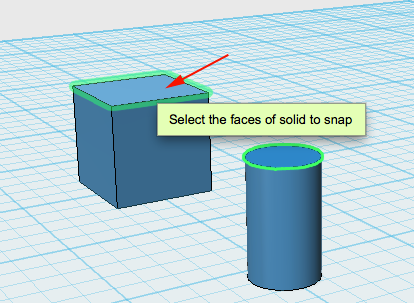
- After you select the destination, the first object will align to the destination:

- If you click on this object, you will notice that they are now a single entity. To select just the cylinder, double-click on it. To move a part of the group independently, double-click it and move it. Press RETURN to confirm the transformation.
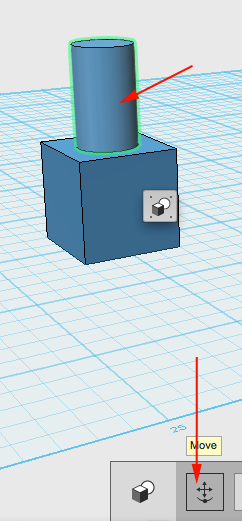
- You can ungroup objects by selecting the group and clicking on ungroup:
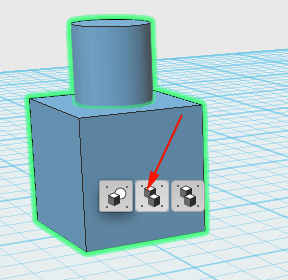
- To select all your ungrouped objects you can box select, drag a box with your cursor around your objects.
- Export as an stl and print!
Coin Trap
- Find a coin.
- Use the digital calipers to measure the diameter or use the internet to find the answer. Make a note of number.
Digital Calipers
A digital or electronic caliper is a precision instrument that can be used to measure internal and external distances accurately.
When using digital calipers:- Make sure that the surfaces are clean.
- Turn on the device, close the jaw and zero the measurement.
- When measuring the outside of an object use the lower jaw.
- When measuring an interior, use the upper jaw.
- When measuring depth use the base of the caliper. Rest the base on the top of the hole and adjust the depth measuring blade until it touches the bottom of the hole. The locking screw is tightened and the measurement can be read on the LCD display.
- Create a box that is at least 5mm larger than the coin's diameter.
- Create a cylinder with a diameter less than the coin and a height equal to the box.
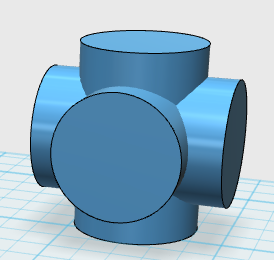
- Copy and rotate the cylinder twice so that you have a shape like this:
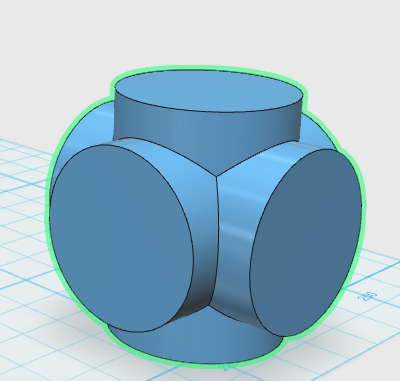
- Combine the cylinders:
- Create a sphere with a diamether that matches the length, width and height of your box.
- Align the cylinders with the sphere using the snapping tool
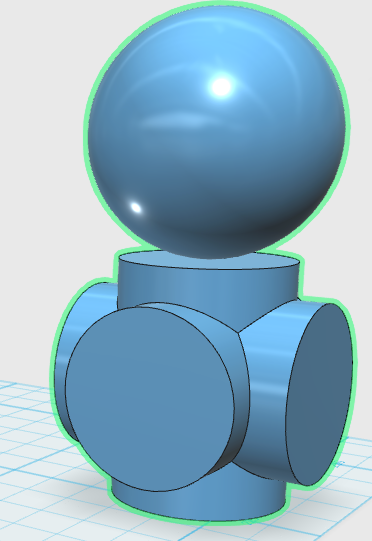
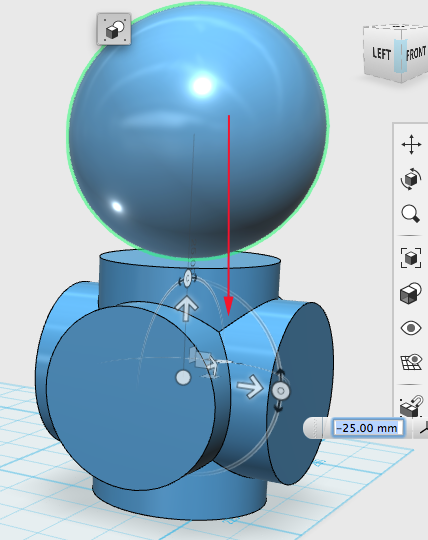
- Use the Move tool to move the sphere down to the sketch plane:
- Align the box with the other shapes and move the box down to the Sketch Plane:
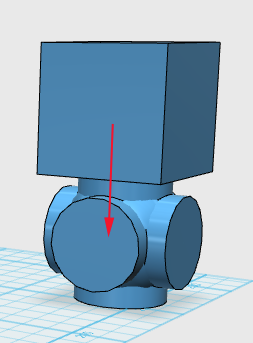
- When all the objects are aligned you should have something similar to this:
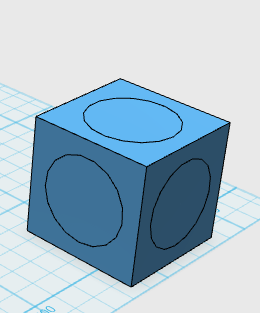
- Subtract the combined cylinders from the cube:
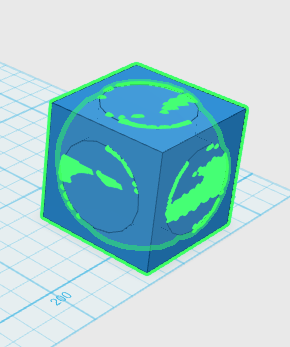
- Subtract the sphere from the box
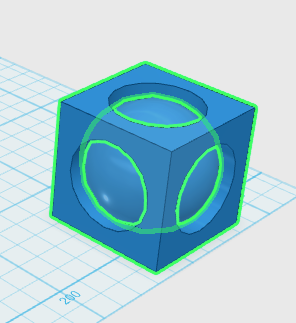
- Select all the outer edges of the box and apply a 1mm fillet:
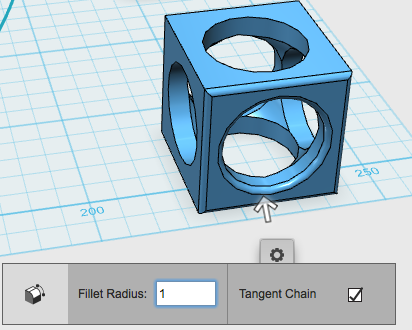
- Select the box and export it.

- Make a note of the print time as you'll want to drop the coin in about midway through printing
Importing SVGs
5 minute demo- Find an svg image on the internet or create one of your own.

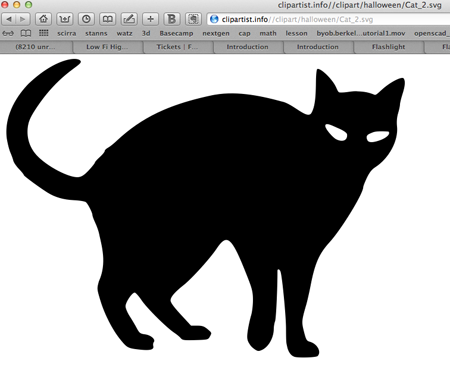
- In 123D navigate to the File>Import SVG>As Sketch or As Solid

- Select your file.
- Scale the image in 123D

- Edit the segments

- Extrude

- Use as any other object

- Hide the sketch

More Ideas
-
http://www.teachdesign.org.uk A four part lesson
Design A Chocolate Mold
Explore concave and convex surfaces by designing a candy mold - Customize the Bio-mimicry
Explore bio-mimicry - Custom Yo-yos
Combine Design Thinking and kinetic energy
- Design an Egg Drop Container
- Design an Ear Bud Holder
- Molecules in 3D
- Making a Thing
- How to make custom lego compatible bricks in autodesk 123D design
Or design a building system (think lego) - Theo Jansen's Strandbeest Mechanism
- Create a spinning top
Disney Conquers Physics, Uses 3D Printing To Create Impossible Spinning Tops
Disney Paper
The algorithm maps the interior of the object and redesigns it using "adaptive multi-resolution voxelization." The algorithm then digitally removes material from the interior until the object counterbalances against the asymmetry, so it will spin around any selected axis.
