Demonstration
Autodesk® Meshmixer is a fantastic application in your 3D modeling toolchain. It can be used for repairing models, adding details, making mashups or generating support to difficult to print files.
- If you have not already done so the latest version of Meshmixer.
The interface has been updated, but the functionality is the same
Cleaning Up
So, you've got your 3D model back from the cloud. But, wait, there are some serious problems. There are hole, disconnected parts and there is no way that model is manifold. Don't panic, there is a quick fix. Meshmixer is a free tool that can fix all your woes, and do it quickly.- MeshMixer works on a PC and OSX 10.7, but seems to particularly buggy on Snow Leopard 10.6. I couldn't install it on a Mac with Snow Leopard, but visit the FAQ page, and maybe you'll have more luck . Download MeshMixer and install it.
- Open the application.
- Click Import to open your stl or obj file.

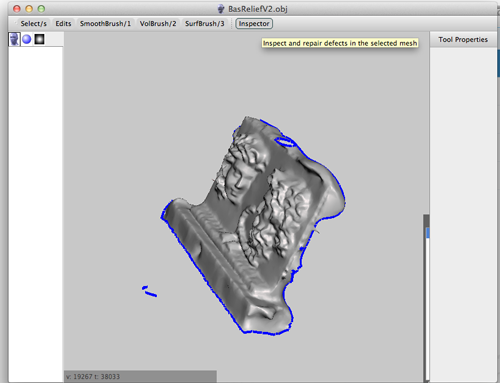
- Click Inspector.You'll see your model with a number of spheres attached to it.
Blue spheres represent holes
Red spheres represent non-manifold areas
Magenta spheres represent disconnected components
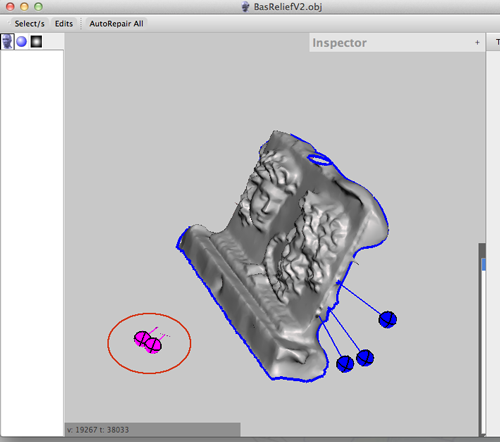
- Left clicking on a sphere will repair the problem.
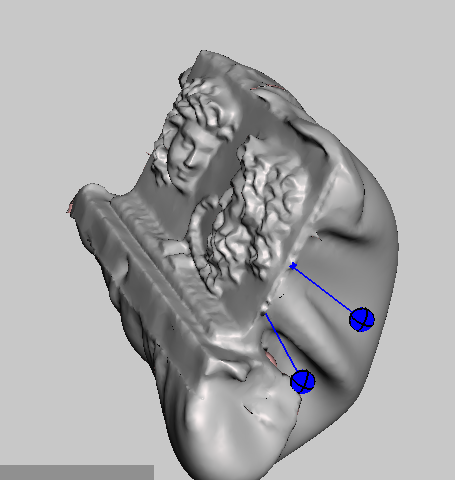
- Right clicking on the sphere will select the area and allow you to edit that part of the mesh.
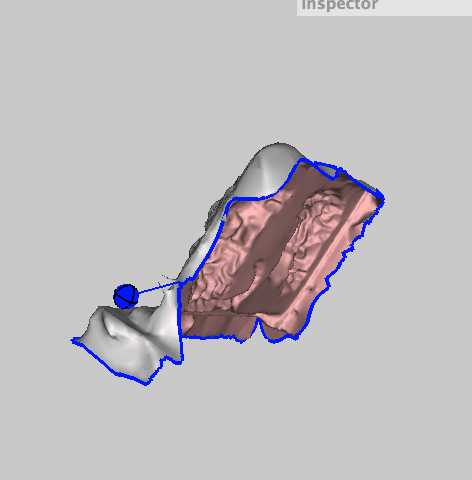
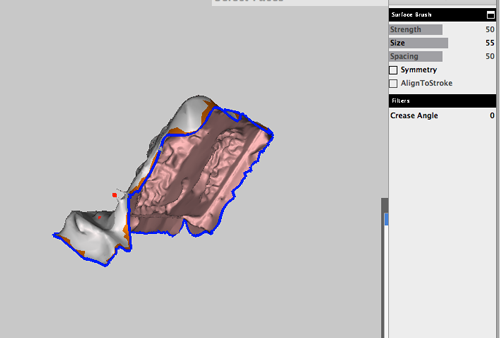
- Now you can Smooth Boundary (press Accept).

- You can do a brute force fill and use plane cuts to fix:
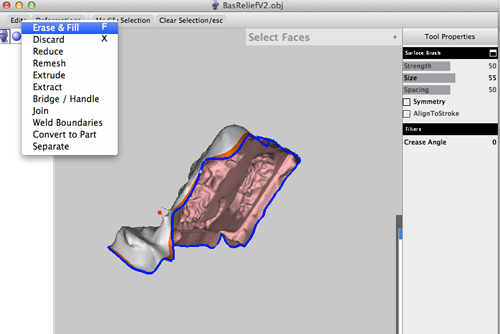
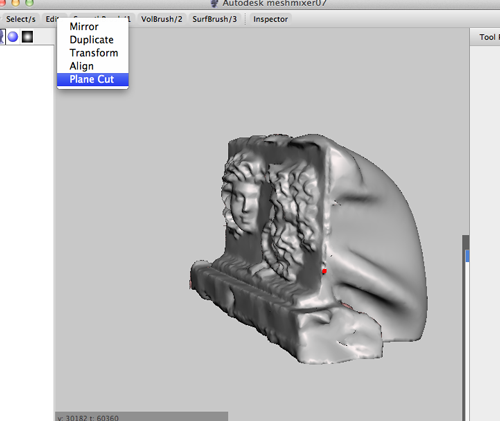
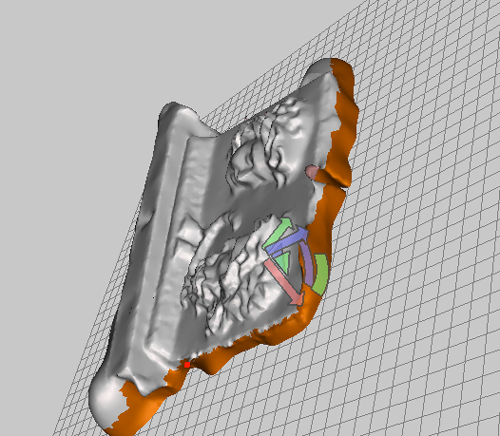
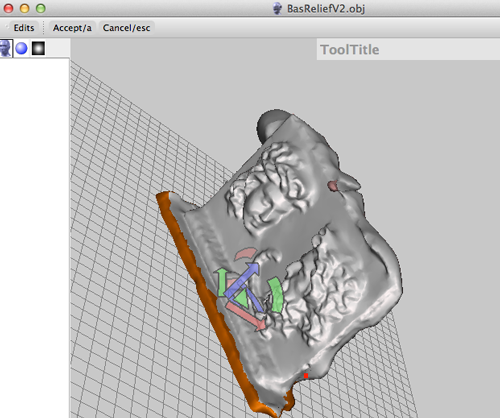
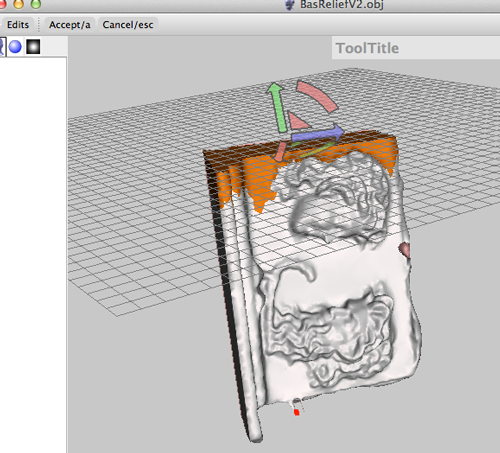
- When you're done, you can export your file as an STL.
Mashups
- Import the bunny or a file of your own.
- Cap the bottom.
- Select the head and press B to smooth:

- Press A to accept smoothing:

- Press X to delete selection

- Use S to select the edge of the hole

- Press B to smooth and A to accept


- Select F for Erase and Fill

- Select Meshmix and navigate to heads. Make adjustments

- Add something else:
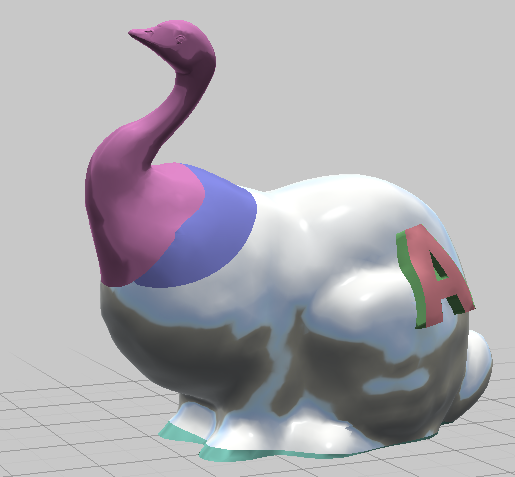
- Click on Make Solid

- Delete the original model

- Click on Print

- Click on Add Support:

- Select Support Overhangs:

-
Click on Send to Makerware and the model should open in MakerBot Desktop ready to print

MeshMixer
Capping
- Open your obj or stl file by clicking on import

- Select your file:


- There are at least two ways to cap:
Using Erase and Fill- Sometime you can click on the Inspector and let Auto Repair take care of it (sometimes this crashes Meshmixer:

- You can also press S for Select and draw a line along the bottom. This should select the bottom. Then press B to smooth and A to accept
- Next from the Select menu choose Erase and Fill or F

- Select plane cut

- Press A to Accept changes

- To recap:
- select bottom:

- B for smooth

- A accept smoothing

- F for fill

- Select Plane Cut

- Adjust and press A to Accept

- select bottom:
Using Extrude- Select the bottom using S, B, A
- Press D for extrude

- Move the offset so that it extrudes down


- Use Plane Cut
- Adjust and press A to accept

- Sometime you can click on the Inspector and let Auto Repair take care of it (sometimes this crashes Meshmixer:
- Export your stl file.
Hotkeys
Basic Controls
-
Alt+LeftMouse: turn camera around object (turntable mode)
-
Alt+MiddleMouse: pan camera
-
Alt+Shift+LeftMouse: pan camera
-
Alt+RightMouse: zoom camera
-
Command e/CTRL+E: Export current mesh
-
Command+S/CTRL+S: Save current .mix file / save as new .mix
-
Command+O/CTRL+O: Open existing .mix file
-
Command +z/Ctrl+Z: Undo
-
Command +SHIFT+z/Ctrl+SHIFT+z: Redo
-
ESC: cancel current operation (selection, cut/fill, drop)
a: Accept current action
-
s: switch to Selection tool
-
w: toggle Wireframe
-
b: draw Boundary edges (useful for debugging)
-
(: previous view
-
): next view
Selection Tool
-
LeftMouse (+drag): add to selection (click, or drag to paint)
-
Shift+LeftMouse: remove from selection (click, or drag to paint)
-
RightMouse+drag: grow/shrink selection
- mouse wheel: brush size
Volume Brush Tool
- LeftMouse: apply primary brush
-
Shift+LeftMouse: apply secondary brush
-
Ctrl+LeftMouse: invert brush (only certain brushes)
-
mouse wheel: brush size
-
[: decrease brush size
-
]: increase brush size
