Introduction
A Coin Trap i s a quick intro project that introduces measuring, boolean operations and using the plugin Pause at height.
- Find a coin (keep it small in size for an intro class to provide time for everyone to print).
- Use digital calipers to measure the diameter of the coin. Make a note of it.
Fusion360
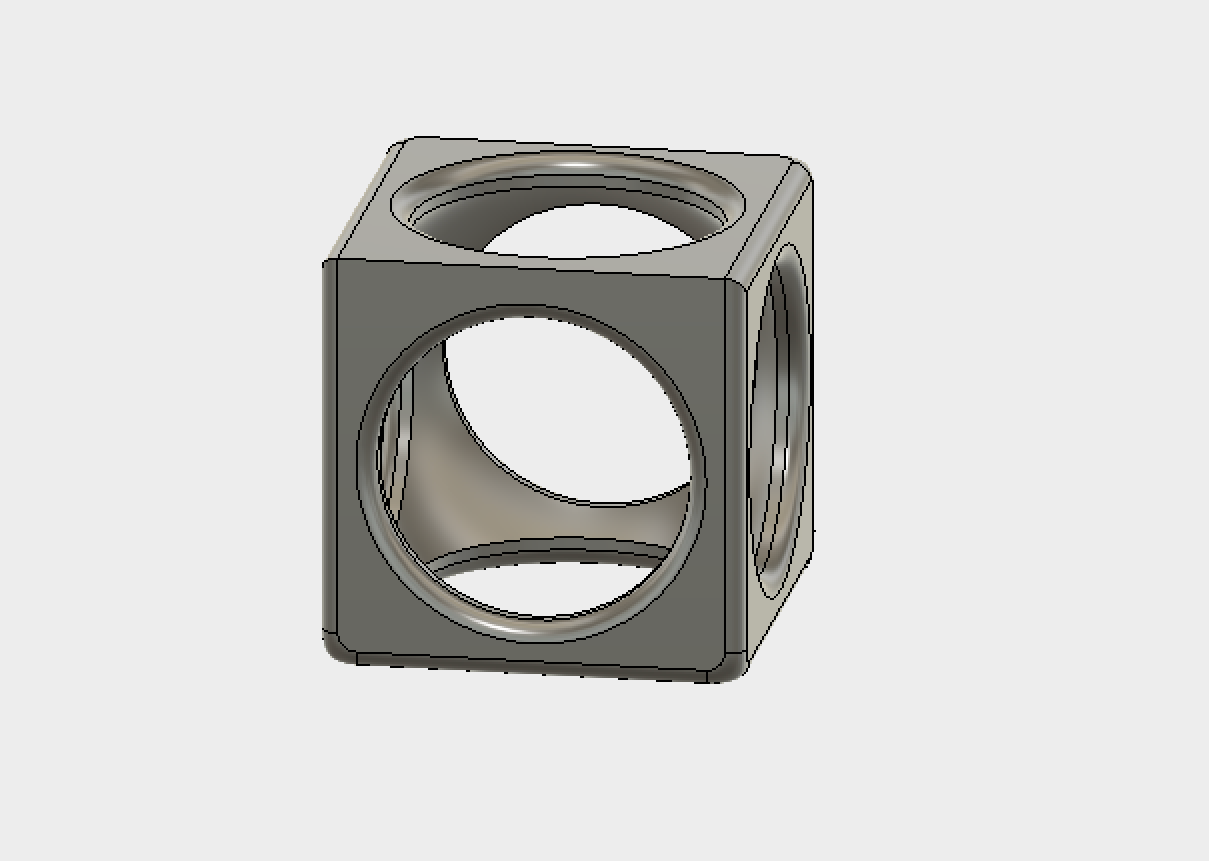
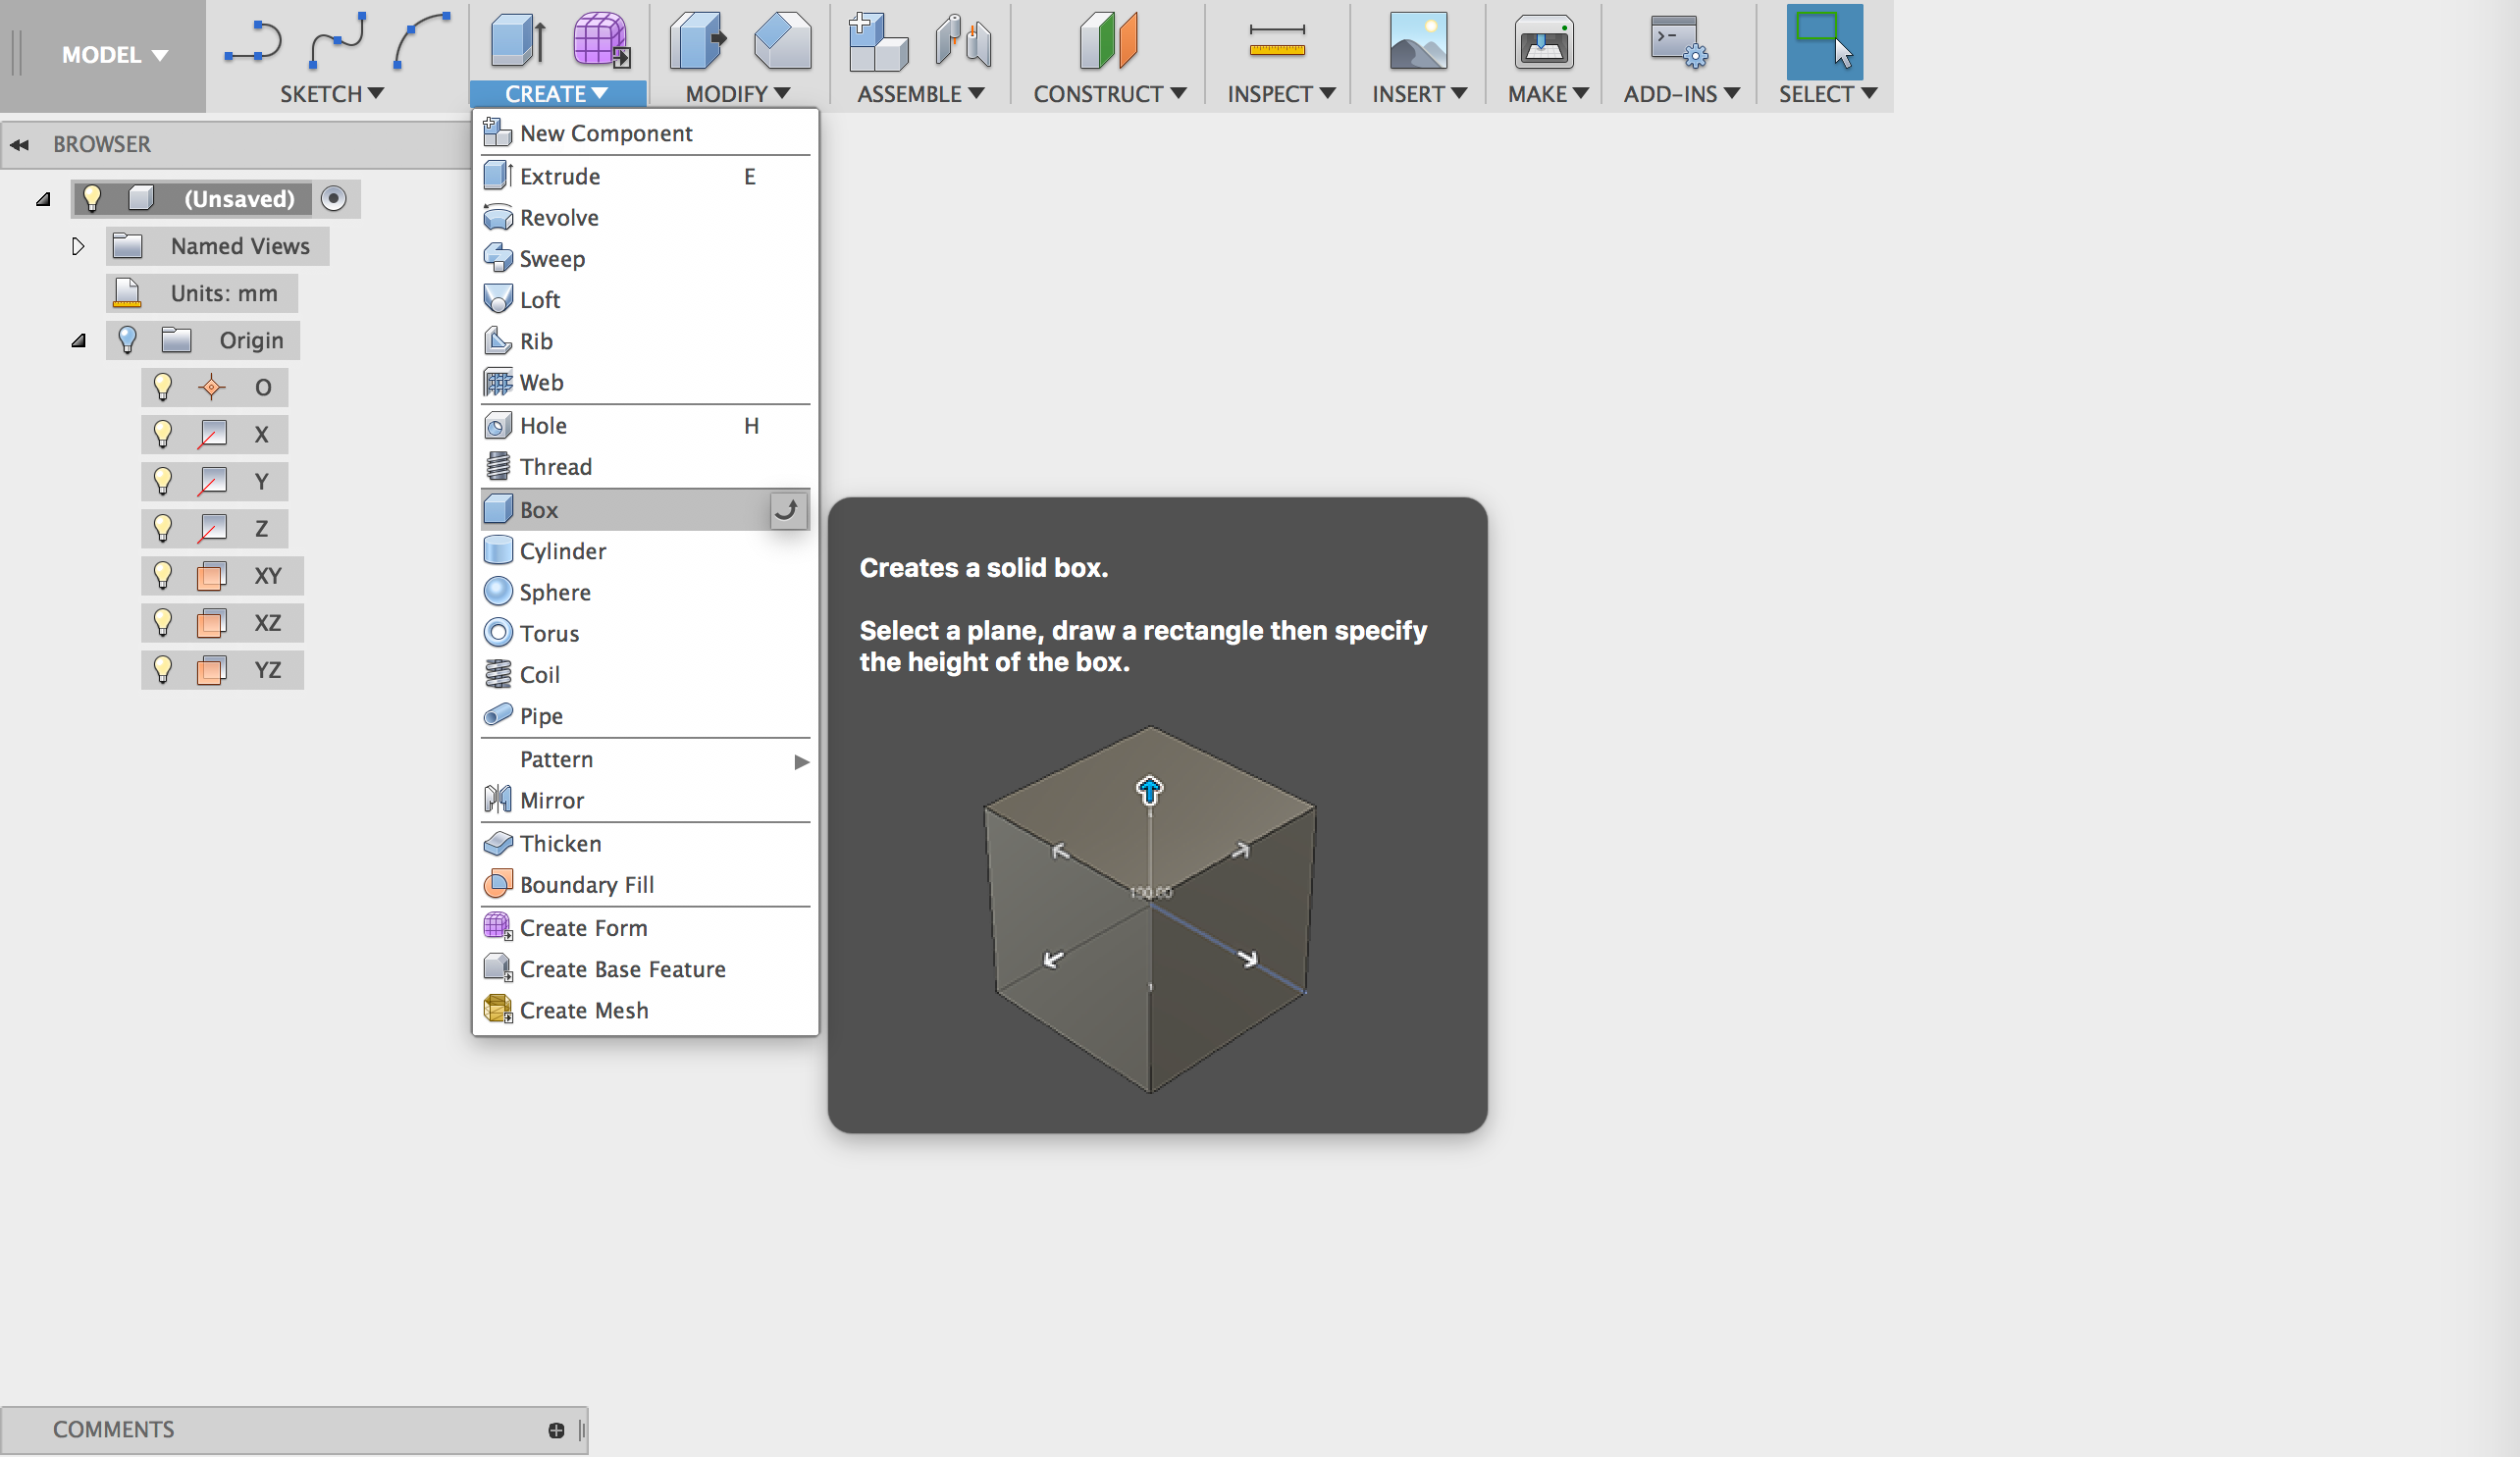
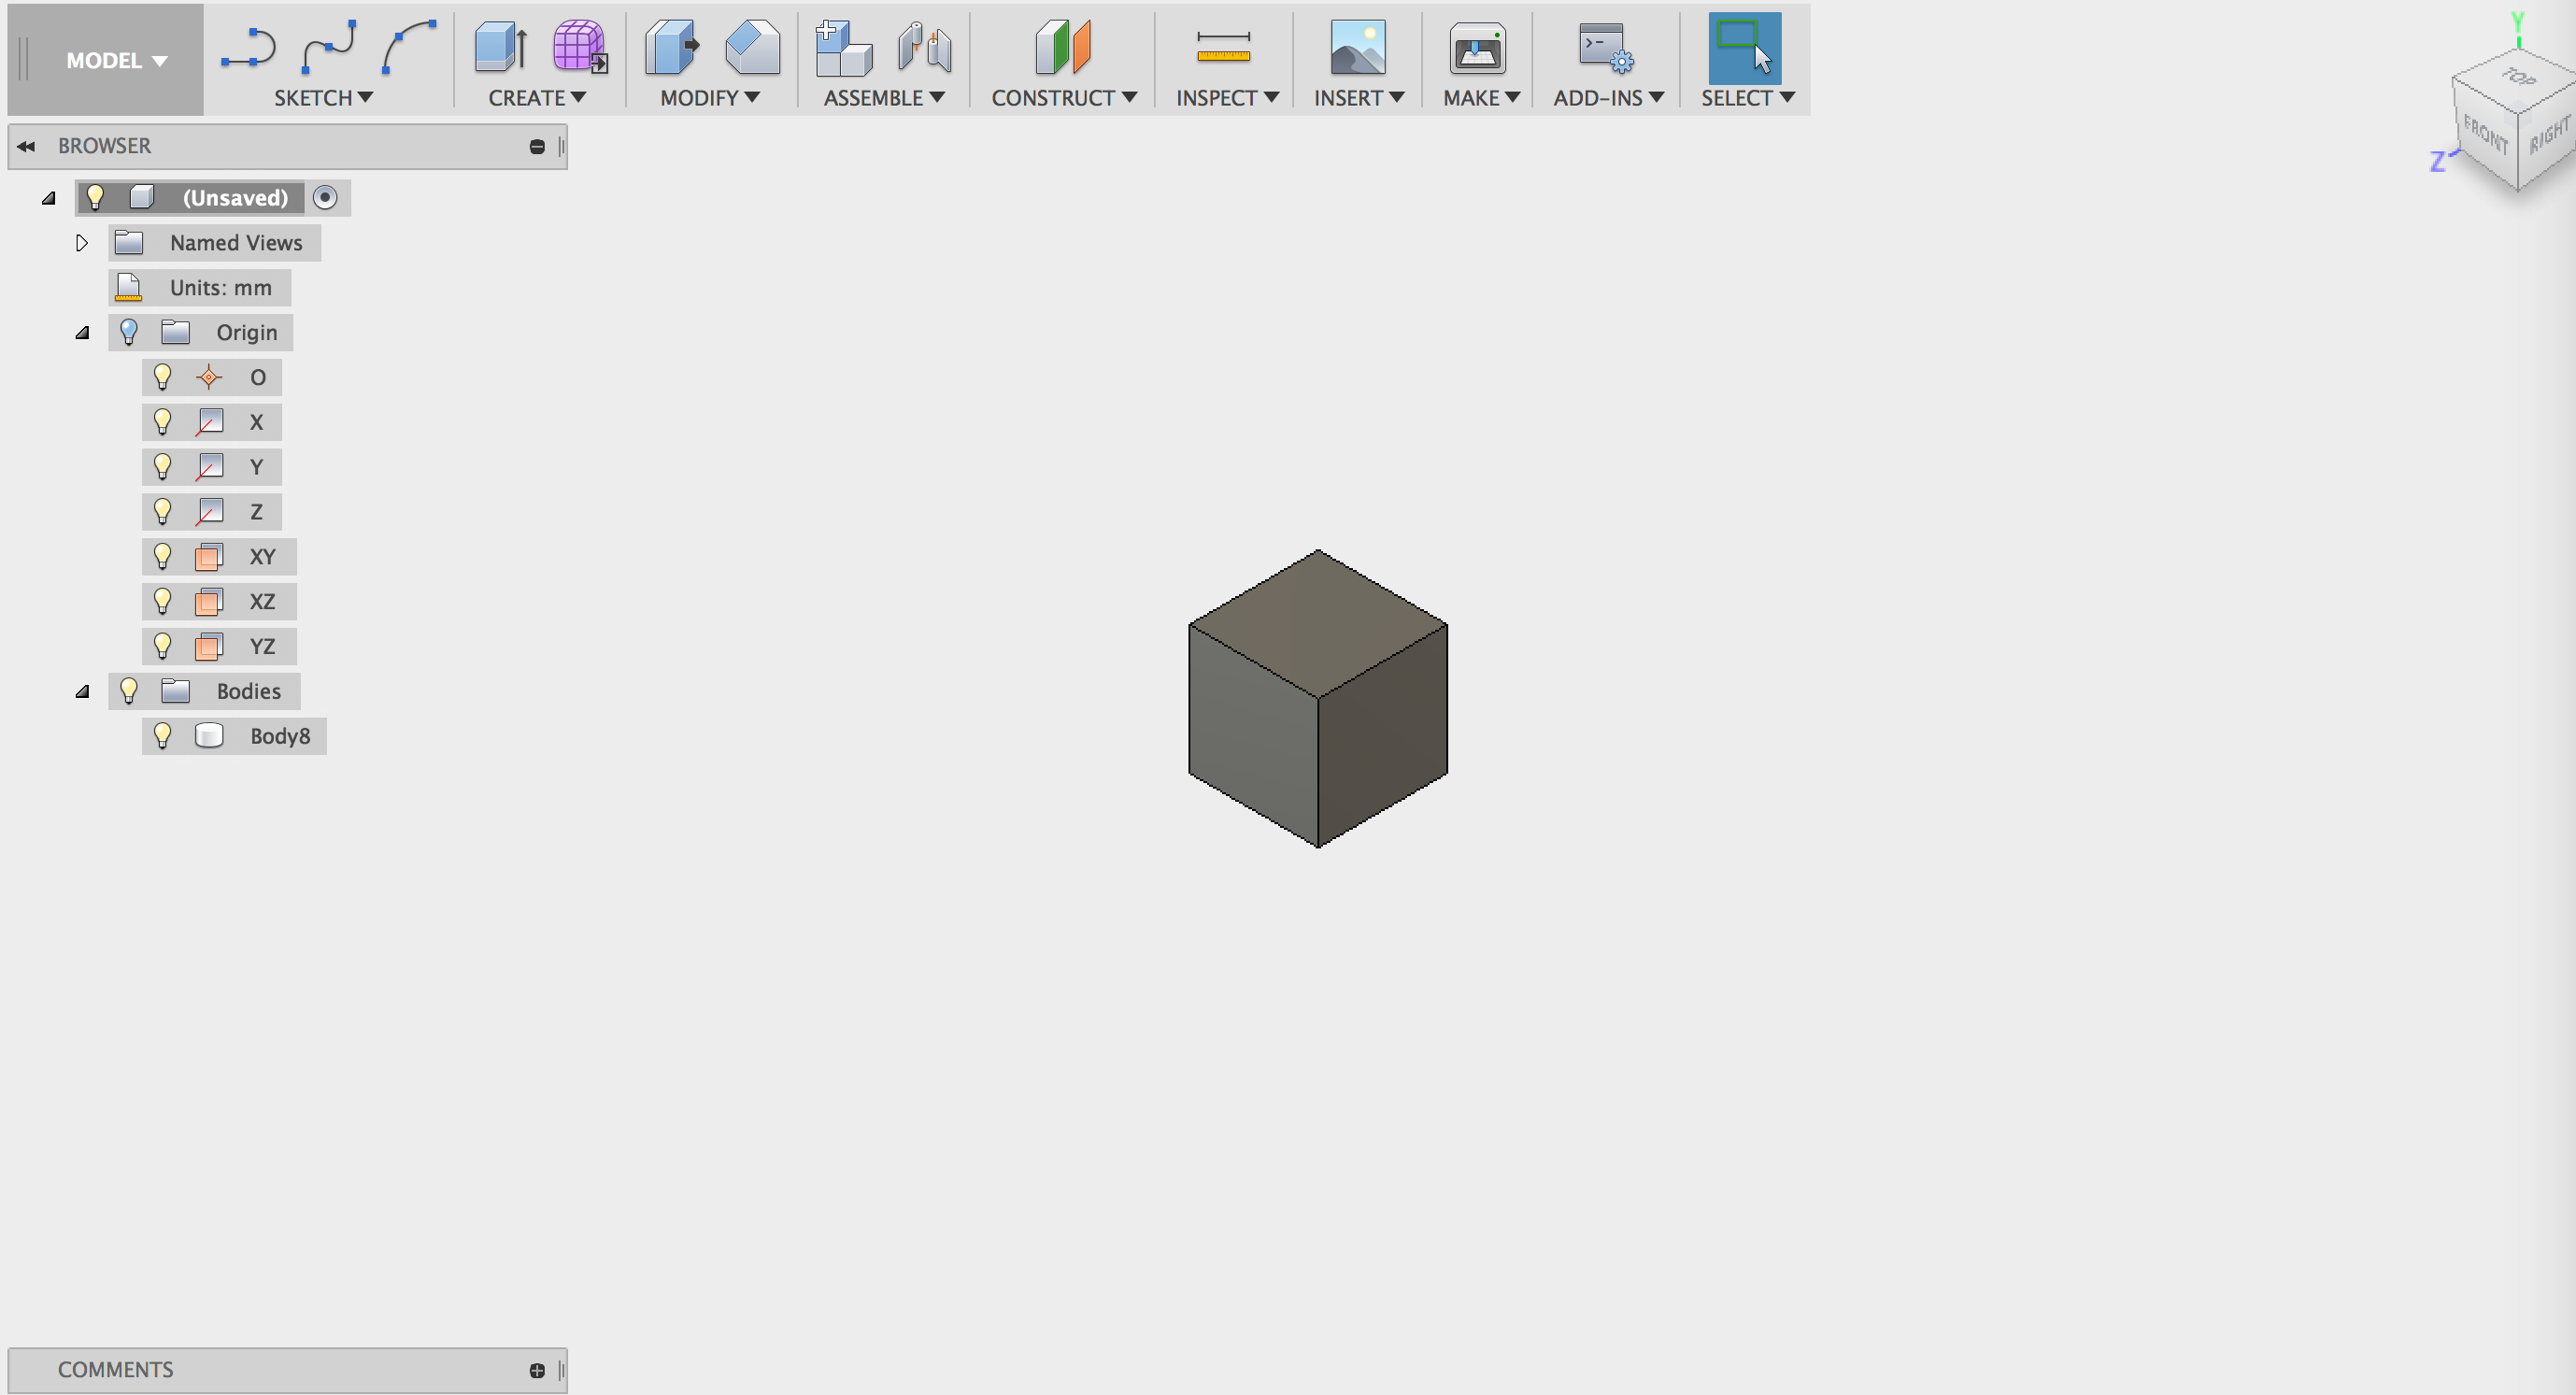
- Create a box that is at least 5mm larger in each dimension than the coin's diameter:
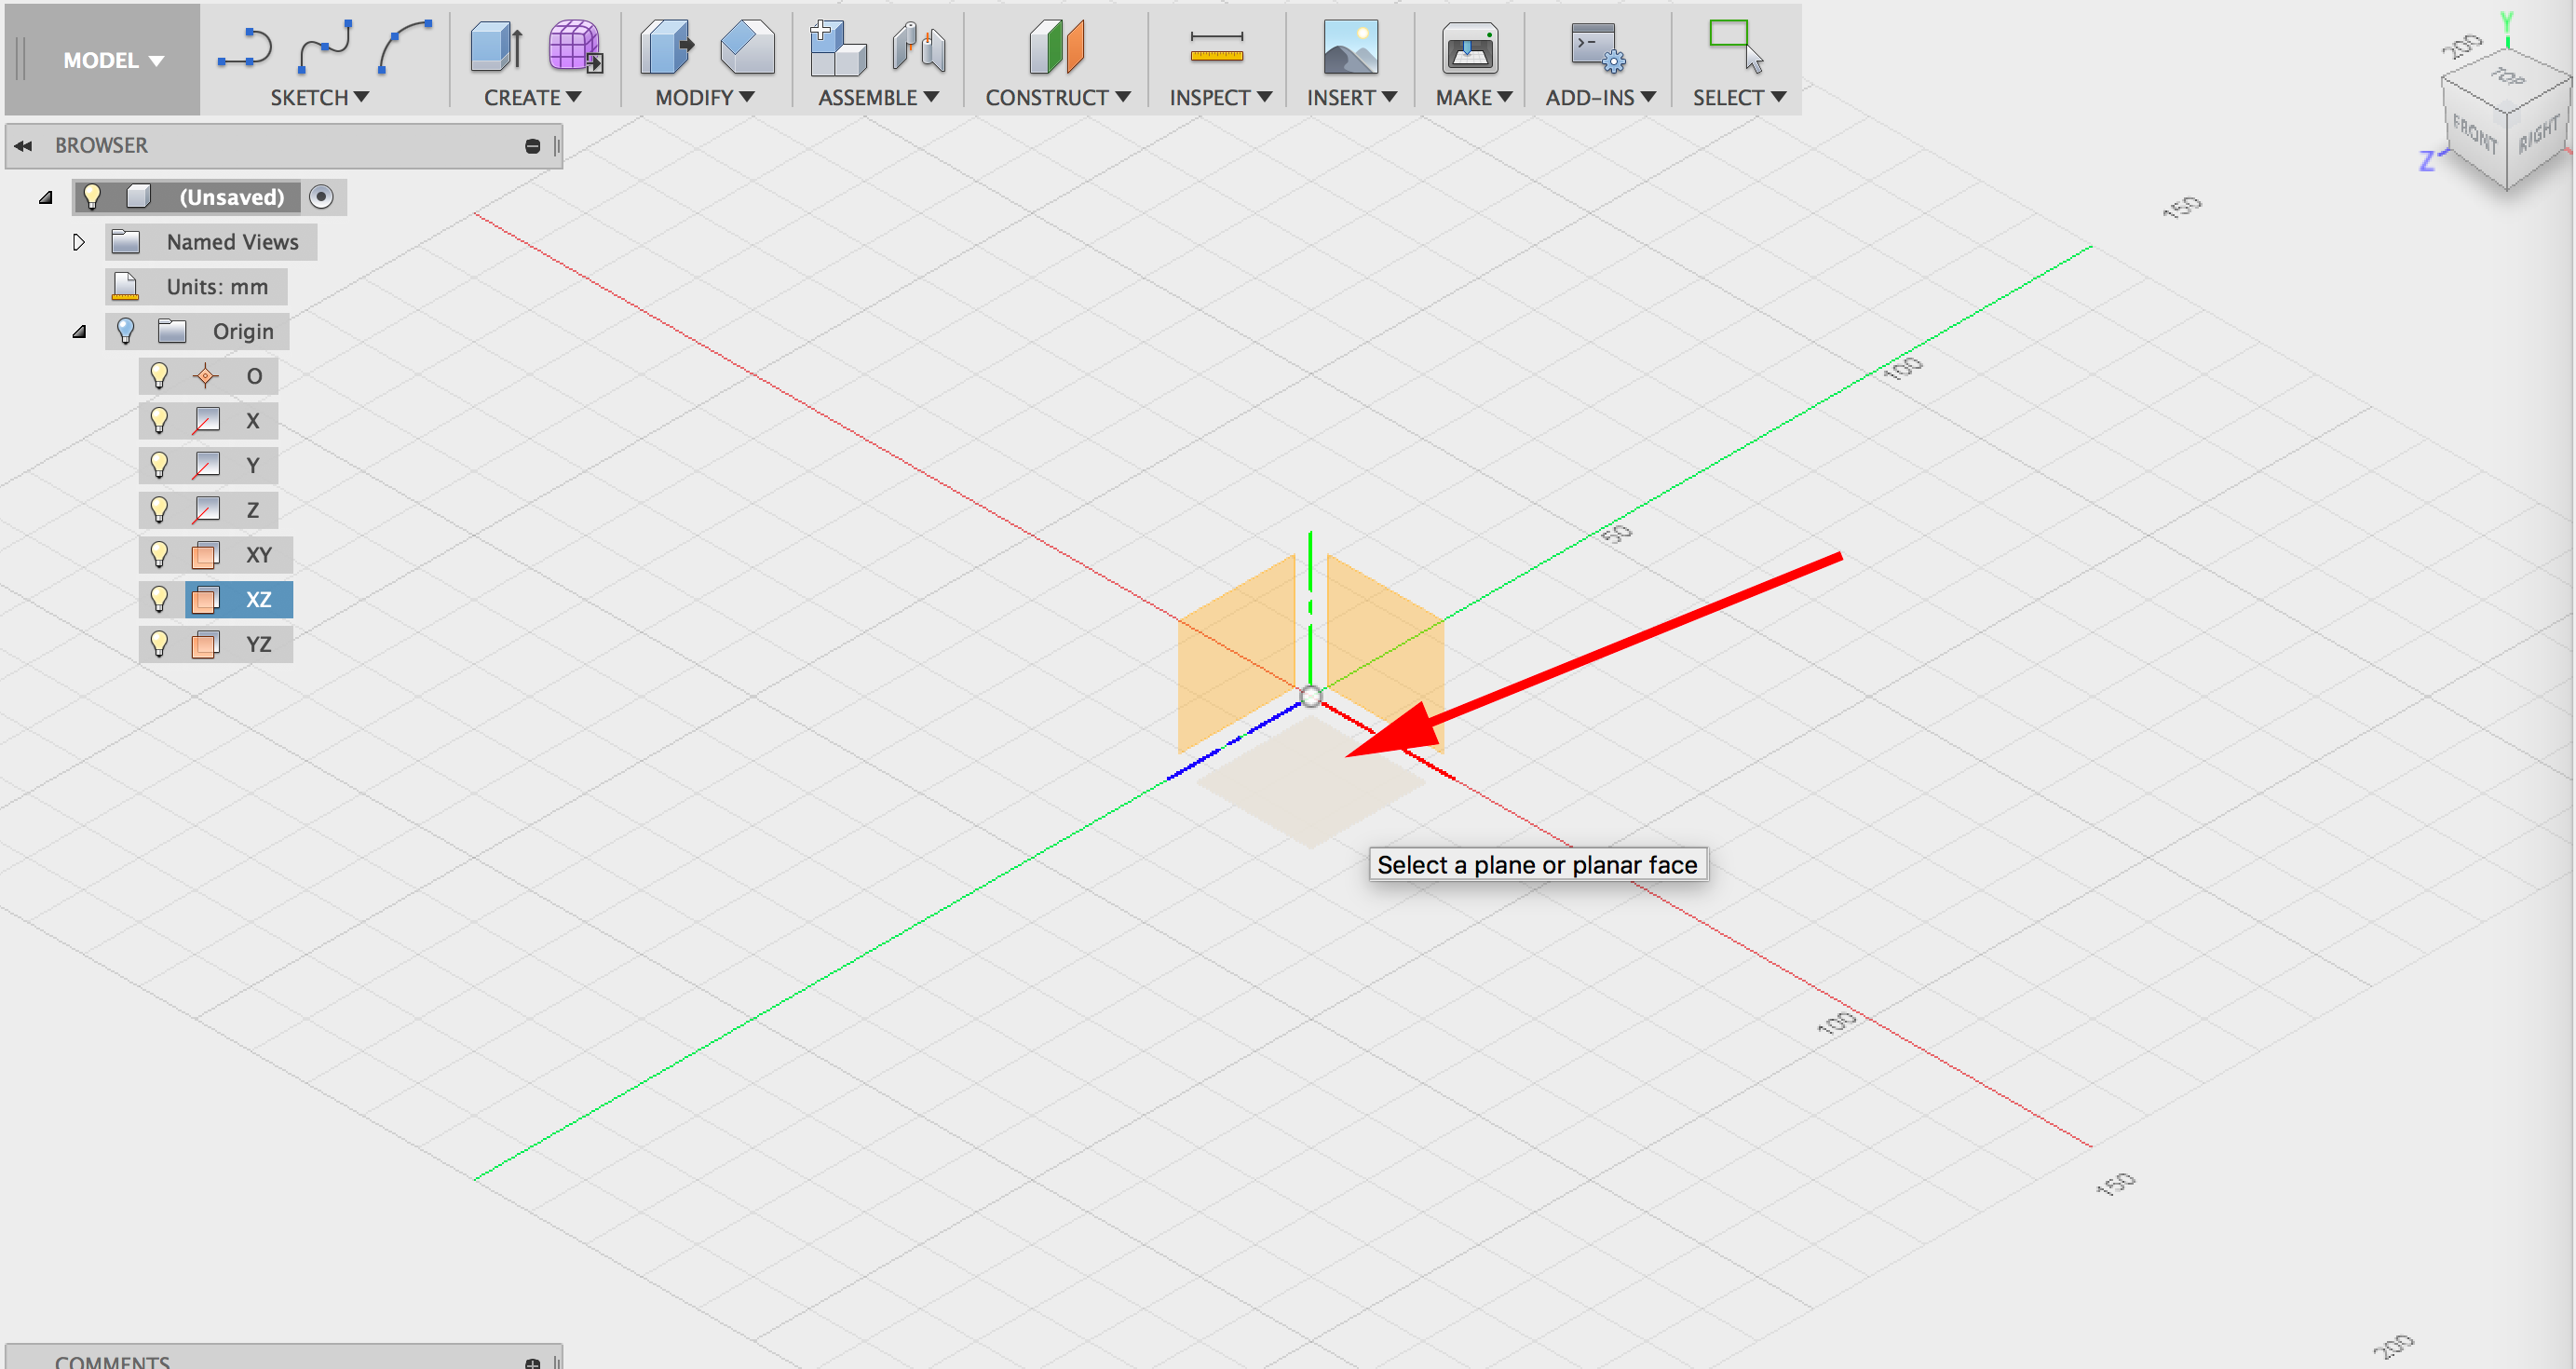
- Create three sketches on three sides of the box. On each sketch create a circle at the center with a diameter that is less than the diameter of your coin:

- Hide the box.
- Extrude each circle the same dimension as a side of your box. Join each extrusion

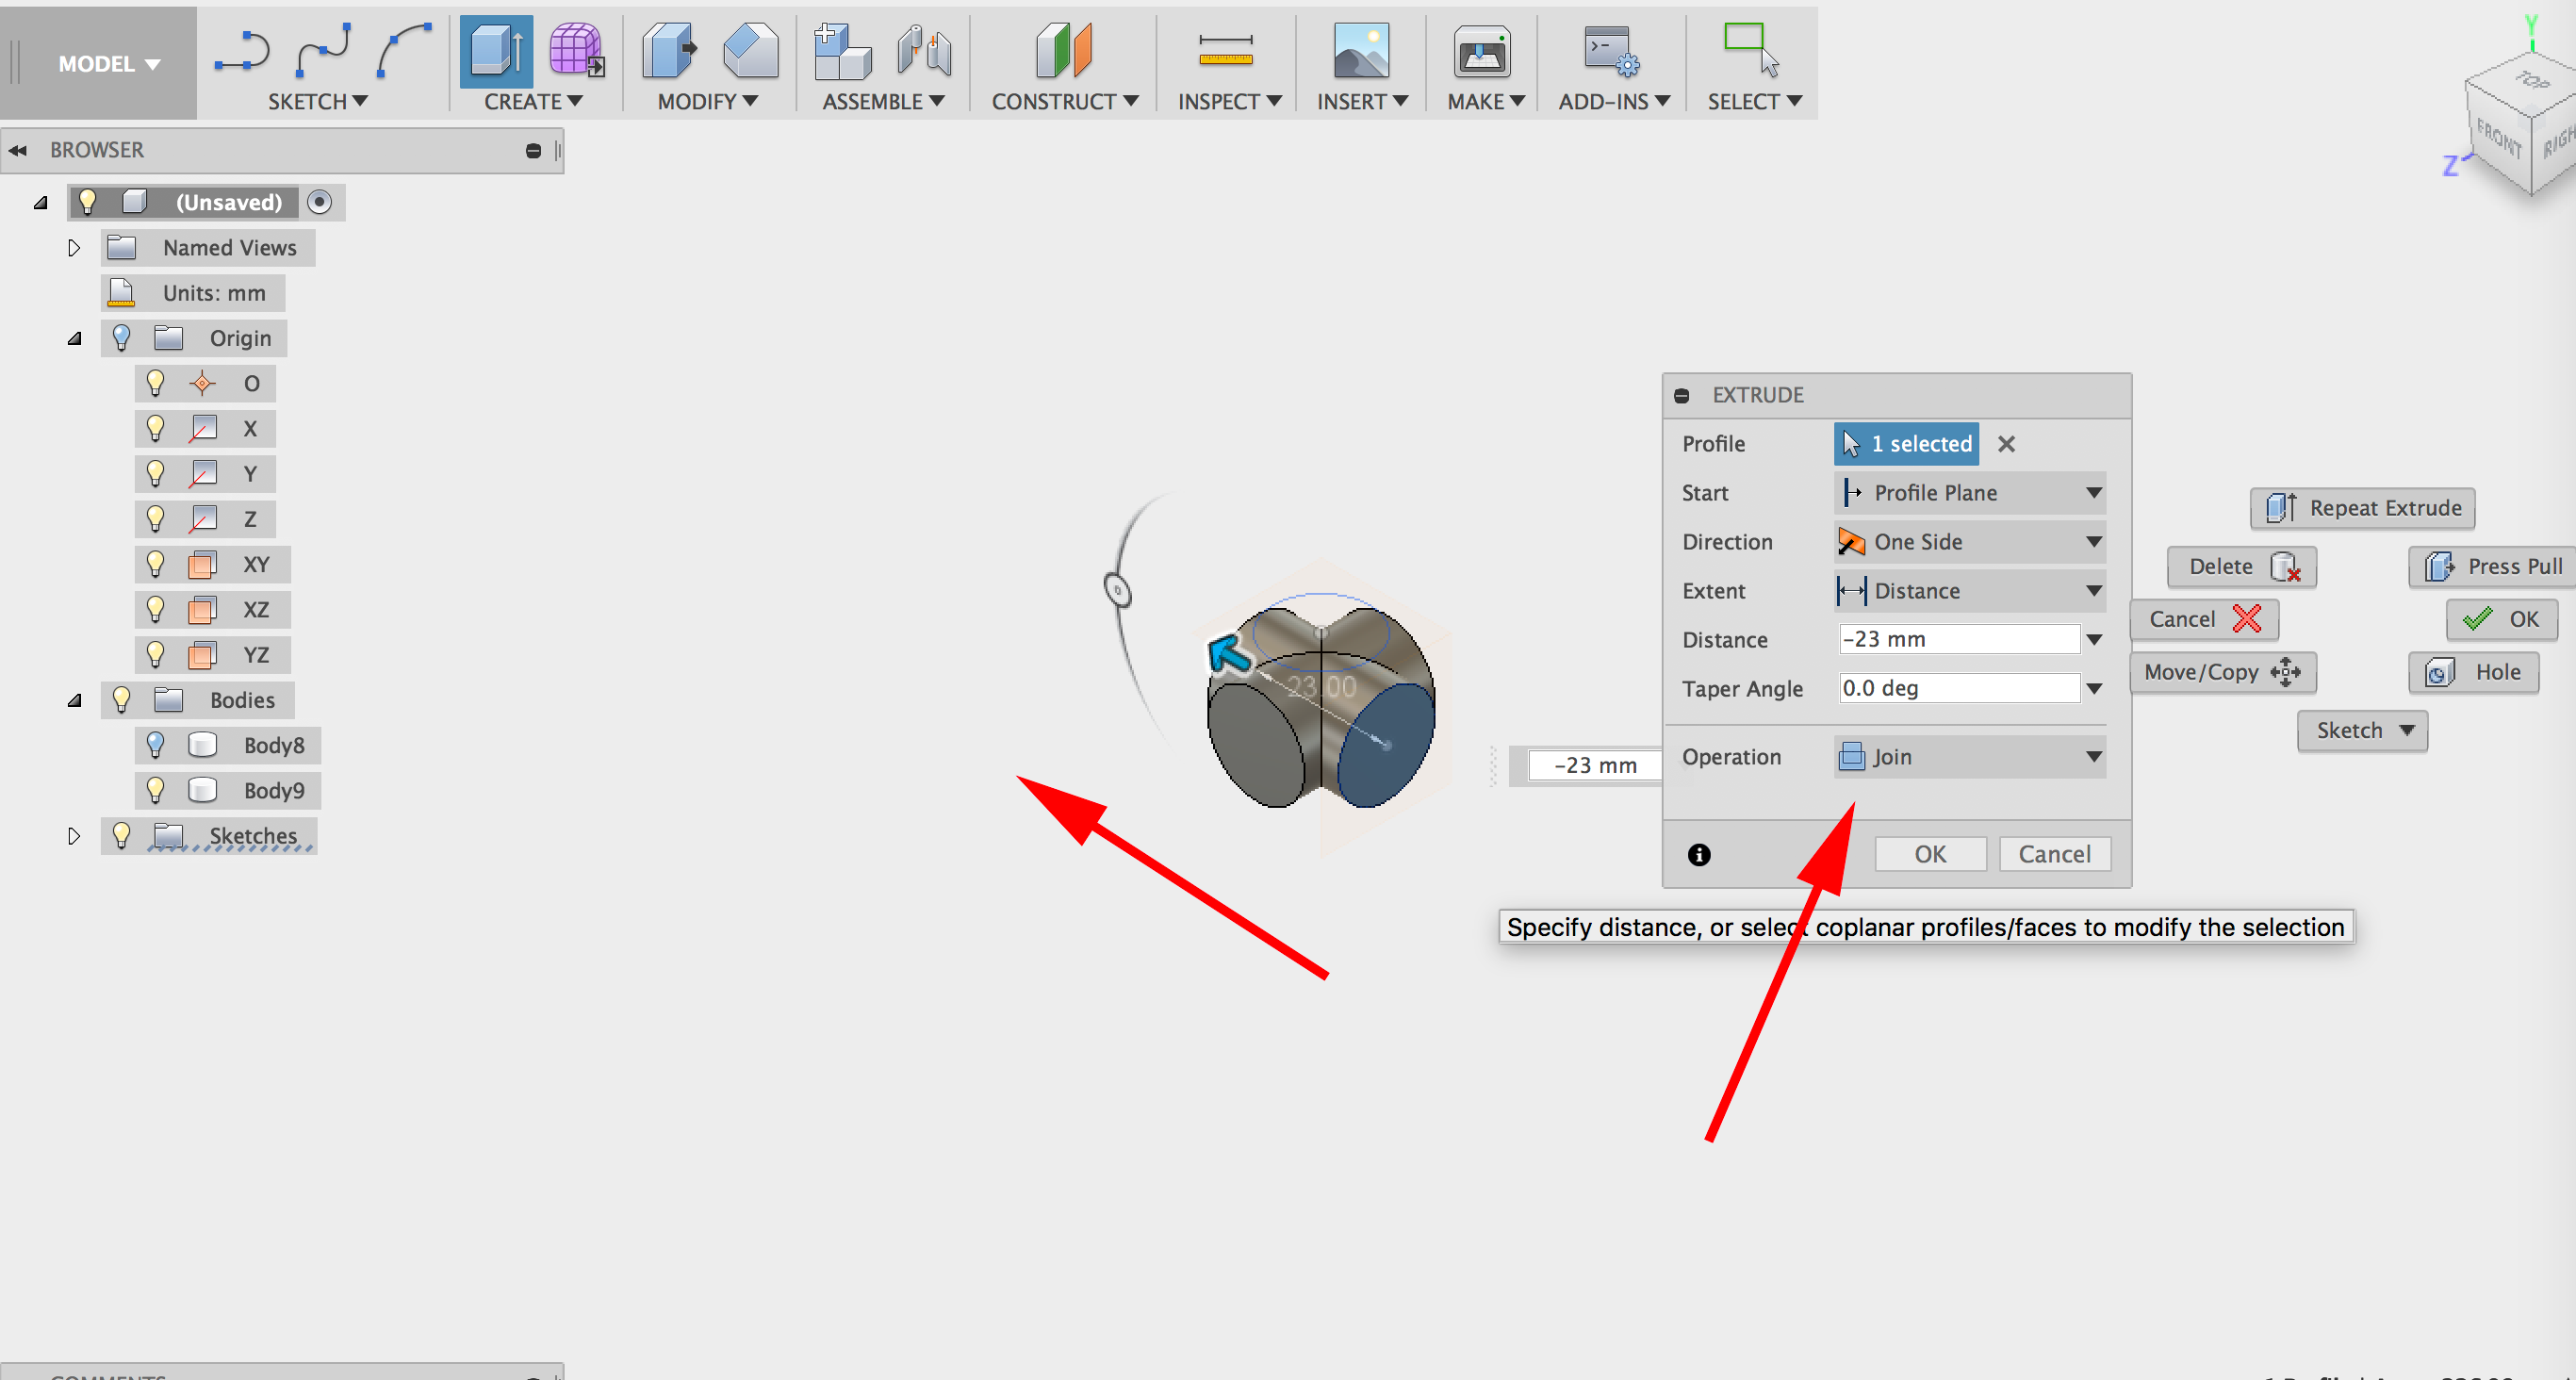

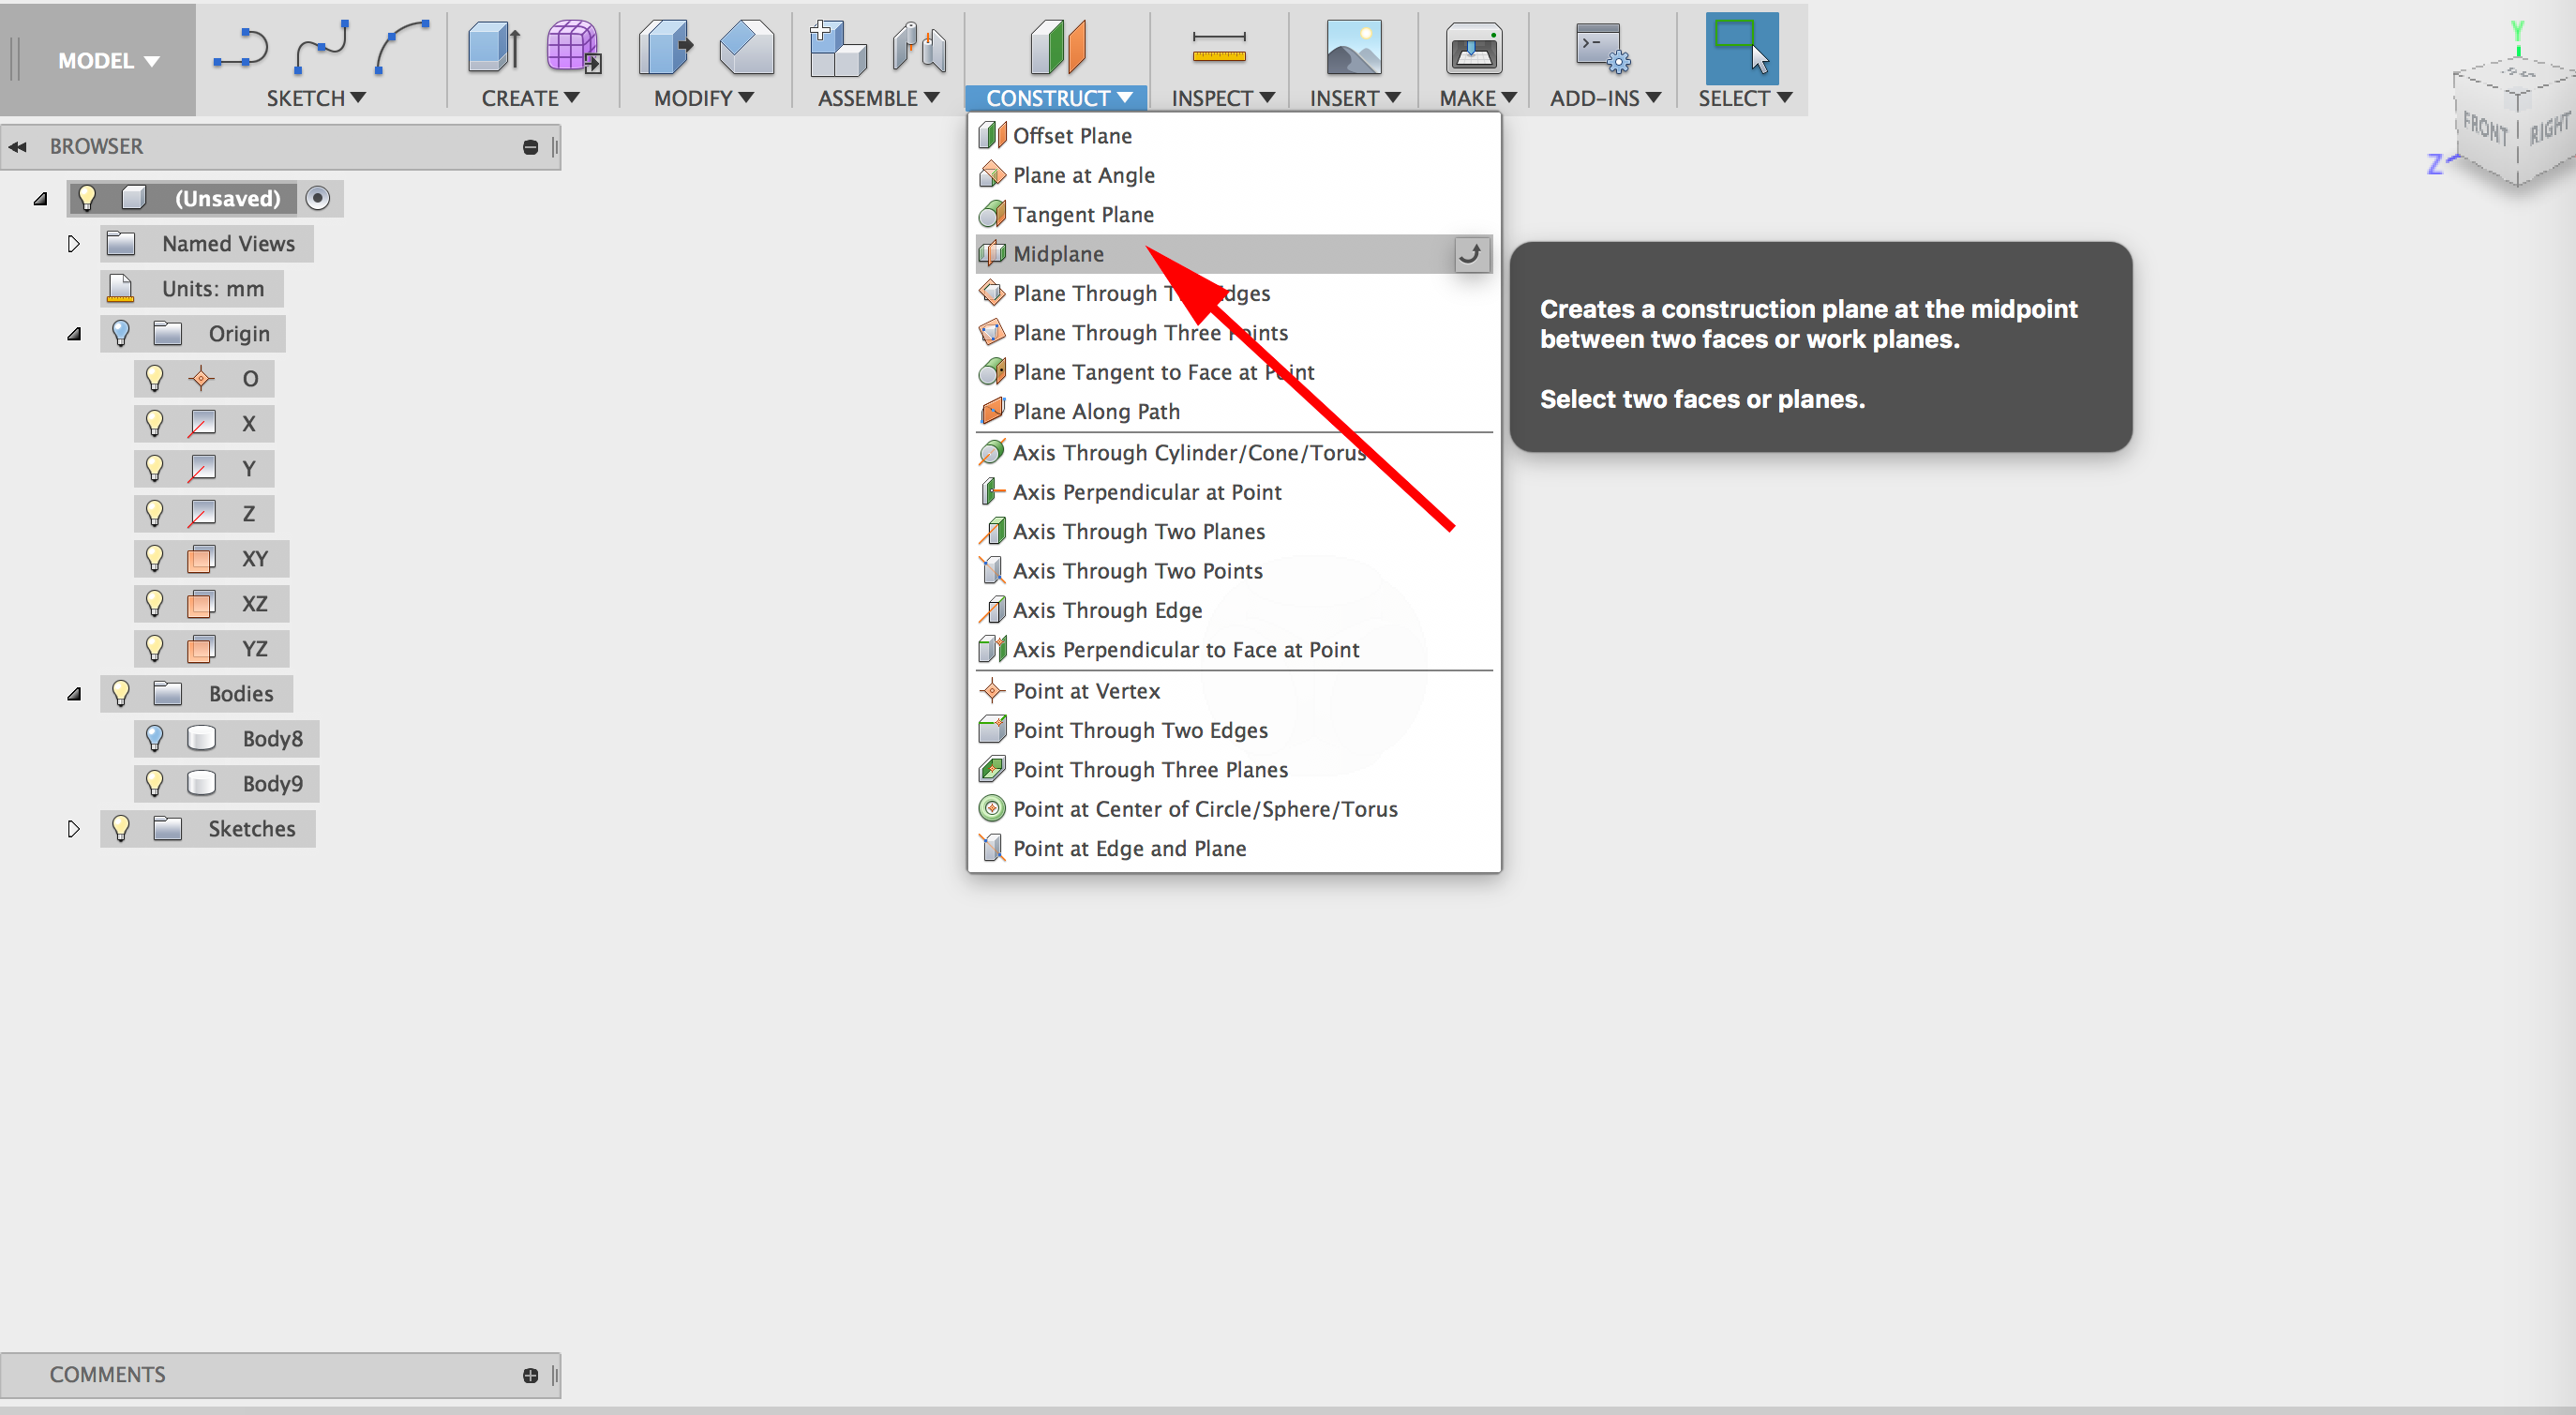
- Create a construction plane at the middle of the box:
- Create a sphere at the center of your box. set the dimension large enough that it peeks out but the part that peeks out should not be larger than the diameter of your cylinders:

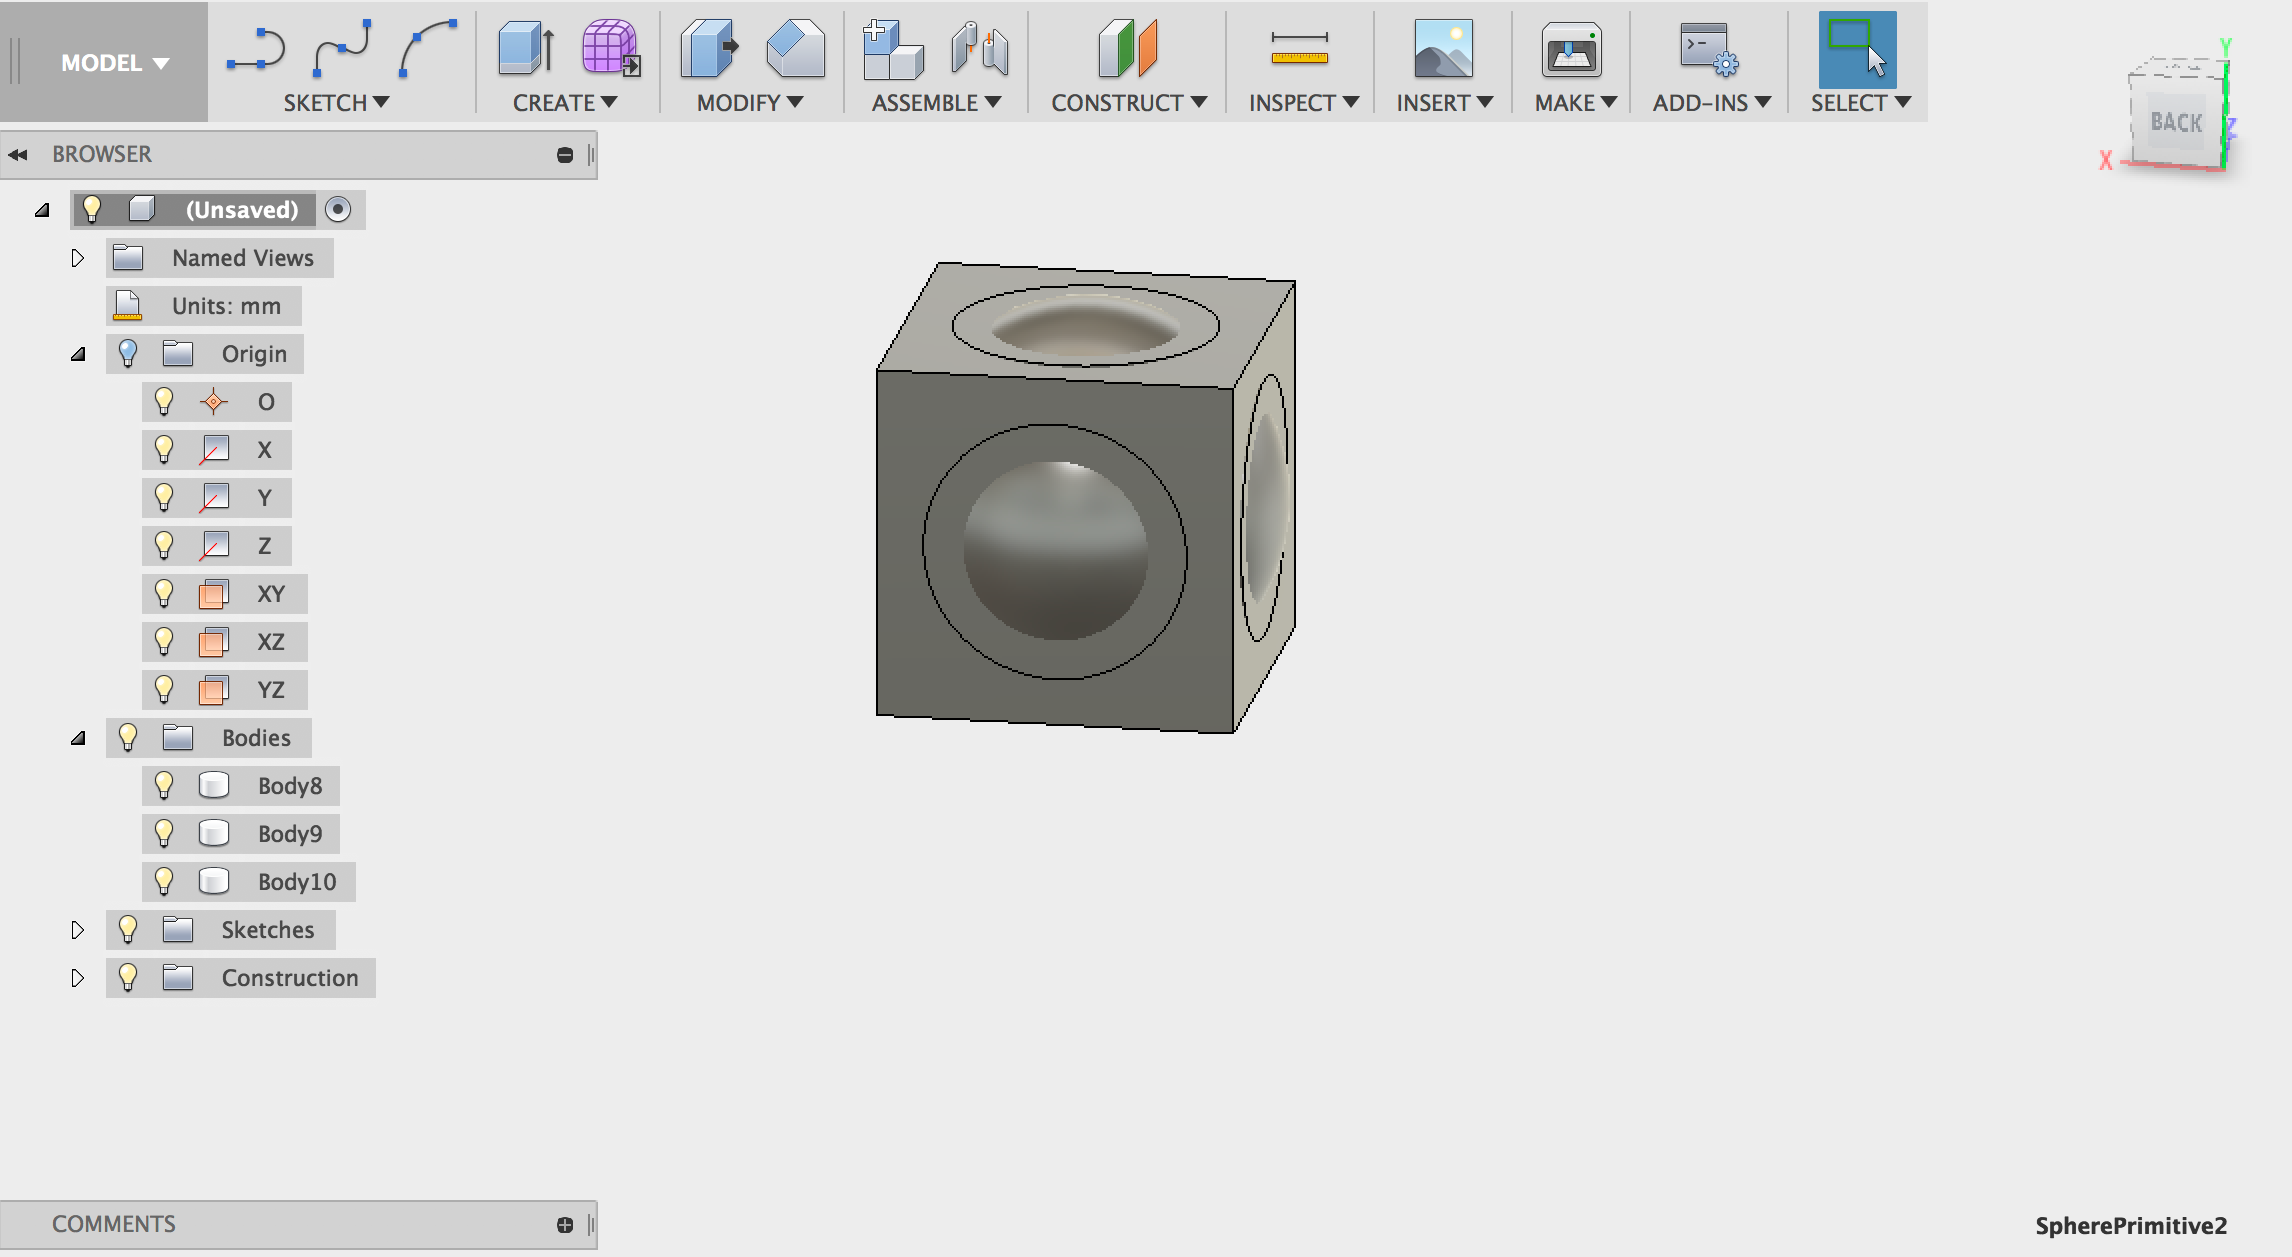
- Turn off sphere: :

- Select Modify→Combine. Click on the box for the Target Body and the cylinders for the tool body. Cut:
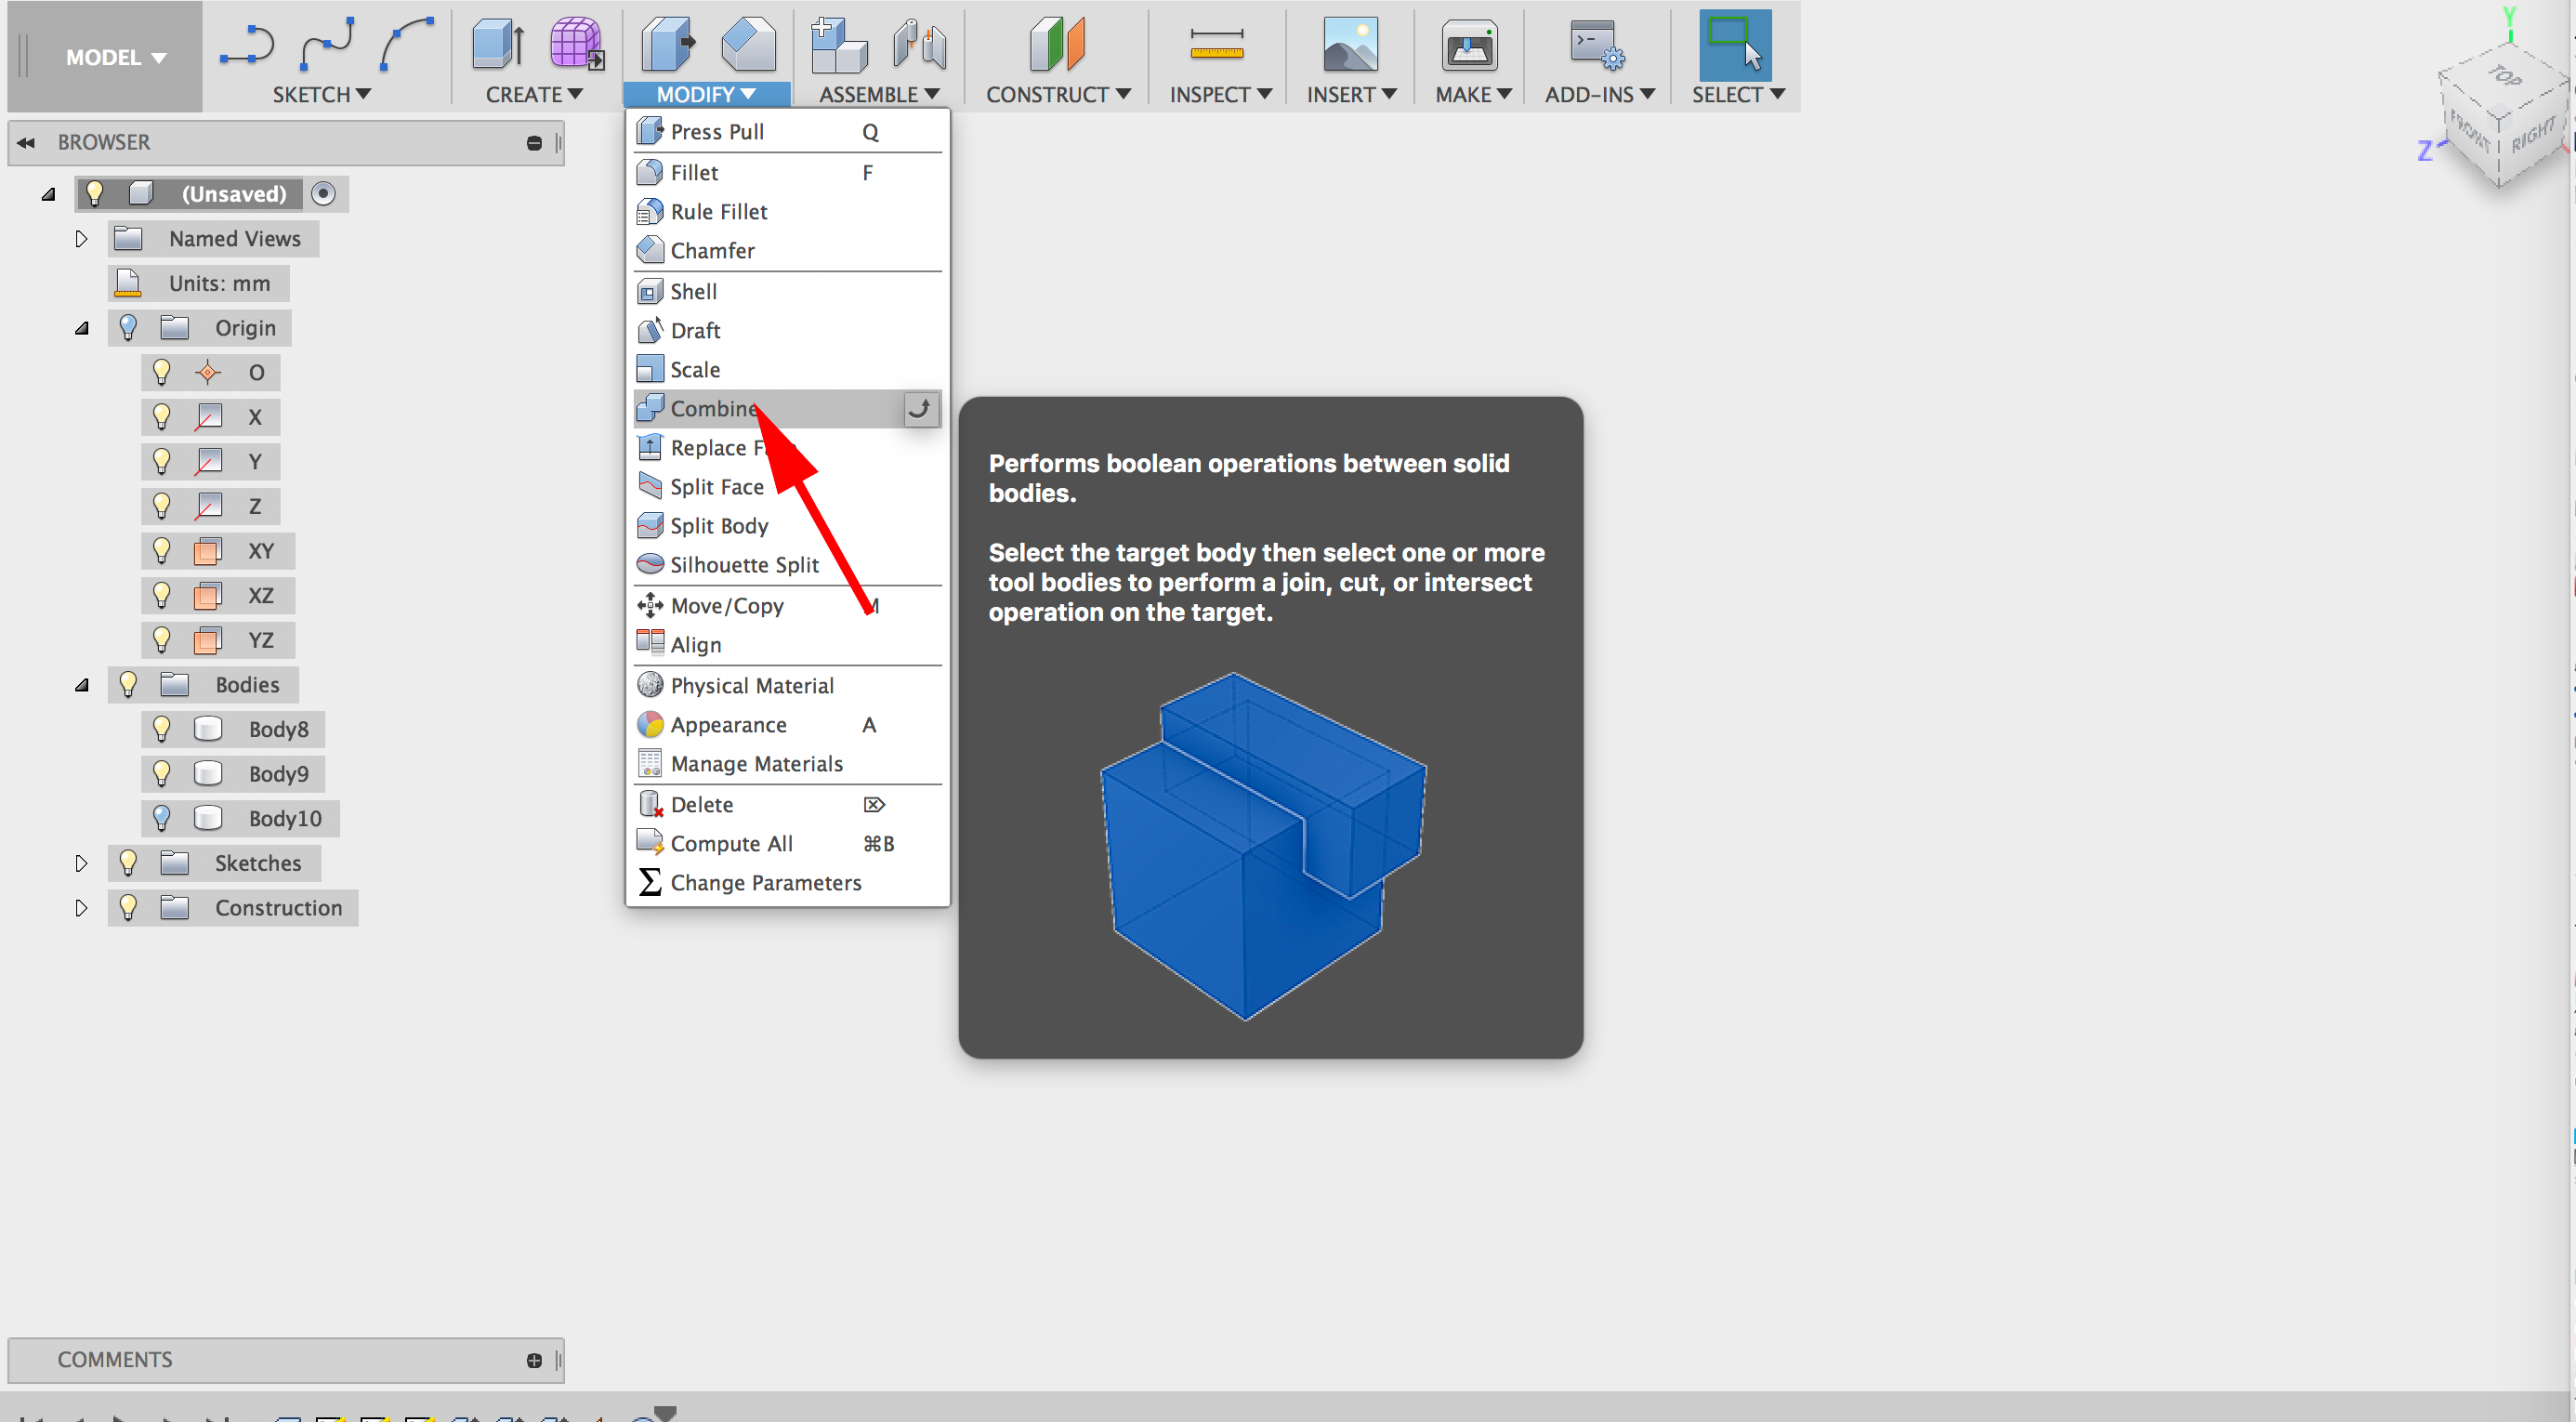
- Select Modify→Combine. Click on the box for the Target Body and the sphere for the tool body. Cut:
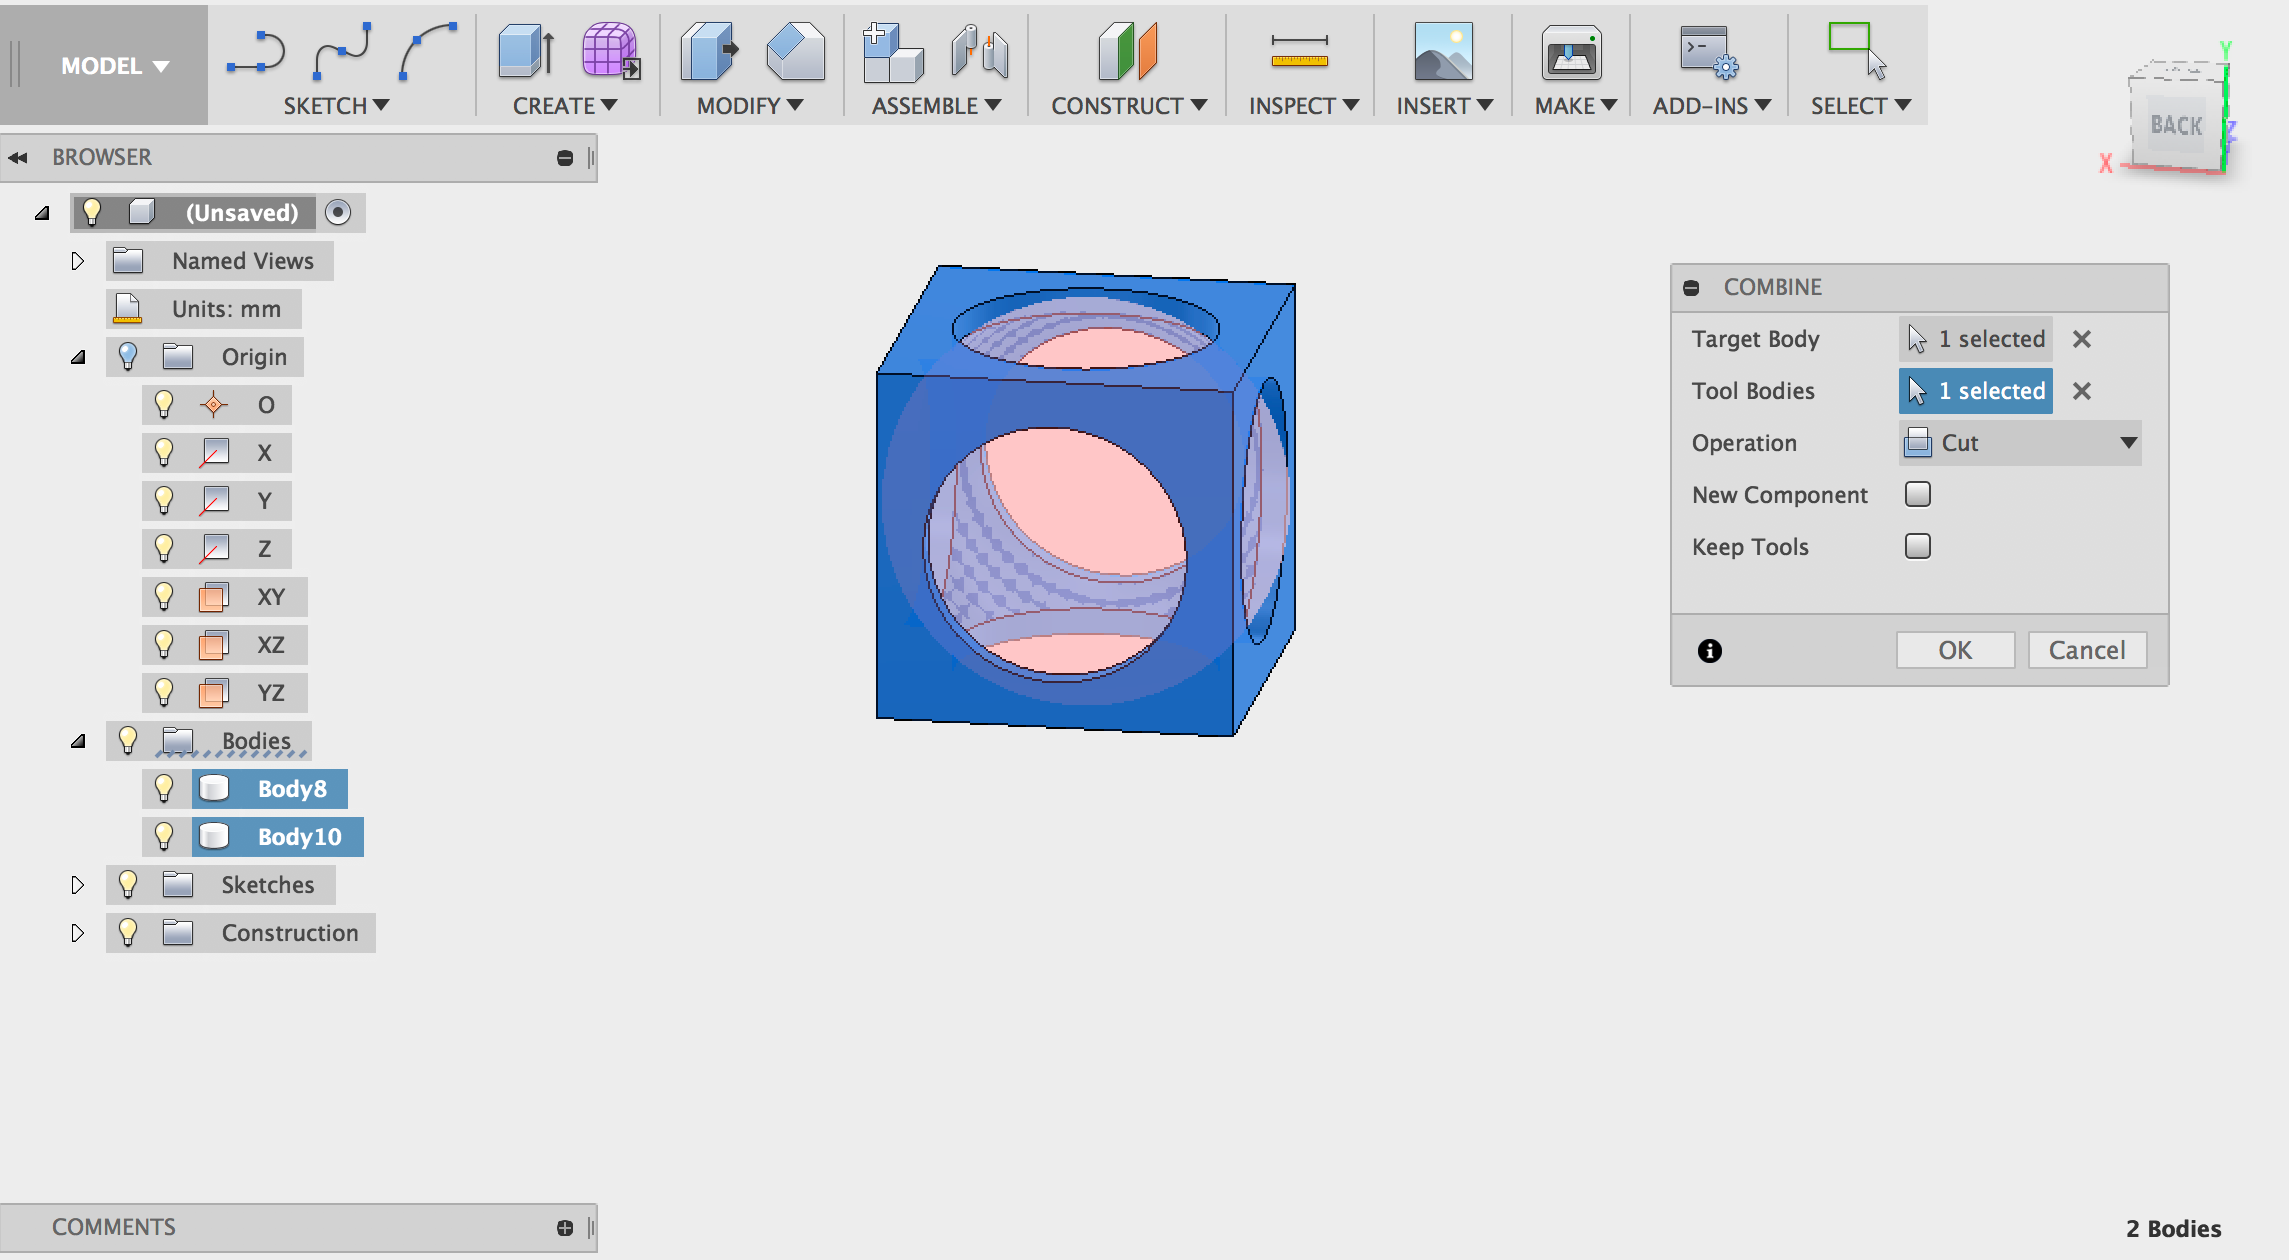
- Add fillets.
- Export your model.
- Slice in cura, but select PostProcessing→Modify G-code. Select Pause at height. Set your z height to half the height of the box.
- When the printer pauses, drop your coin in and continue the print.
- Launch AutoCAD.
- Create a new drawing. Select File>New Drawing:
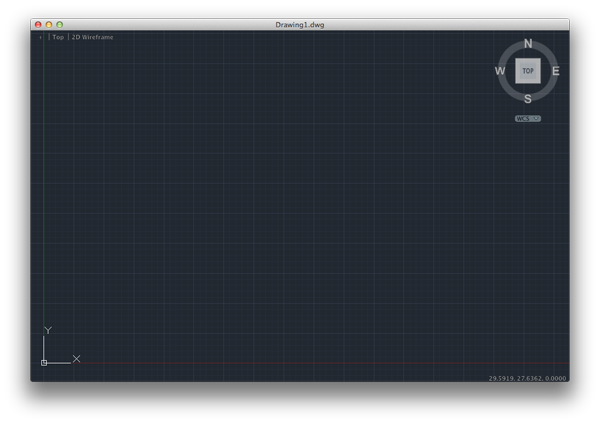
- Select acad3d.dwt template file and press the Open button to continue to the drawing screen.
- Find the commandline.

If it is not present you should be able to open it it by selecting Window> Command Line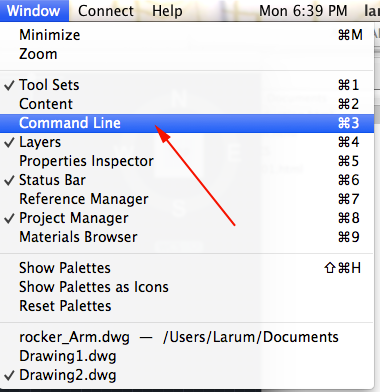
Other ways to display the command line are:
• Pressing Command+3 on Mac, CTRL+9 on Windows.
• Pressing F2
•Typing COMMANDLINE or CLI - You want to set your units to millimeters. Type UN and select UN (UNITS):
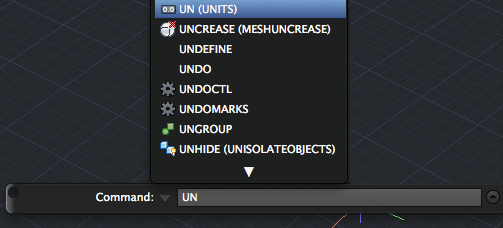
or select Format>Units from the top menu to bring up the Units Dialog box.
Set your units to millimeters: .
.
- You want to create a resolution appropriate for 3D printing. Type FACETRES and set it to 10.
- Make sure your profiles are not deleted after you use them. Type DELOBJ. Set the value to 0.
- In the top left corner set the Custom Visual style to Wireframe.
- Create a box that is at least 5mm larger than the coin's diameter.
Type BOX and press RETURN.
Type 0,0 and press RETURN.
Type the diameter of your coin and at least 5,the diameter of your coin and at least 5 (The box must fit inside the capsule) and press RETURN.
Type the diameter of your coin and at least 5 and press RETURN. - Type VS and press RETURN.
Type 2 for 2dwireframe and press RETURN.
-
Create a cylinder with a diameter less than the coin and a height equal to the box.
Type CYLINDER and press RETURN.
Set the first point to be the center of the top plane of the box and press RETURN.
Type the diameter less than your coin and press RETURN.
Type the negative number that is equal to the height of the box and press RETURN. - CTRL+click on the workarea and select Isolate> Hide Objects.
Click on the box and press RETURN. - Type CO for COPY and press RETURN.
Click on the cylinder and press RETURN.
Click on a point on the cylinder and press RETURN and click on same point and press RETURN again. You now have two copie in the same place. - Open up the Rotate GIZMO. Click on one of the cylinders. Select the green Axis and type 90 and press RETURN. Press ESCAPE to dismiss the GIZMO.
- Make another copy of the vertical cylinder.
- Open up the Rotate GIZMO. Click on one of the cylinders. Select the Red Axis and type 90 and press RETURN. Press ESCAPE to dismiss the GIZMO.
- Combine the cylinders:
Type UNION and press RETURN.
Click on all the cylinders and press RETURN: - CTRL+click on the workarea and select Isolate> End Object Isolation and press RETURN.
- Change the view to 2D Wireframe.
- Create a sphere with a diameter that matches the length, width and height of your box. The center of the sphere should be the center of the box.
- Change the view to Shaded With Edges.
- Subtract the combined cylinders from the box.
- Subtract the sphere from the box.
- Select all the outer edges of the box and apply a 1mm filetedge
- You could also fillet the holes.
- Select the box and export it.
- Make a note of the print time as you'll want to drop the coin in about midway through printing.