

Additional Tools/Materials
- Extra SD cards.
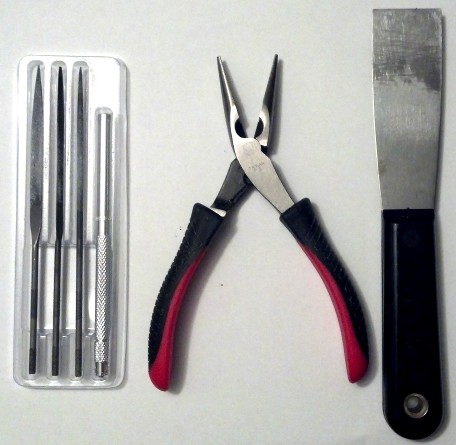
- Needle files and sandpaper for finishing prints.
- Acetone or nail polish remover to clean platform (ABS printing).
- Rag for the acetone (ABS printing).
- 3mm Hex key to unscrew the fan if the extruder gets clogged.
- X-acto knife to cut off excess platic and to help remove model from platform.
- MakerBot Squeegee to lay down the kapton tape on the build platform without air bubbles.
- Putty Knife to remove prints from bed.
- Kapton Tape to cover the build platform (ABS printing).
- Blue Painters Tape (PLA printing).
- Material to cover windows so that you can deal with drafts (ABS printing).
- Natural hair paintbrush cut short to remove dust from extruder.
- Tweezers to remove the small piece of filament when the the extruder gets clogged.
- Crazy glue.
Clogged Extruder
- Try unloading and loading first. You may need to to go “the wrong way” because the filament may be stripped.
- Unscrew the fan keeping the heat sink attached. If you see some filament in the hole below the drive gear, use a sharp, strong pair of tweezers to remove the filament.
- Turn drive gear around and use Natural hair Paintbrush cut short to clean
Leveling
Run through the the leveling script 4 times.
Curling
As printed plastic parts cool the different areas of the object can cool at different rates. Depending upon the parts being printed, this effect can lead to warping and curling. Although PLA has a much lower shrinkage factor than ABS, both can warp and curl.
- The platform may not be level which will prevent even adhesion
- There might be an adhesion issue. Print with a raft. Rafts are basically a large flat lattice work of printed material underneath the lower-most layer of your printed object. They’ll also help reduce warping and curling by allowing your printed object to adhere better to your flat build surface.
- The platform may not be clean. Clean your build surface. ABS and PLA stick better to a clean build surface. Keep it clean of dust, pieces of old prints, and any other debris.
- You might be printing too fast. Print slower. Printing slower allows finer detail, better adhesion to the build surface and lower layers, and gives the printed part more time to cool evenly.
- There may be drafts in the environment which causes the plate to heat up too much. Eliminate drafts or enclose your robot.
- Reduce infill. When printing a model you can chose to print it hollow, completely solid, or some percentage between zero and 100. The plastic inside a model exerts a force on the entire printed object as it cools. It stands to reason that the more plastic you have, the more those pieces of plastic will pull against themselves and the build surface as they cool. By reducing infill there will a reduced amount of internal tension as the object cools. Reducing these internal forces by printing with a lower infill ratio can help reduce curling and warping as well.
- The base of the model may not be level.Open the model in an application that will allow you to evenly slice off the bottom.
- There may be issues with the geometry. Rotating the model on the build platform might help.