Setting Up a Digital Portfolio
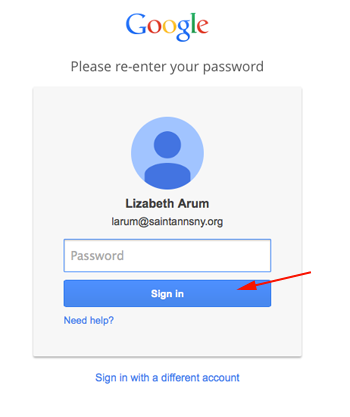
- To create a site, go to site.google.com and log in using a gmail account:
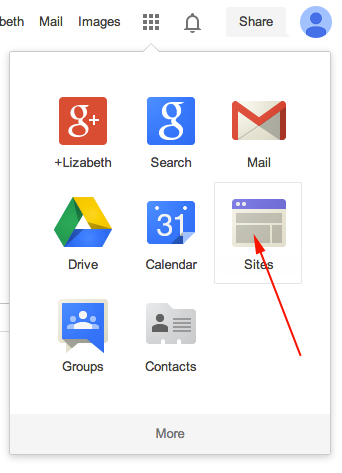
Or select sites from the options:
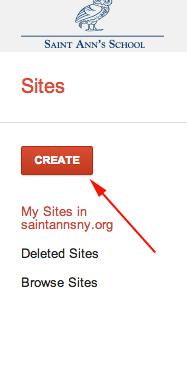
- Click on the CREATE button on the left side
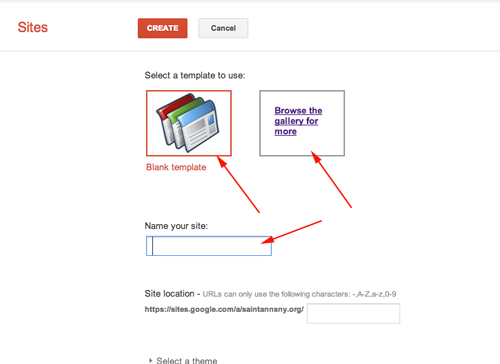
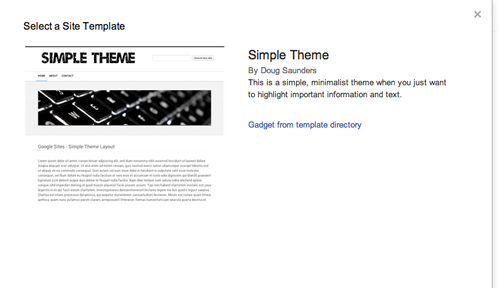
- Click on the Browse the Gallery for more button to preview and select
a starting template that suits your needs.
You can click on any template and then click then Preview template button
to see what it looks like with filler content
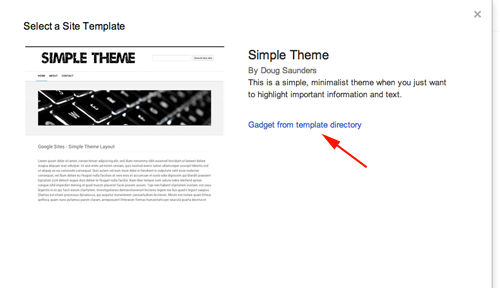
You can get an even better preview by clicking on the gadget option:
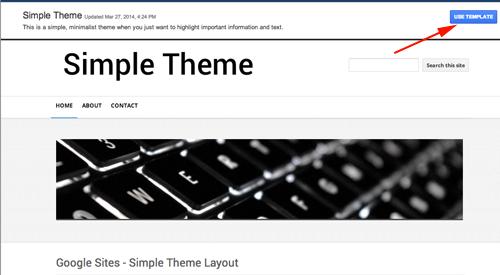
From here click on the Use button:
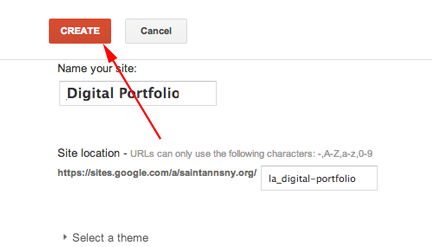
- Select your template and then name your site (descriptive) and either leave the URL or change
it to whatever you'd like:

- You can fill out more options if you'd like:
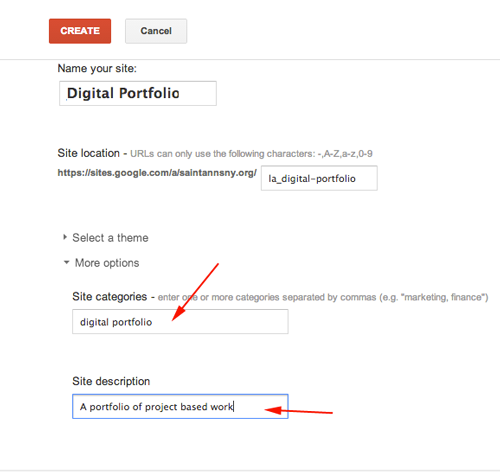
- Click the CREATE button up top
- You now need to address the sharing permissions.
Click the Share button in the upper right.
Set the sharing to Private until your site is ready to launch.
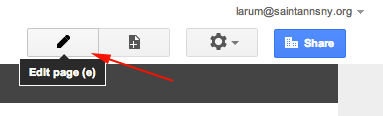
- As the owner of the site, you will see editing options that are not visible to your external viewers.
- The pencil tool will start edit mode (also pressing e will do this)
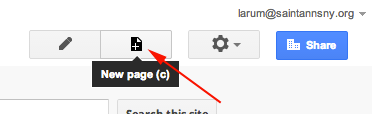
- The page+ button will create a brand new blank page.
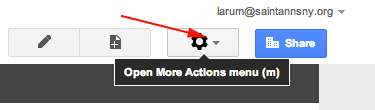
- The more menu brings up a host of options.
- Press e to see the edit options.
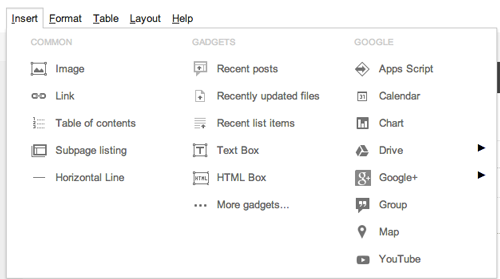
the Insert menu brings up several options that you can embed into any page in your site:

- You can click on the content area of your page and change any text, add images, insert goodies from the menu above, and change the content of the page. You may notice that the layout/surrounding areas stay put - to change that you'll need to change the templates.
To exit editing mode, click on the Save or Cancel buttons in the upper right to accept or reject your changes.
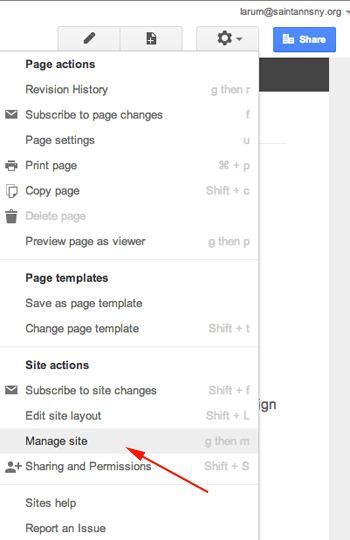
- Setting site permissions and settings is important. Click on the More button in the upper right and then select Manage Site:
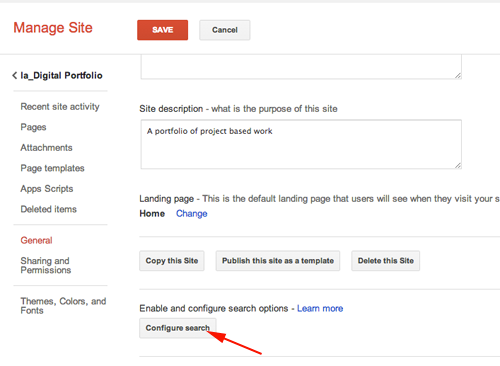
- Note the list of different categories of options along the left side. The default selected is General, where you can edit the site's name and many other advanced options.
- Enable search

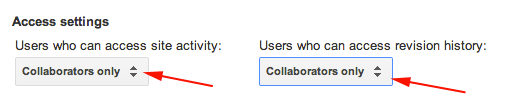
- Navigate to Access settings and set to Collaborators Only
- Go to the Pages option in the left sidebar, you will see a list of all pages in your site. This is useful for jumping to pages you'd like to edit or seeing the organizational tree. Note that some pages are sub-pages of others.
Attachments lets you see a master list of all files uploaded to your Site. Note that this is different than uploading a file to Drive - this is a separate destination.
Page templates is an important part of Sites - this is where you can create new templates (you can't edit default ones, but you can copy them and then modify as suits your needs) that you can apply to existing pages or use to create new pages. Think of a Page as a finished page of content, and a Template as a blank cocktail napkin sketch of where content of various types would flow into to become a finished page. You can have an unlimited number of each, but note that while you'll only need a visual scheme for templates, you'll need actual content for pages. You can set up templates from a selection of different layouts:
Click the title of your Site to return to the Site
- You might want to add your own top level pages.
I know that I want certain pages: classes, "Let Me Tell You" (inspiration), ideas and links. If I used a template, I'll get rid of contact
- Click the Open More Options button.
Preview page as Viewer shows what someone who can see the Site (if its public or if they've been invited to see a private Site) would see in terms of content, options, etc.
Revision History is exactly what it sounds like, and is very useful when editing collaboratively.
Subscribe to changes will email updates to you as alerts. Also very useful when editing collaboratively.
You can also change the current page's template, or if you really like the page save it as a template.
Finally, you can use this menu to Edit site layout, which will let you modify the main layout elements of the entire site, that is, the areas that accompany the content. This is where you can add a horizontal navigation bar which will allow you to easily link to URLs, make drop down menus and such that will be accessible on any page.
You can edit your pages here.
Enable the Footer button and edit:
 Page Settings are where you can turn on commenting on a page for editors (see below), choose to allow file uploads or not, and display the current template in use and select to display sub-pages or not, among other settings.
The Site layout and theme include all the navigational/visual elements common to the entire site (all pages, all areas, all views, etc). This means the header, navigation sidebar(s), footer, top nagivation options, and discrete options for each section (Search box, content, etc).
A page is any of the pages contained within the site, organized into the site hierarchy, with specific content on each.
A template is a blank version of a page that you can use over and over to provide the foundation of a new page you're creating.
- To Create Pages:
-
From your homepage, click the New page icon.
- Choose a page template.
-
Name your page. Google Sites will generate a URL (web address) based on the name you choose, but you can alter it by clicking Change.
-
Choose where to locate your page within your site:
Put page at the top level: Top-level pages are the most general in your site's hierarchy. They exist at the same level as your homepage, and it's easy to create subpages beneath them. They are best for main categories of your site's content.
Put page under {current page}: The second option is to place your new page as a subpage of the page you were on when you clicked "Create page".
Choose a different location: Choose to nest your page under any other page in your site.
- Click Create page.
You can create as many pages you like within a site, but note that your site may not work well with more than 1,000 pages/attachments.
-
Add and edit the horizontal navigation bar
To add a horizontal navigation bar to your site, you need to enable the bar and then choose which pages you want to appear there. If you'd like, you can transform your navigation bar into a drop-down menu by adding pages to the menu and nesting some pages under others.
Enable navigation bar
To start editing your site's layout, click the More button near the top-right corner of your browser window.
Select Edit site layout.
Click the Horizontal Navigation button in the toolbar to enable or disable it.
Any changes you make are saved instantly.
Add, change or remove navigation items
You can add any page on your site to your horizontal navigation bar as a menu topic or menu item.
Once you are in the Edit site layout mode, click on the region that says Click to edit horizontal navigation. This will bring up a dialog to add, change, and remove the items in the navigation bar.
Adding menu items
To add a page from your site as a menu item in your horizontal navigation bar, click Add page, then locate your page in the pop-up window and click OK. To add a page from another site or an email address as a menu item, click Add URL. In the pop-up window, enter the URL of the page and name of the menu item you would like to appear, then click OK.
Deleting menu items
To delete a page as a menu item in your horizontal navigation bar, select the page in the Select pages to show box, then click on the remove icon remove icon.
Adding drop-down menu items
To create a drop-down menu, a page must have other pages listed underneath it in the Select pages to show box. To make a page a drop-menu item, select the page in the Select pages to show box, then click the right arrow icon right arrow. (It will then appear indented in the Select pages to show box.) To change a page from a drop-down menu item to a top menu item, select it and click the left arrow icon left arrow.
Organizing your menu items
To change the order in which your menu items appear, select the page in the Select pages to show box, then click the up arrow icon up arrow or down arrow icon down arrow. The top items in the Select pages to show box will be your left-most horizontal menu items. This organizational structure applies to drop-down menus too.
