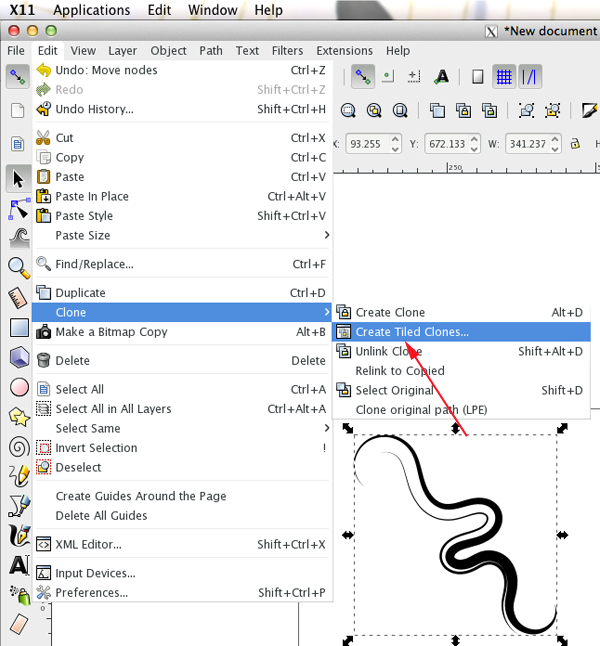
Inkscape
Inkscape is an open-source alternative to Illustrator. It runs on all major computer operating systems (Linux, Mac, and Windows), and can import and export to many major file formats. (SVG, AI, EPS, PDF, JPEG, GIF, PNG, etc.)On Mac Inkscape runs under the X11 environment, Apple's spin on XFree86 Project's X Windows System, which is the foundation for Linux's GUI interface. X11 follows the same keystroke conventions as Windows.
Zoom Presets
Zoom 1:1—1 keyZoom 1:2—2 key
Zoom to selection—3 key
Zoom to drawing—4 key
Zoom to page—5 key
Zoom to page width—6 key
Navigating the space
To pan or maneuver around the canvas — Click-hold-middle mouse button/scrollZoom in: + (plus) key, Control+Right-Click
Zoom out: - (minus) key, Shift+Right-Click
You can also zoom in and out using Control-Mouse Wheel
Interface
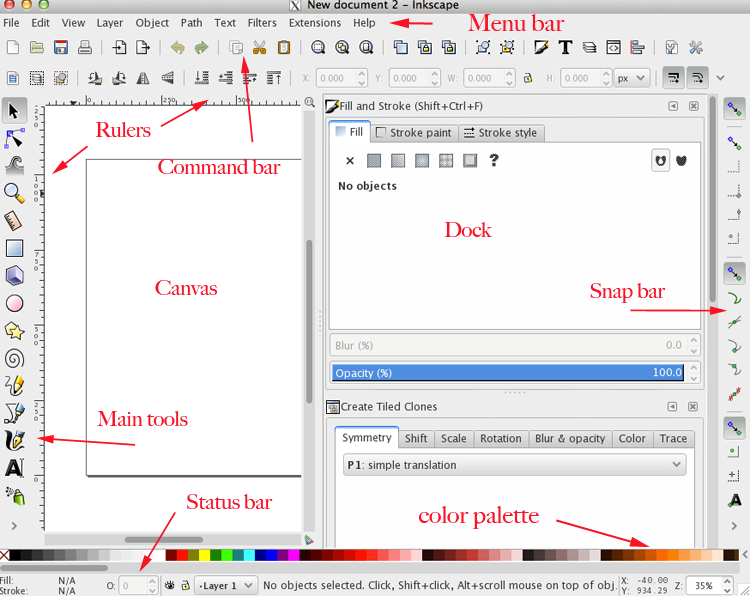
- Menu Bar: This is where the majority of your options are.
- Main Tools: Where your basic tools are located. (Selector, Node Tool, Zoom Tool, etc.)
- Tool Settings: Where you can adjust the settings for your main tools.
- Rulers: A click-drag from either ruler will let you create a guide. Double-clicking on a guide will bring up a window that will allow you to adjust the guide's parameters.
- Canvas: The area where you'll create your paths, objects, and raster art.
- Page: The area that holds your work whenever you export or print your documents. Any objects outside the page will be ignored.
- Dock: This will store your palettes to adjust different settings.
- Command Bar: Contains shortcuts/buttons to many of the items/settings within the menus.
- Snap Bar: Allows you to adjust or set what snaps to what.
- Color Palette: One of the places to select your colors. You can use your scroll wheel to scroll through your color palette back and forth.
- Status Bar: Tells you the color an object's using. You can adjust the opacity of an object or path. You can lock, hide/show, and change layers. The Status Bar also provides useful tips. It tells you your cursor's coordinates. You can also adjust the zoom.
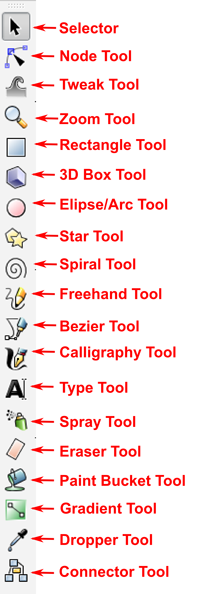
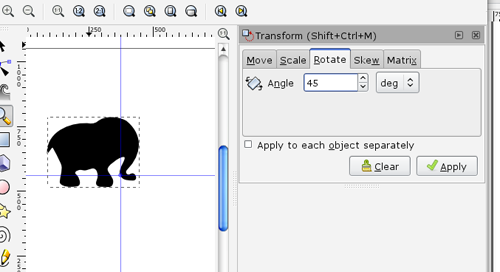
- Selector Tool: (S or Spacebar) Select and resize. With a second click, you can rotate and skew the selection.
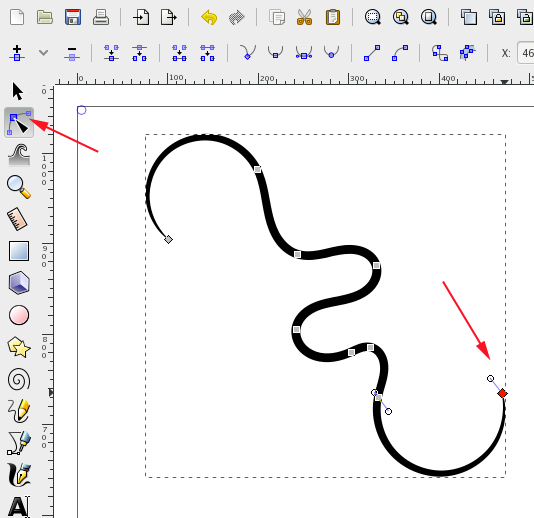
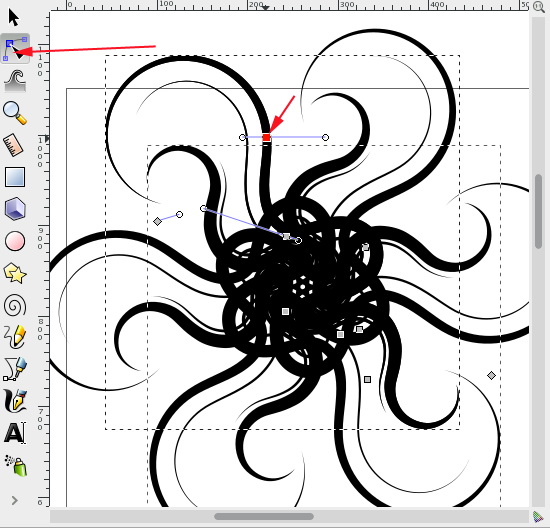
- Node Tool: (N) The Node Tool lets you select nodes and adjust their handles to adjust the paths. Click and drag a section between nodes also adjusts the curve and brings out the nodes handles. Shift-C will let you adjust the node's handles independently of each other.
- Tweak Tool: (W) Push and pull paths and objects, shrink, roughen, shift the object's color, and blur the object.
- Zoom Tool: (Z) Zoom in and out (when holding the shift key) of your drawing area. You can also use the - (minus) and + (plus) keys to zoom.
- Rectangle Tool: (R) Create rectangles and squares. When you create your rectangle, they aren't quite paths yet. When a rectangle is selected, you'll see some handles at three of the corners. The squares let you resize your rectangle. The circle in the upper right-hand corner will split into two circles, but they will let you adjust the roundness of the rectangle's corners, to the point where your rectangle turns into an ellipse. To convert your rectangle into an editable path, go to the menu bar, select Path>then Object to Path. (Shift-Control-C)
- 3D Box Tool: (X) Create live 3D boxes in Inkscape, great for perspective drawing.
- Ellipse/Arc Tool: (E) Create ellipses. Dragging either handle on the right side inside the ellipse will maintain the fill within the parameter of the object up to the two circle handles. Dragging either of the circle handles outside of the ellipse will cause the ellipse's fill to cut straight into the center, like a pie chart. Just like the Rectangle Tool, your ellipse/arc is not a path yet. To convert it into a path, go to the menu bar, select Path, then Object to Path. (Shift-Control-C)
- Star Tool: (*) Creates objects that can be formed into stars or polygons. You'll find two handles on your newly created objects, one to adjust the points, the other to adjust the inside corners. The settings, under the menu bar, let you change the number of corners, the roundness of the corners, and there's a setting that let you turn your polygon into wacky abstractions.
- Spiral Tool: (i) There are two different handles on your new spiral. One handle to control the end in the inside of the spiral, and the other for the end on the outside.
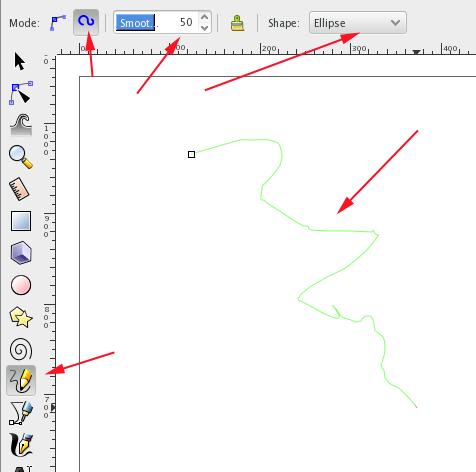
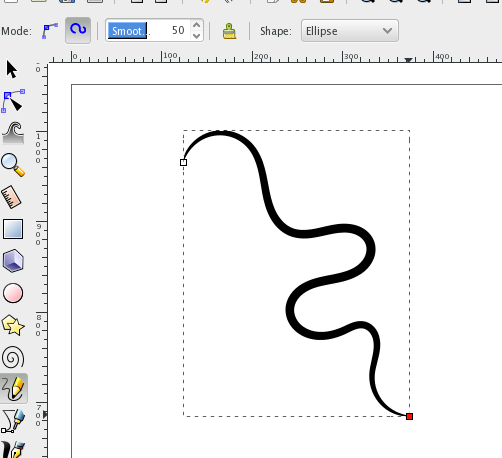
- Freehand Tool: (P) TCreate editable paths.
- Bezier Tool: (b) For creating bezier curves and straight lines. You have to click and drag to pull out a node's handle.
- Calligraphy Tool: (C) Create lines with varying widths. The end result isn't a skeletal stroke, but a newly created object with just a fill.
- Text Tool: (T) Click in a spot and start typing or click and drag to create a text box.
- Spray Tool: (A) Duplicates the last selected object in clusters as you drag your cursor across the canvas. The Spray Tool also has options that scatter and rotate your duplicates.
- Eraser Tool: (E) Works in one of two ways, either it'll create a temporary path that will delete any object beneath it. Or the Eraser Tool will create a new object, much like the Calligraphy Tool, and with the new object, use it to cut into the object under it.
- Paint Bucket Tool: (U) Floods areas with color. The Paint Bucket Tool can also be applied to vector objects, creating duplicates with a different color.
- Gradient Tool: (G) Apply gradients to your objects. Based on the type of gradient your using, you'll find some handles. You can use the handles to position where you want you color to begin. The handles can also be used, when you select one of them, to let you determine what color you want to use in that end of the gradient and the transparency with the Fill and Stroke Palette.
- Dropper Tool: (D) Pick-up color anywhere in your canvas. If you have another object selected while using the Dropper Tool, it'll change the fill to that color. The Dropper tool can't pick up the stroke color
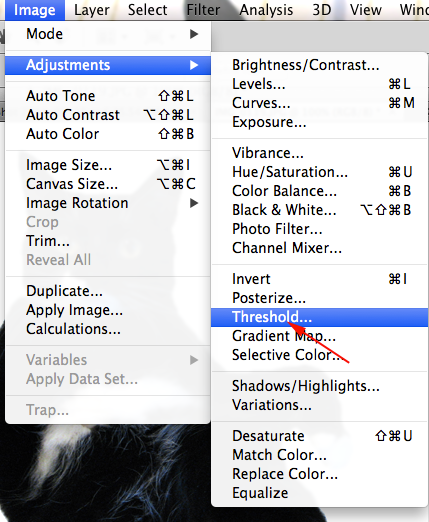
- Connector Tool: (O) This tool is great for people who create diagrams. Basically the Connector Tool's purpose is to let you create lines that connect to your objects. Once those lines are created, they'll remain attached to your objects. If you have two squares linked together, and you choose to move one of them, the line will stretch/squash, and follow your square.