Tutorial
Using the Array Modifier with Blender
What is it?
The Array modifier creates an array of copies of the base object, with each copy being offset from the previous one in a number of possible ways.This modifier can be useful for creating complex repetitive shapes.
Multiple array modifiers may be active for an object at the same time.
What's the tutorial?
Array Modifier
- If you don't have Blender installed, download it from blender.org and install it.
- Open Blender
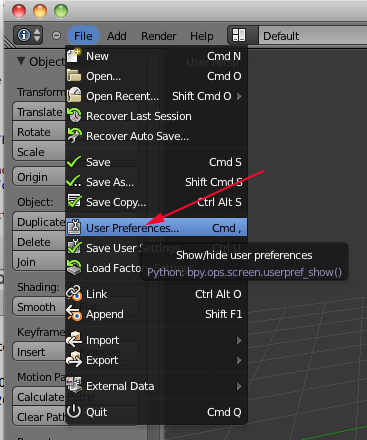
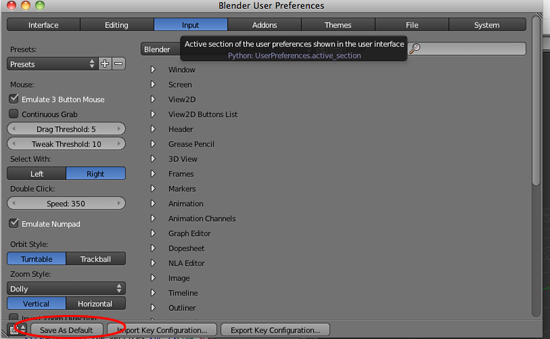
- If you have never used Blender before navigate to File>User Preferences or type (CMD+,).
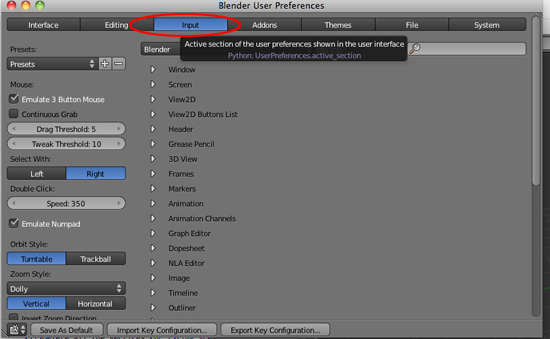
- Click on Input
- Click on Emulate Button Mouse and Emulate Numpad
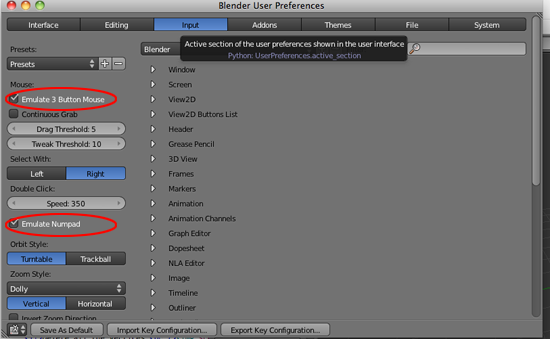
- Click on Save As Default
- If the cube is not selected (if there is not an orange line around it), RIGHT click on it to select it:
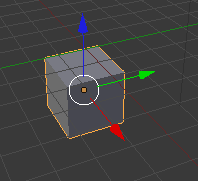
- Move the cube along the x axis by pressing G and X and moving your cursor
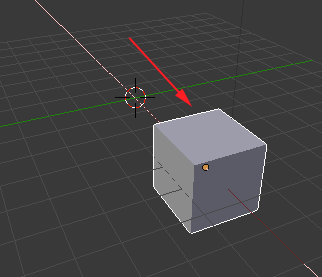
- Make sure the 3D cursor
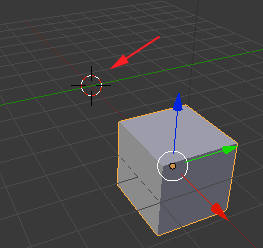
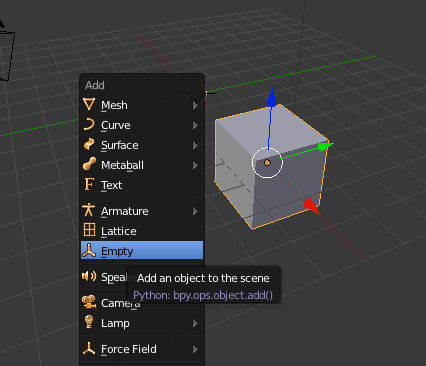
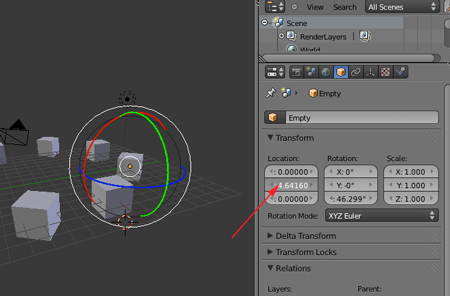
- Add an Empty object by pressing SHIFT+A
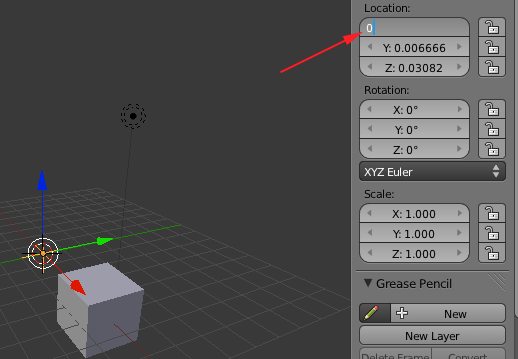
- Press N to open the right panel and make adjust the location so that the Empty is in the center
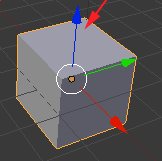
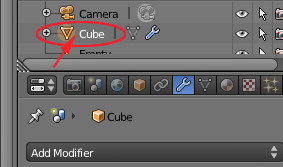
- RIGHT+click on the cube to select it
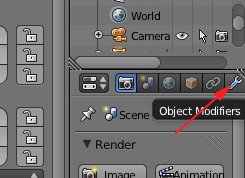
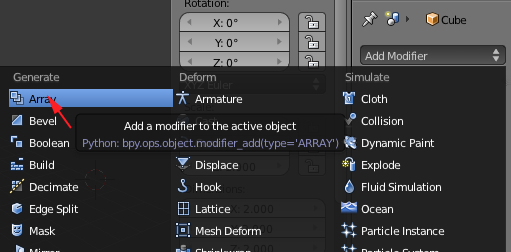
- Click on Object Modifier
- Click on Add Modifier and select Array
You can also use this modifier to create a matrix of your mesh which can then be printed. - Click on Object
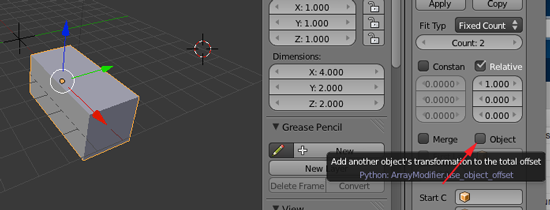
- Click on the cube icon and select Empty
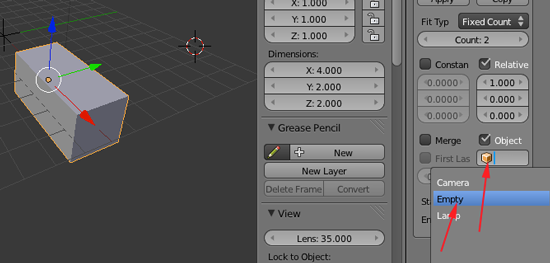
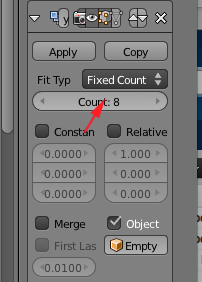
- Deselect Relative
- Change count to 8
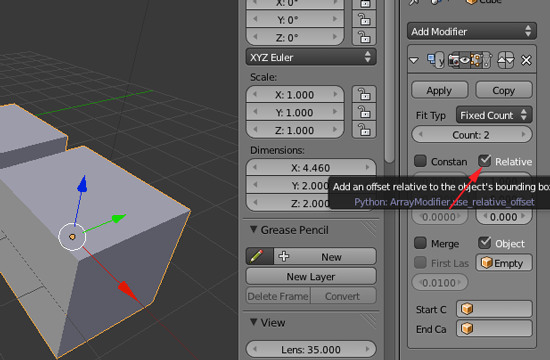
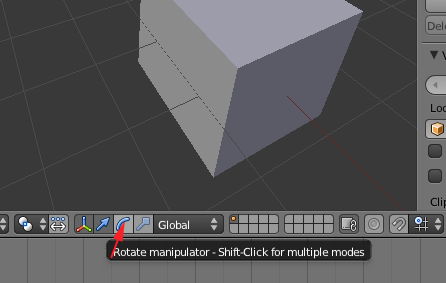
The original object used as a start is placed at the start of the array, as if it were in position -1, an array step before the first array copy. - Select Empty in the Scene panel

- Click on the Rotate manipulator
- Click and drag on the blue line to rotate the cubes around the Empty
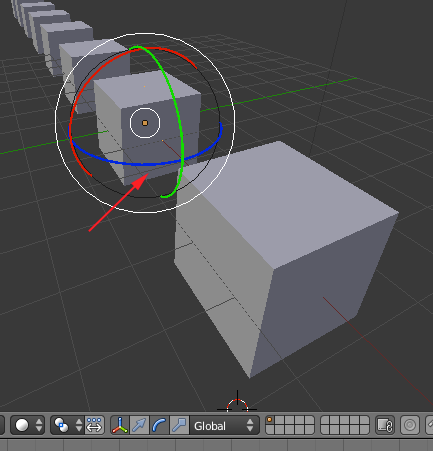
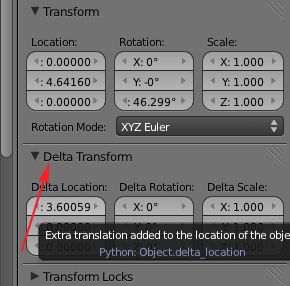
- You can adjust the rotation and the location to move the cubes.
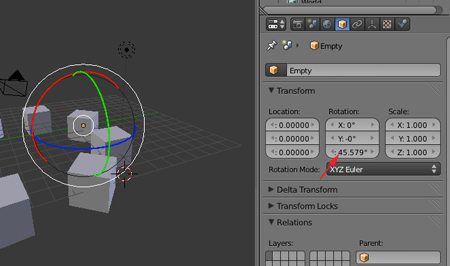
- You can adjust the Delta location to move the cubes
- Select the cube and adjust the Constant Offset
- Select Merge and first and Last

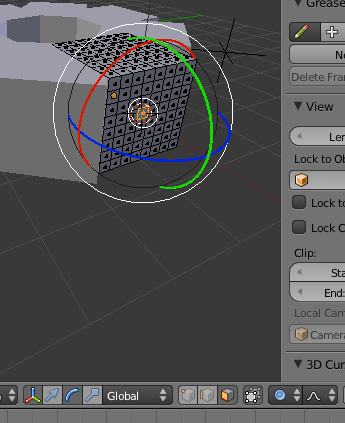
If enabled, vertices in each copy will be merged with vertices in the next copy that are within the given distance. If Merge is activated, and the Start cap is near enough of the first copy, they will be merged. - From Object Mode press Tab to go to Edit Mode

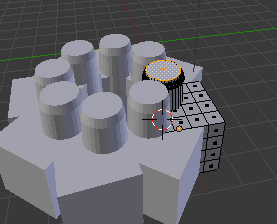
- In Edit Mode you can modify the original mesh and the copies will incorporate those changes.
You can subdivide the cube by pressing W and clicking on Subdivide: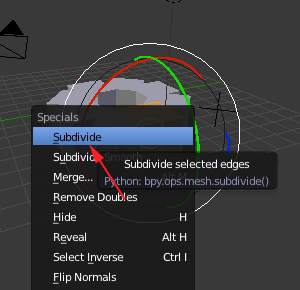
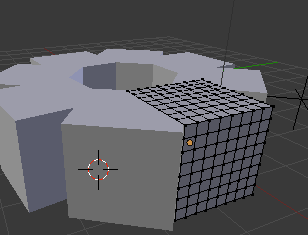
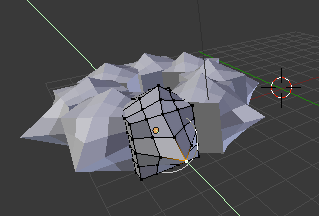
You can turn on Proportional editing by pressing O:
You can even add another mesh in Edit Mode: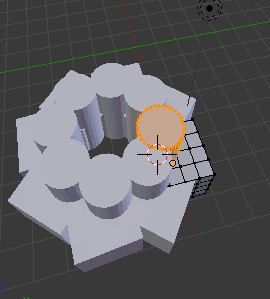
- When your object is complete, toggle back to Object Mode.
- Select the object if it is not selected and select File>Export>STL(.stl) Save the stl and open in MakerWare or ReplicatorG.
Now what?
- Upload your model that takes advantage of the array modifier to Thingiverse
- Come back tomorrow for more information and inspiration!
