Using BSurfaces with Blender
What is it?
BSurfaces is a is a Blender add-on modeling tool that combines freehand strokes, beziér curves and loose edges to generate polygonal surfaces.
What's the tutorial?
BSurfaces
- If you don't have Blender installed, download it from blender.org and install it.
- Download BSurfaces_v15_for_blender_263.zip
- Open Blender
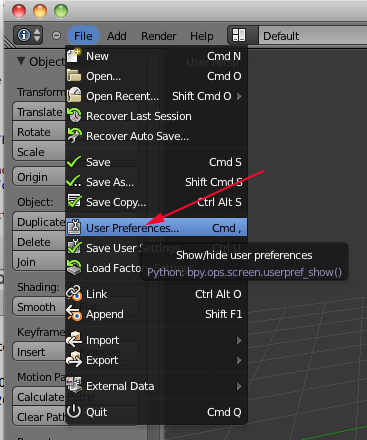
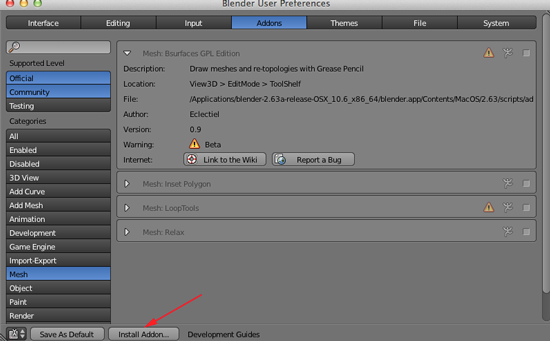
- Open User Preferences
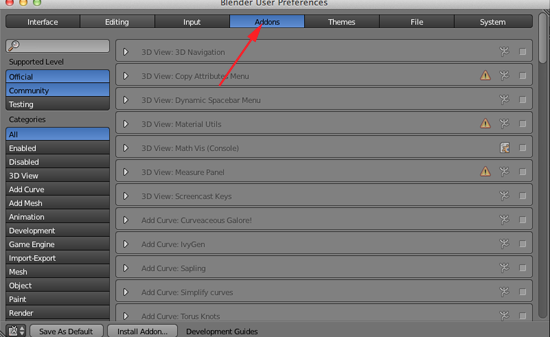
- Navigate to Addons
- If you have BSurfaces GPL Edition vo.9 active, deactivate it
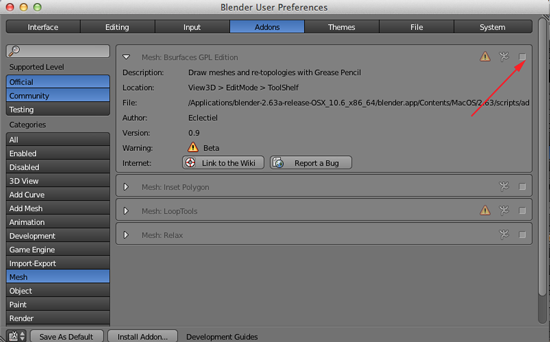
- Click Install Addon... to install the BSurfaces.py

- Navigate to Editing
- Disable the option Smooth strokes if it is enabled.
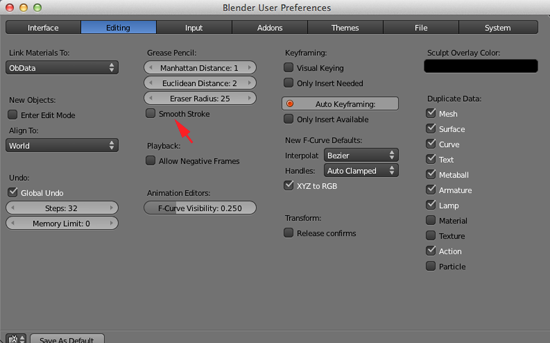
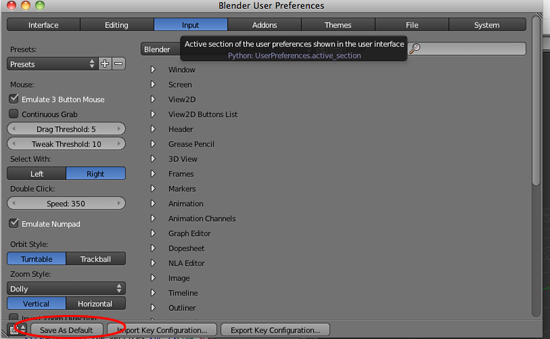
- Click on Save As Default
- Create a New Document (File>New Document)
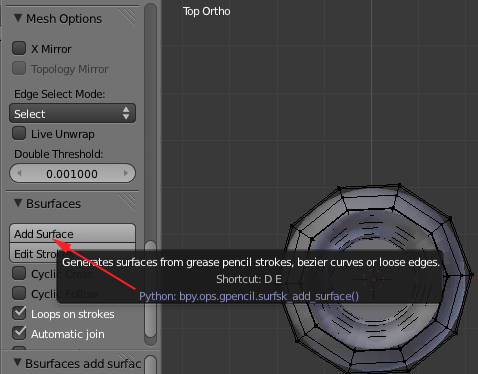
To find the BSurfaces panel, select a mesh object, go to Edit Mode, and navigate to the bottom of the 3D view toolshelf:
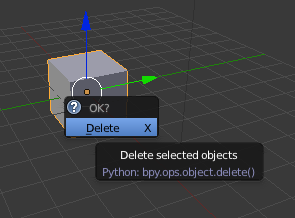
- Press X and click on Delete to delete the default cube
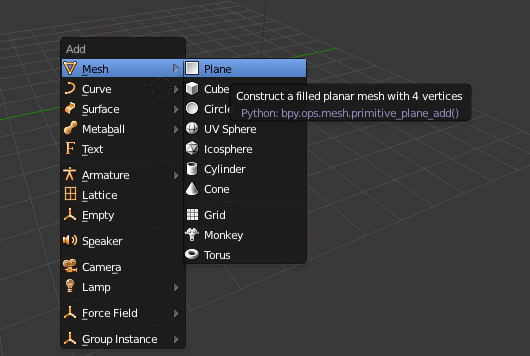
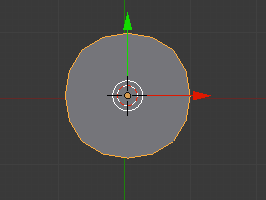
- Press SHIFT+A to add a mesh plane
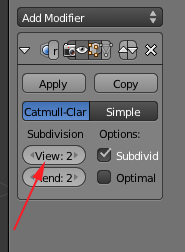
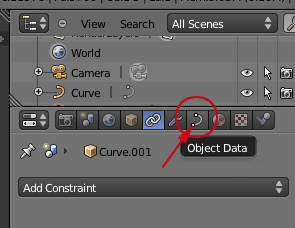
- Click on Object Modifiers
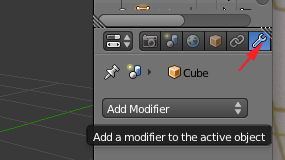
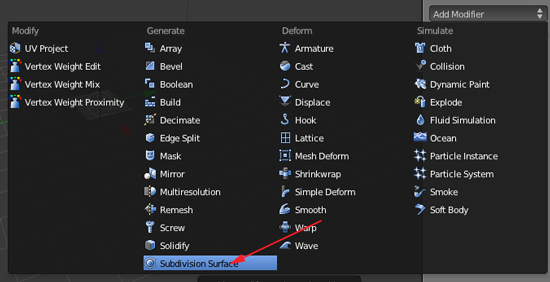
- Click on Add Modifier and add a Subdivision modifier
- Set View to 2:
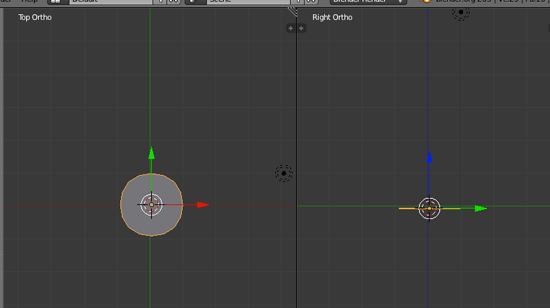
- Add a second viewport by dragging the upper right corner over to the left.
- Toggle off the Toolshelf by pressing T.
- Set the left side to Top Ortho (7,5)
- Set the right viewport to Right Ortho (3,5)
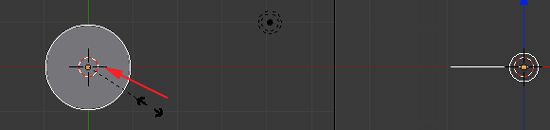
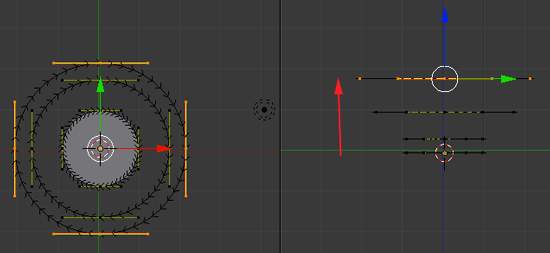
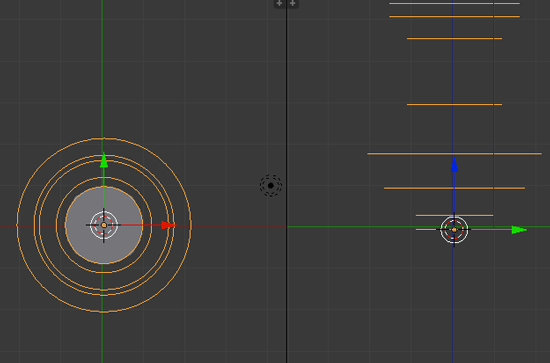
- In Top Ortho view add a Curve>Beziér CircleSHIFT+A
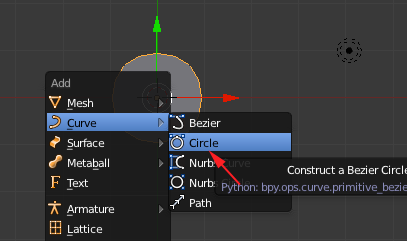
- Your circle will be slightly larger than your plane. Press S and scale the circle to fit the plane
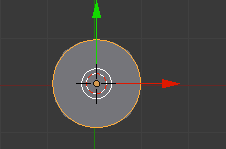
- Press Tab to go to Edit Mode
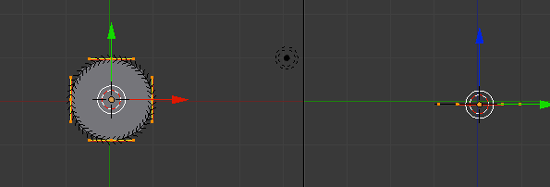
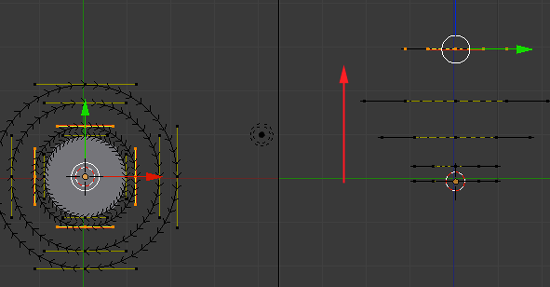
- Press SHIFT+D to duplicate the curve. Then press G and Z to move the duplicated curve up. Then press S to scale the curve
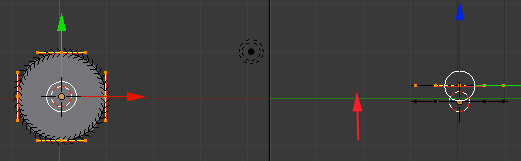
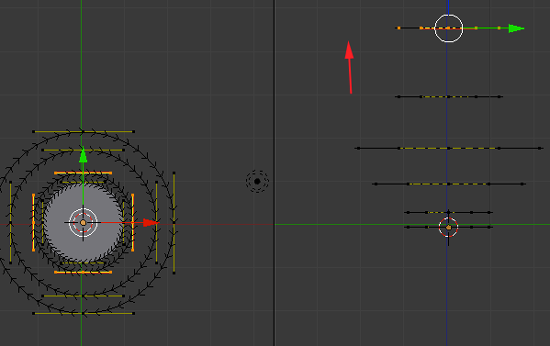
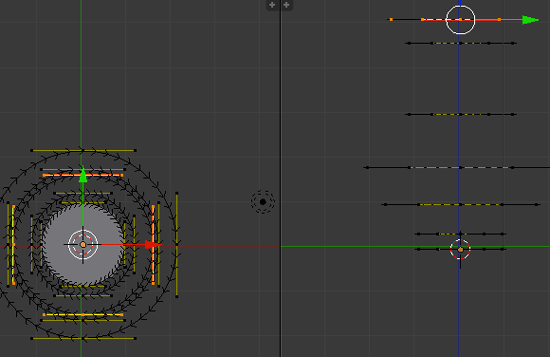
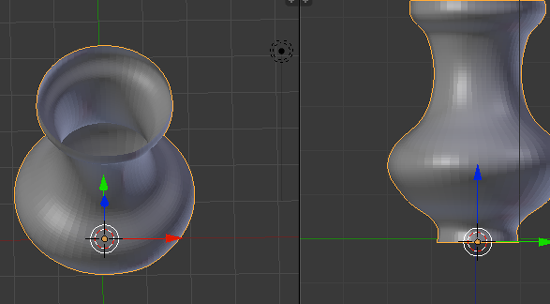
- Continue to duplicate, move and scale as desired:
- Press Tab to go to Object Mode
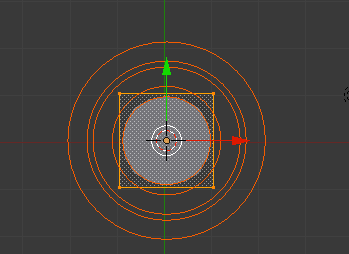
- You want to add the plane to the curve. RIGHT+click on the plane

- Press Tab to go to Edit Mode
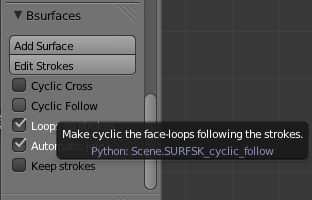
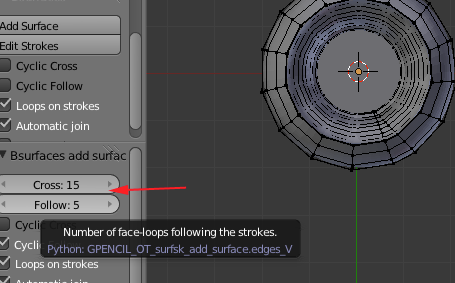
- Navigate to the Bsurface panel and select Add Surface
- In the new panel that appears enable Cyclic Follow
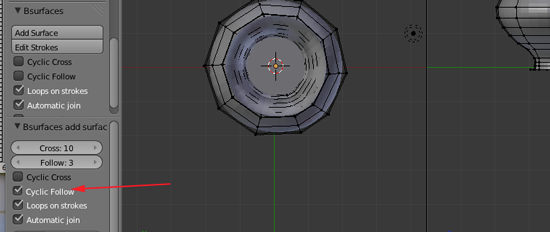
- In the new panel that appears adjust the Cross and the Follow values
- Press Tab to go to Object Mode
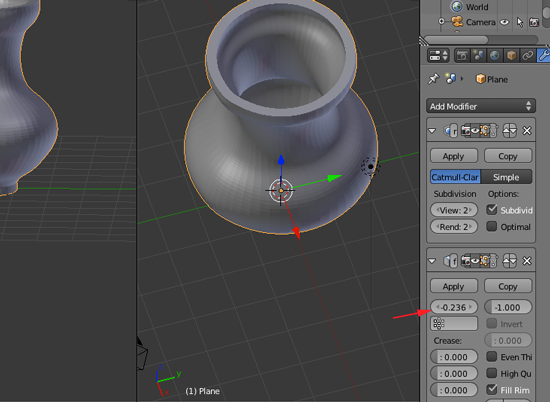
- Click on Object Modifiers
- Click on Add Modifier and add a Solidify modifier

- Adjust the parameters of the modifier
- To export the model as an STL, select the model then choose File>Export>STL(stl).
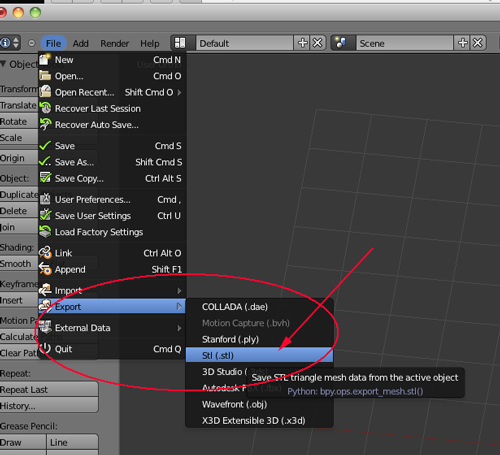
- Give the file a name with the .stl extension and save.
- Slice and print. You will need to scale the model up in ReplicatorG or MakerWare in order to get a decent vase.
Now what?
- Upload your vase to Thingiverse
- Come back tomorrow for more information and inspiration!
