Sculptris
Sculptris was originally created by Tomas Pettersson and has been further developed by Pixologic. It is a free 3D modeling application that is based on dynamic tessellation. In the 3D ecosystem, tessellation refers to creating a 3D mesh structure made of triangles. You can download Sculptris from here
Here is the Sculptris cheat sheet to help you get familiar with the intuitive and easy to use tools: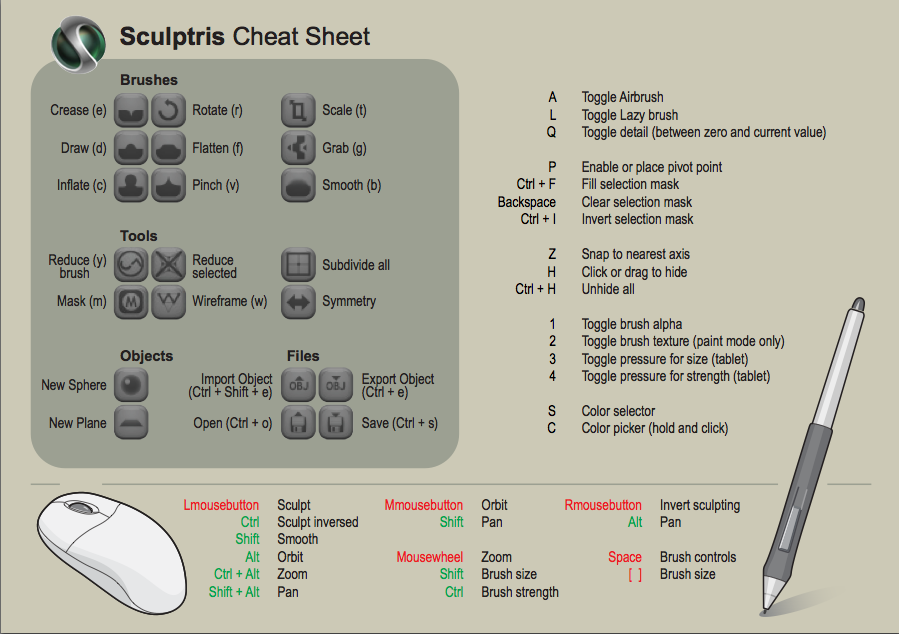
By default all operations are symmetrical. You can turn off "Symmetry" ny clicking on the the Symmetry icon. When you turn it on, the object will be symmetrical again.
After you have selected a tool, you can press the spacebar to adjust the properties.
To create a model
Here is the Sculptris cheat sheet to help you get familiar with the intuitive and easy to use tools:
By default all operations are symmetrical. You can turn off "Symmetry" ny clicking on the the Symmetry icon. When you turn it on, the object will be symmetrical again.
After you have selected a tool, you can press the spacebar to adjust the properties.
- Download and install Sculptris pixologic.com/sculptris/
- Open the application.
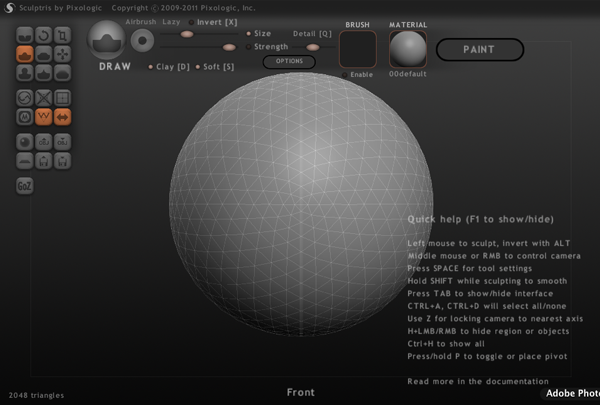
- This is the basic interface:
- Use the scroll wheel to zoom out

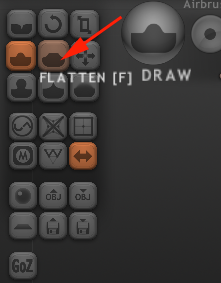
- By default, the draw tool is selected. If you press the Space bar you can adjust the properties:
Press S to toggle Soft as an option.
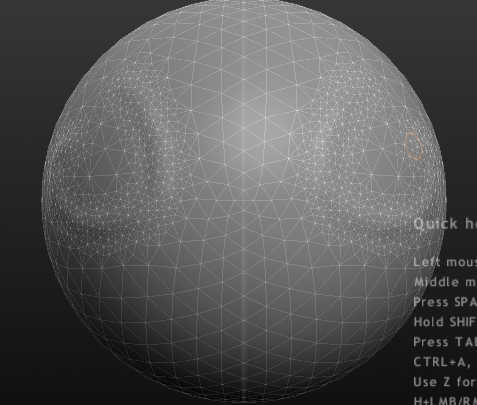
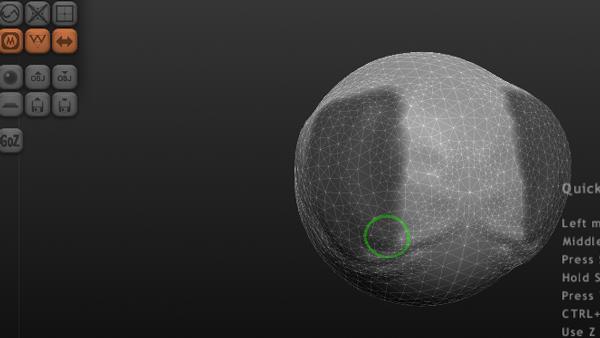
Lower the Detail as well to keep your triangle count down. - Draw a curve on your sphere:
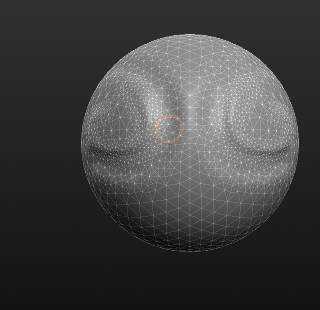
- Pressing Alt/option while dragging will carve instead of draw
- There are nine tools. If you hover over the icon, Sculptris will tell you what the tool is and the hotkey to call it.
- Rotate, Scale and Grab allow you to enable global or local transformations so that you can rotate, scale or grab the entire mesh or just a part of it.
Turning off Global allows you to just target a part of the mesh along a particular axis.
Grab without global or limit enabled allows you to create tentacles, legs, or spikes. When creating these elements you will probably want to pair Grab with Inflate. - Reduce, Subdivide All and Mask are the Utility tools. The Reduce tool lets you reduce the number of triangle in your mesh (helpful for 3D printing).
- The Masking brush allows you to paint on a mask when the tool is selected and you hold down CTRL while you drag
- To edit the mask just drag over the selection.
- To delete the mask hold
Ctrl and drag the mouse in the canvas area.
- To invert the mask, hold
Ctrl and click in the canvas area.
- The pinch tool only works on corners.
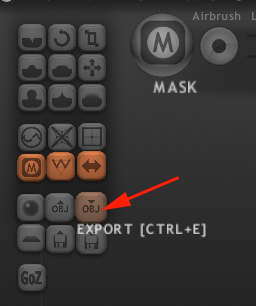
- You can save your mesh as an obj by selecting the Export option.
- Experiment.
To create a model
- Define a rough shape of the object
- Use the Grab [G] tool for the very rough work, set the brush size and pull out your form. Make sure to disable Global and Limit.
- Use the Grab tool with limit ticked in order to modify things that stick out.
- Use the other sculpting tools to define the rough shape.
