ShapeSmith
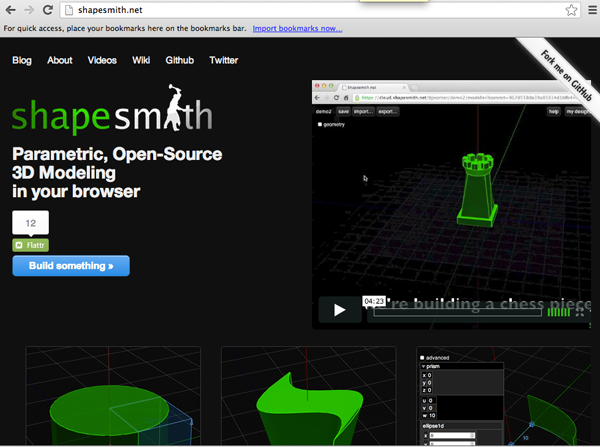
ShapeSmith is a parametric, open-source web-based 3D modeling application created and maintained by Benjamin Nortier. The application requires a web-gl enabled browser. It was built on top of the OpenCASCADE solid modelling kernel which allows complex shapes such as Beziers, Lofts and Sweeps. You can also perform perform boolean differences, unions and intersections.
- Open a web-gl enabled browser like Chrome
- Navigate to ShapeSmith.net
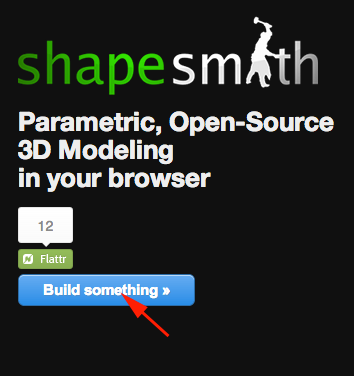
- Click on Build Something
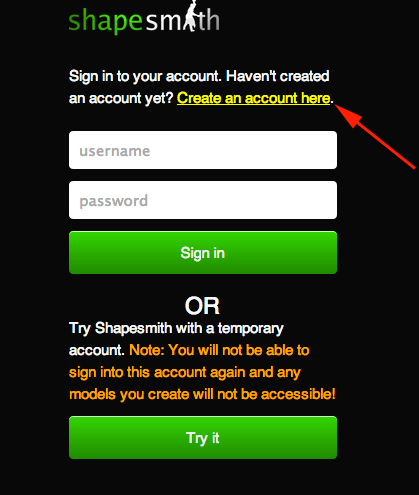
- Log in or create an account
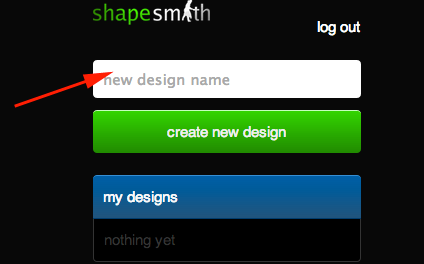
- Name your new design
- You should see the work plane.
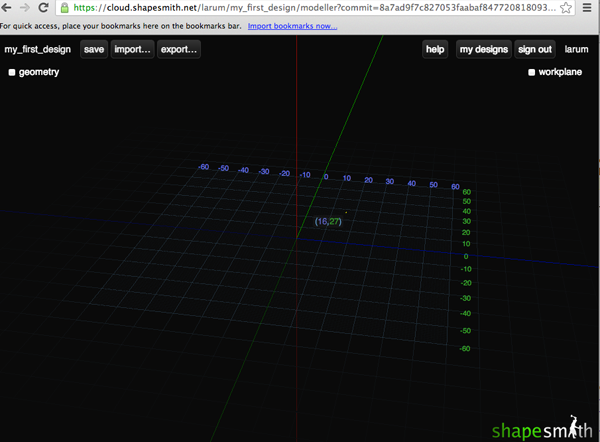
- As you move your mouse, the application will tell you where the mouse is
- You can rotate the model by dragging the mouse on any part of the 3D view.
- You can pan the model left,right, up or down while keeping the same camera angle by
dragging the mouse using the middle mouse button.
- You can also pan the model left, right, up or down while keeping the same camera angle by
pressing SHIFT while dragging the mouse with the left mouse button.
- You can zoom the model by
using the mouse wheel or by using the '+' and '-' buttons on your keyboard.
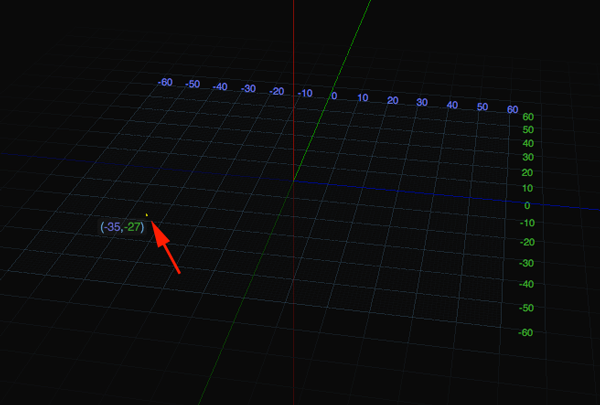
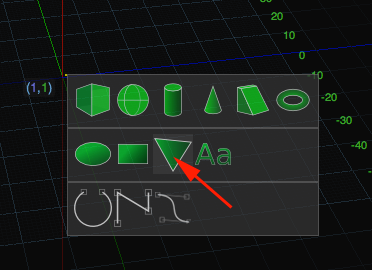
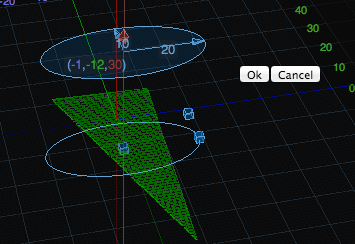
- To create a new shape right-click on the workplane where you want the shape placed or
SHIFT + Left-click on the workplane where you want the shape placed. Both of these choices will bring up a tool palette with a selection of shapes to create.

- The origin of the shape will be placed where the workplane cursor (the small yellow cube) was when you right-clicked. The default radius/ size is 10.
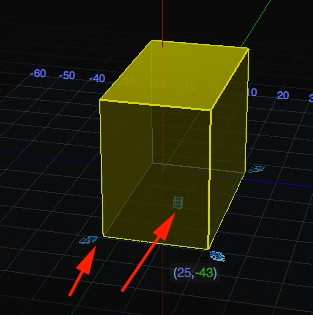
- The blue nodes allow you to adjust the size of the shape
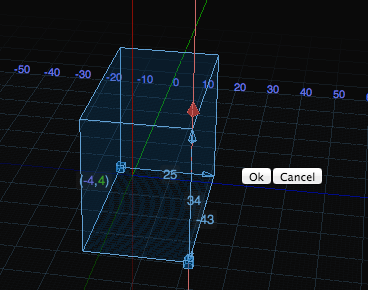
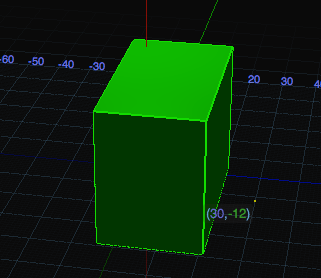
- When you click the "Ok" button, the shape will be created and turn green
- To edit a shape you can change the parameters or the you can manipulate the transformations (moving, rotating or scaling). Click once on the shape to edit. This turns the shape yellow and you can scale the form by dragging on the blue arrows in the corners. One of the nodes will be in the center of the shape. You can drag this node to translate the shape.
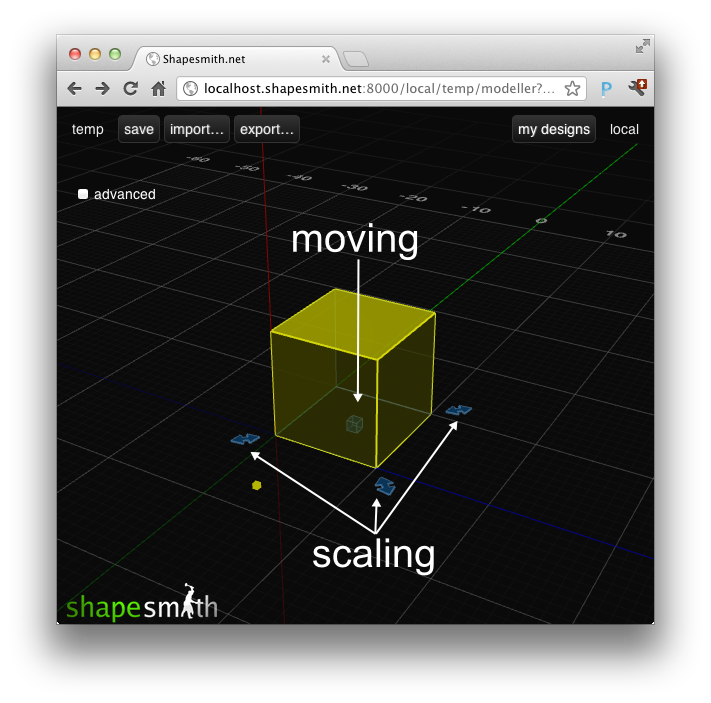
Image from github.com/bjnortier/shapesmith/wiki - Double click on the shape to adjust the parameters.
The small red arrow can be dragged to move the shape up and down on the Z axis. The changes you make will be reflected on the screen.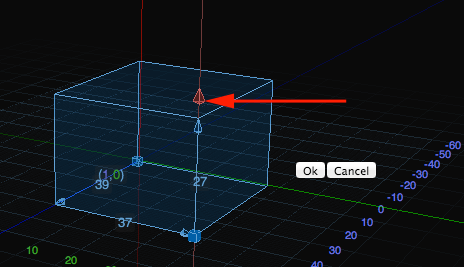
- Clicking the "Ok" button confirms the changes. Clicking on "Cancel" or by pressing ESC on the keyboard will cancel the changes.
- Moving is the simplest way to transform a form. To move a shape, select it by clicking on it, then drag the blue node in the center of the form.
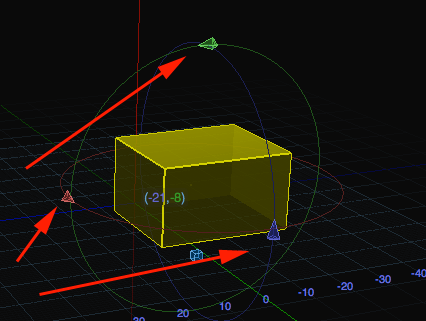
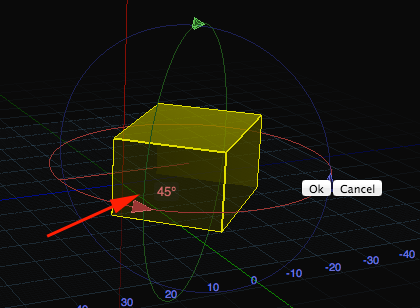
- If you want to rotate a shape, click on it once, then click it again. You should see the rotation arrows. Drag the arrows to rotate the shape around the principle axes (X, Y, Z) that go through the center of the shape. The rotation angle will be displayed
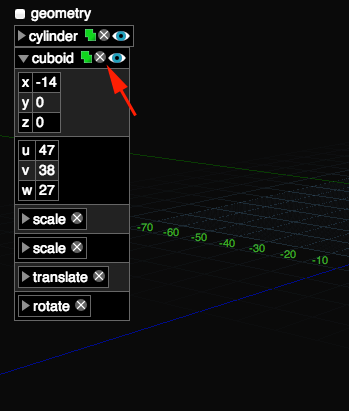
- Click on Geometry to toggle the parameter box.
- Click here to make a copy

- Click here to delete the shape
- Click here to hide the shape
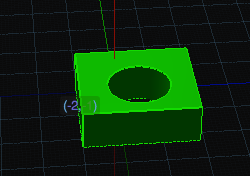
- Create two forms. Click on the object you want to be a hole.
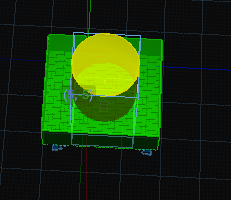
Then CTRL+SHIFT click on the object that will be subtracted from. Select subtract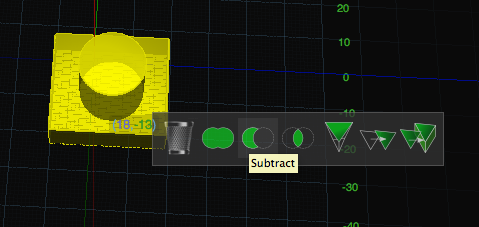
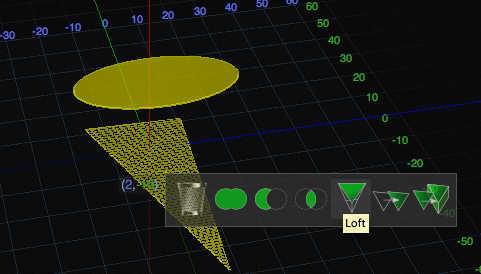
- Create a 2D shape
 and adjust the size:
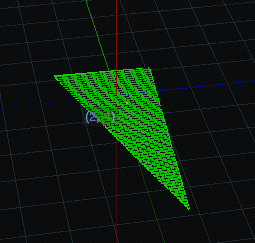
- Create another 2D shape and move up over the first shape
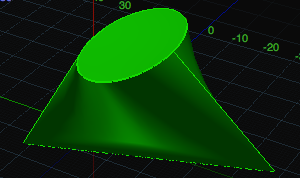
- Click on one shape then CTRL+SHIFT click on the second object. Select Loft from the menu
- Click on Export, then STL to export your design for printing.
