The Rotate Tool
Tinkercad's rotate tool allows you to change the angle of your model or part of your model along the x, y or z axis.
Tinkercad allows you to choose your resolution by providing three rings. Once you start the rotation you can move your mouse over the appropriate band. The center band allow you to adjust the rotation by full degrees. The inner band adjusts the angle in increments of 22.5° (half of 45°) and the outer band allows you the most precision.
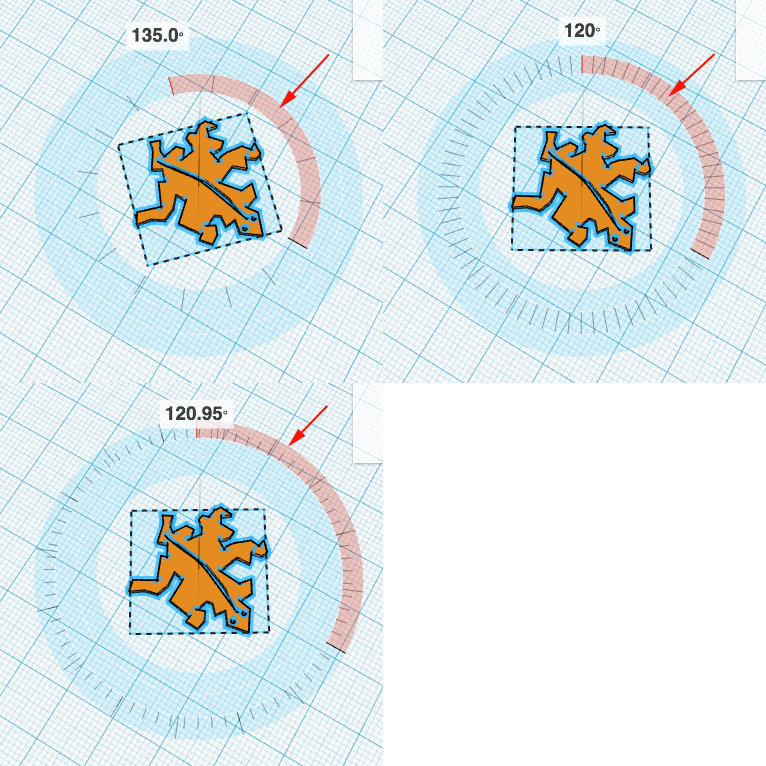
Rotation works well with Duplication (Cmd+D) . Not only do you get a copy of your selection, but the rotations and moves are included as well.
Warm Up Challenge
- Open a web-gl enabled browser
- Navigate to Tessellation with Rotation Around a Vertex
- Make a copy of the Design
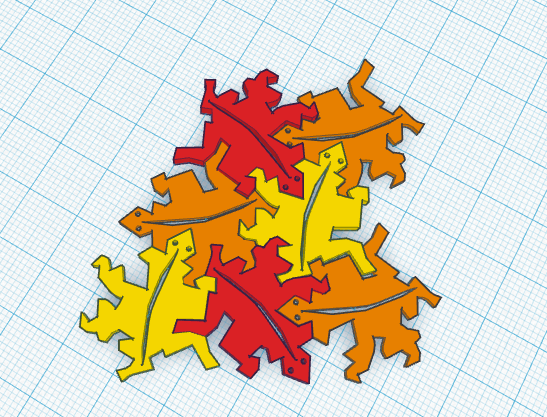
- Your challenge is to recreate the image below. How few moves can you accomplish the goal? Which tools did you use?
Making Your Own
The completed warm up creates a tessellation similar to ones created by the artist M.C Escher, where he divided a square into two 45°-45°-90° triangles, and then used a 180° rotation around the midpoint to modify the dividing line.
Tessellations
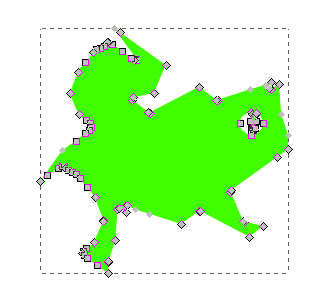
Tessellations are comprised of tiles that cover a plane with no gaps or overlaps.To create your own Escheresque tessellation you will need to create an SVG, import it into Tinkercad, duplicate, rotate by 120°, arrange and change the heights.
Tessellation 1
Inkscape
- Open Inkscape.
- Select the polygon tool and select 6 sides:
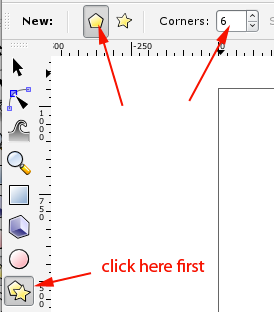
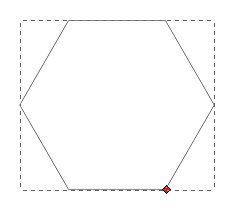
- Draw a hexagon. You can align one of the sides to the horizontal axis by dragging while holding down the CTRL key.
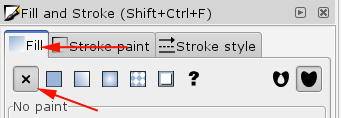
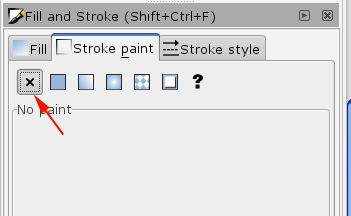
- Make sure your hexagon is not filled and has a stroke. Double click on the bottom left where you see the words fill and stroke to open up the palette, then select fill and no stroke:
- Under the Layer Menu select Add a Layer
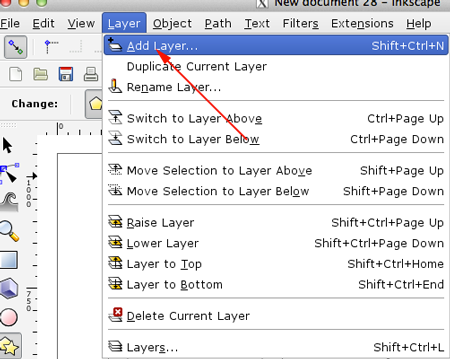
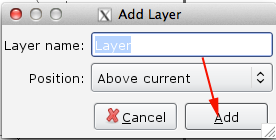
- Click on the Add button
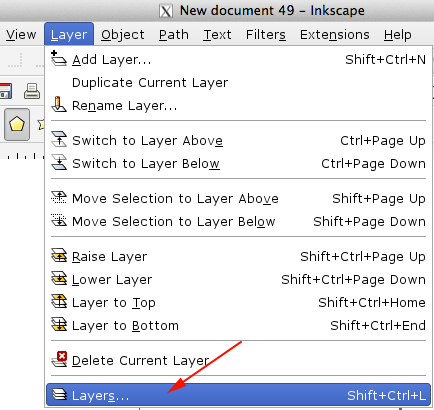
- Under the Layer Menu select Layers
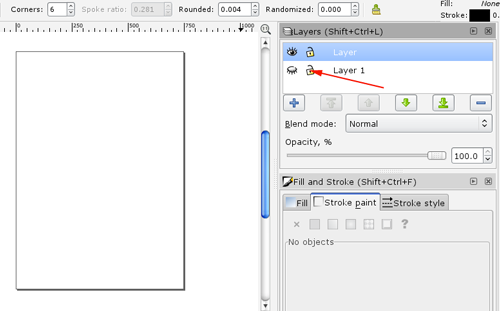
- Click the eyes to check that the hexagon is in the bottom layer
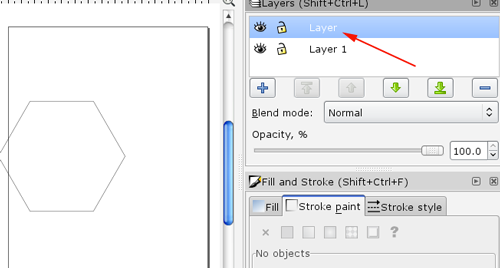
- Click on the top layer to make it active
- Select the bezier tool
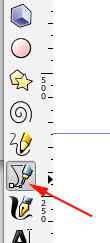
- Trace over one segment. To end drawing press RETURN
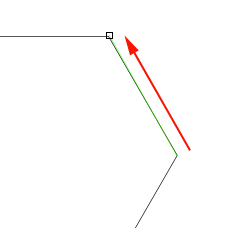
- Select the Edit Paths tool

- Select the endpoints of your line segment
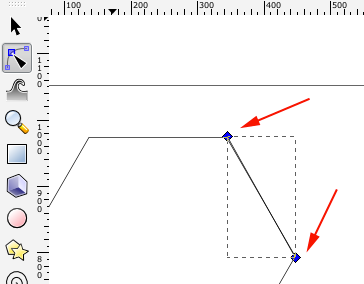
- Click on Insert new node a few times

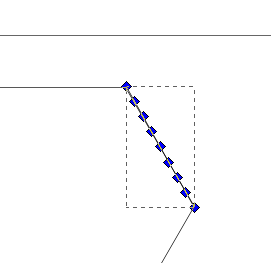
- Adjust the position of the nodes:
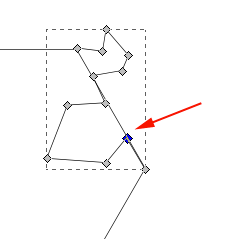
- With the Selection tool, select the segment and press CTRL+D to duplicate it
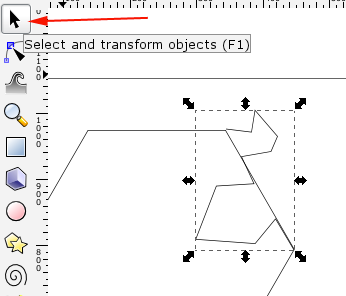
- Click twice on the dupe to enable rotation. You should see a crosshair in the center of the shape. This is the center of rotation
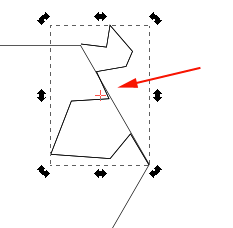
- Move the center of rotation:
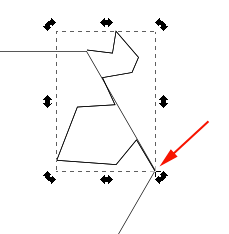
- Rotate the segment:
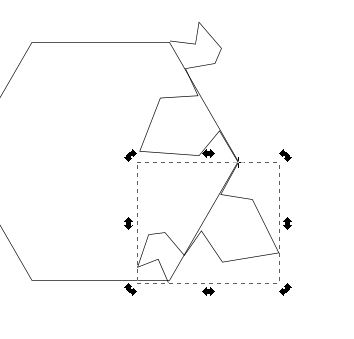
- Select the bezier toolagain and trace over another segment. To end drawing press RETURN
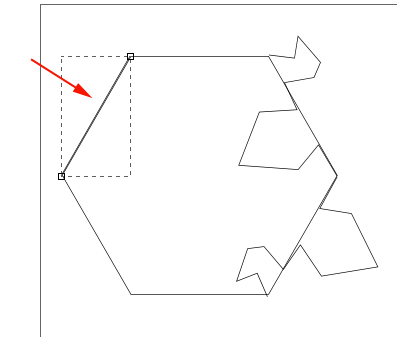
- Select the Edit Paths tool, select the endpoints of your line segment and click on Insert new node a few times
- Adjust the position of the nodes:
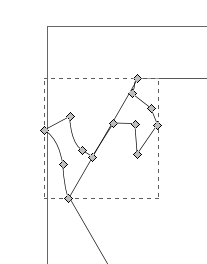
- With the Selection tool, select the segment and press CTRL+D to duplicate it
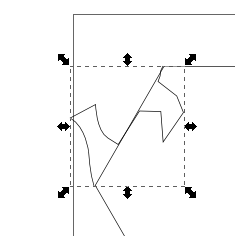
- Click twice on the dupe to enable rotation. You should see a crosshair in the center of the shape. This is the center of rotation
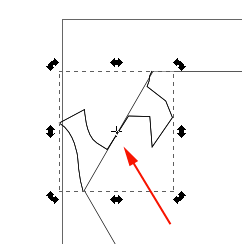
- Move the center of rotation:
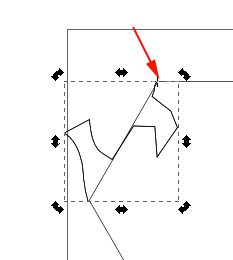
- Rotate the segment
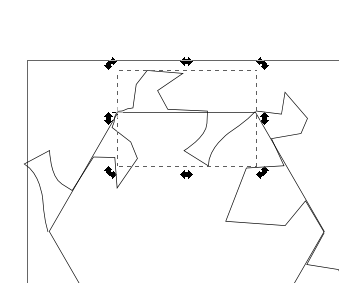
- Select the bezier toolagain and trace over another segment. To end drawing press RETURN
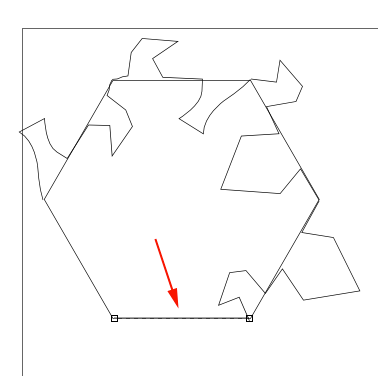
- Select the Edit Paths tool, select the endpoints of your line segment and click on Insert new node a few times. Adjust the position of the nodes
- With the Selection tool, select the segment and press CTRL+D to duplicate it
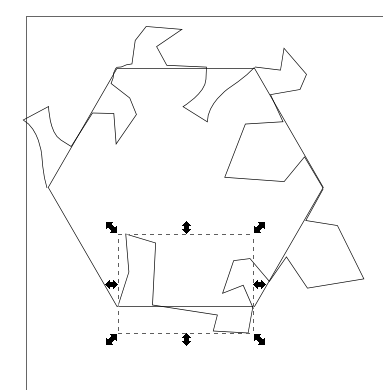
- Click twice on the dupe to enable rotation. You should see a crosshair in the center of the shape. This is the center of rotation
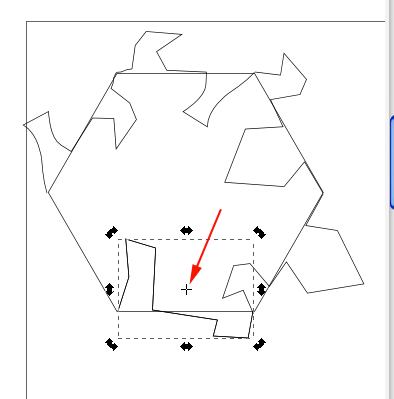
- Move the center of rotation: and rotate the segment
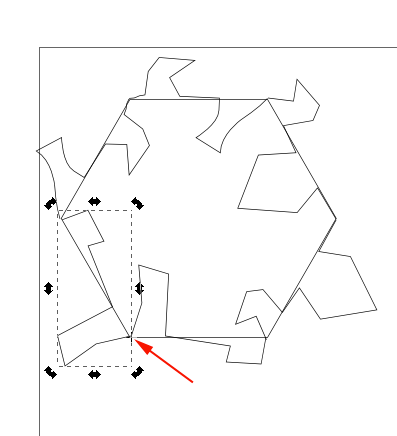
- Select two segments, then select the overlapping nodes (you may have to make tiny adjustments to align the nodes), then combine the nodes:
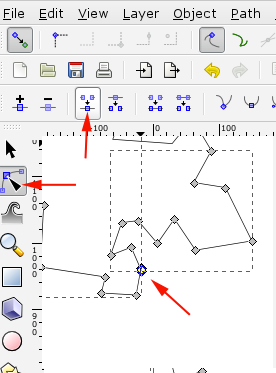
- If all goes well, you should be able to fill the shape:
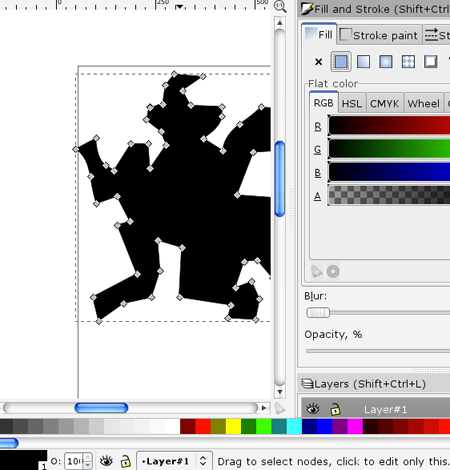
- Resize the tile to about 80 px
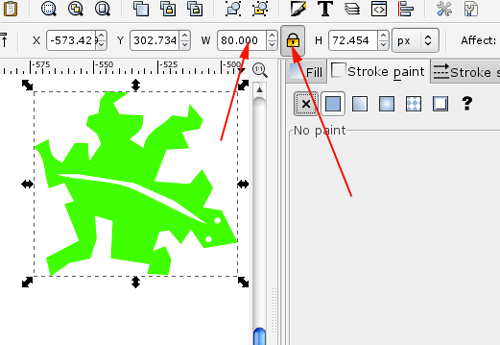
- Add a stroke of .2mm
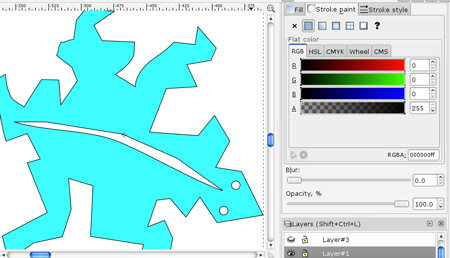
- Make a duplicate of the shape and change the fill color
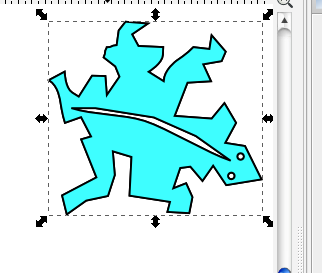
- Under the Paths menu select Dynamic Offset
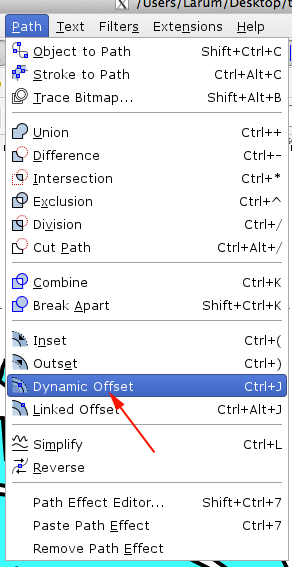
- Find the top node:
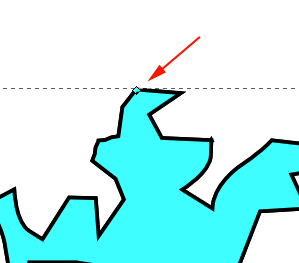
- Carefully drag the node down to shrink the duplicated copy. You just want the copy to fit inside the original's outline. This will allow your tiles to fit together once they are printed:
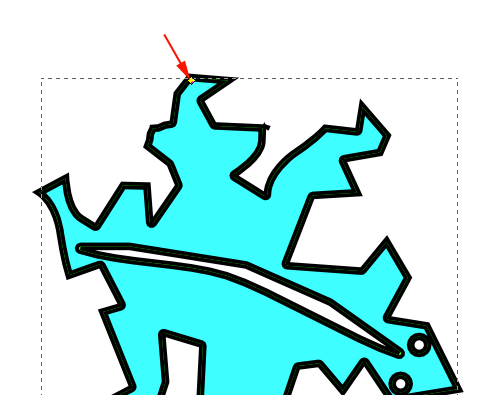
- Move the duplicated shape away from the original:
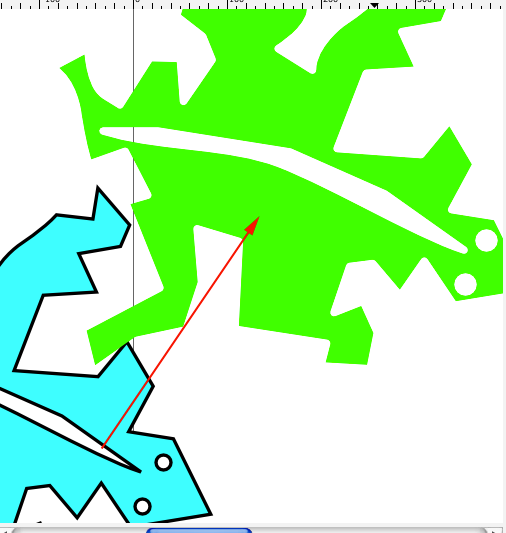
- Turn off the stroke on the duplicated shape
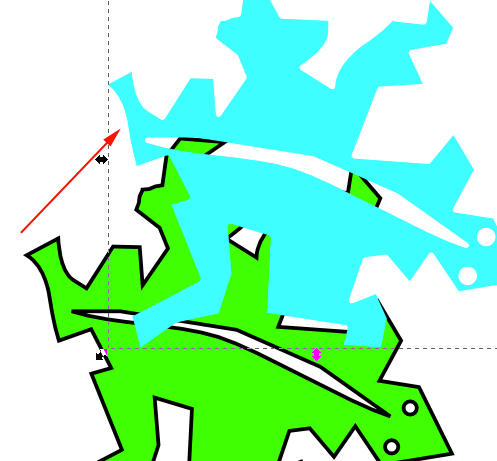
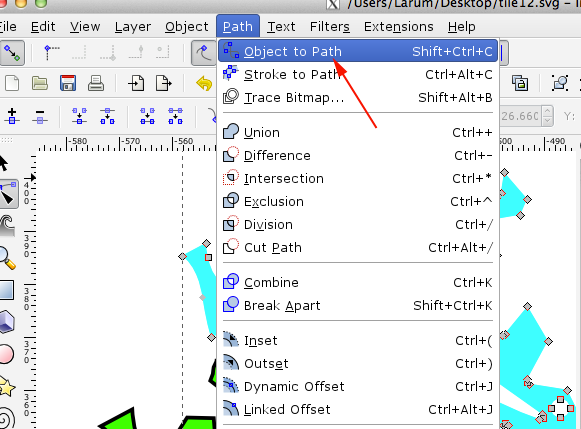
- Under the Path's menu select Object to Path
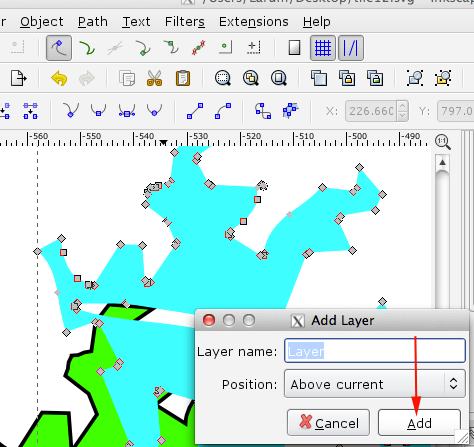
- Add a new layer:
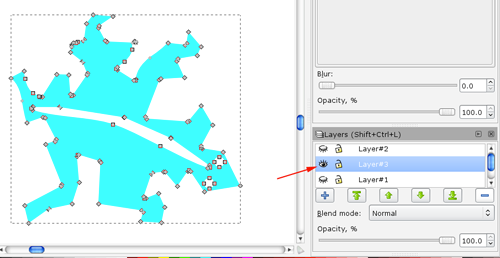
- Turn off the layers below. Your tile is now ready to be saved as an SVG
Tinkercad
- Open a web-gl enabled browser.
- Navigate to Tinkercad, sign in and create a new design.
- Import your SVG (scale at 100%)
- Adjust the extrusion
- Download for 3D printing
Tessellation with Glide Reflection
Inkscape
- Open Inkscape.
- Select the rectangle tool and drag a rectangle
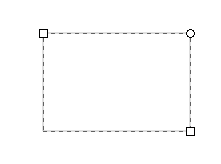
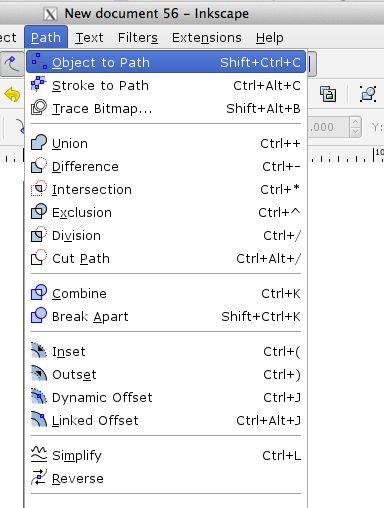
- Under the Path's menu select Object to Path
- With the Edit Path tool move the bottom left node up to meet the top left node
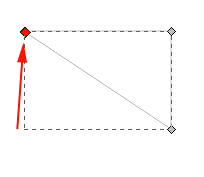
- Select the Selection Tool and click on the shape and press CTRL+D to create a duplicate
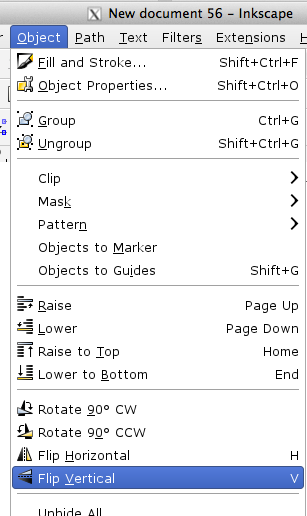
- Under the Object menu select Flip Vertical.
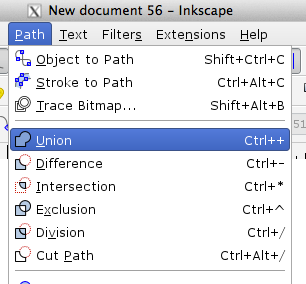
- Move the duplicated shape up. When aligned select both shapes and click on Union under the path menu to create one shape.
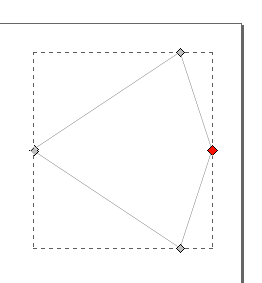
- Select the mid point on the base of the triangle and click on the combine node option
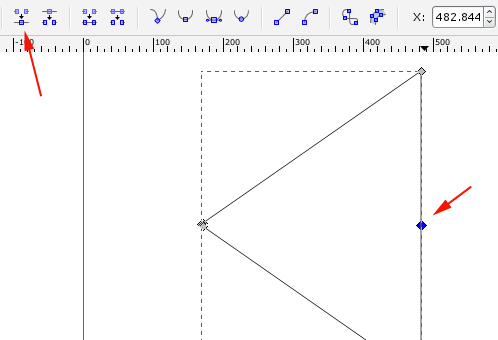
- Pull out the node to create a kite-like shape
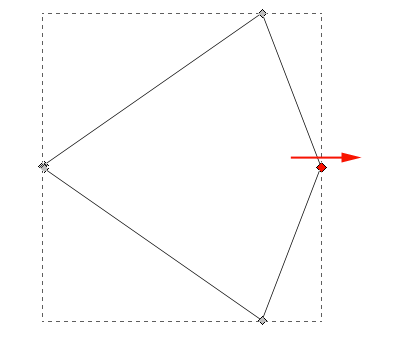
- Select the shape and flip horizontally.
- Under the Layer menu select Add Layer
- Click on the Add Layer Button
- Under the Layer menu select Layers
- Click on the eye to make sure your shape is on the bottom layer
- Click on the top layer to make it active
- Select the Edit Path Tool and draw a segment
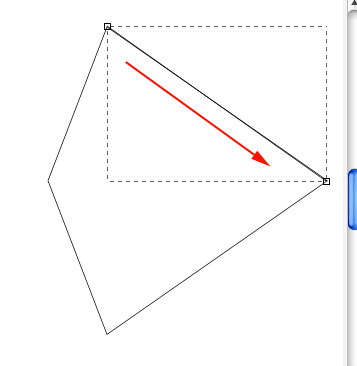
- Add points
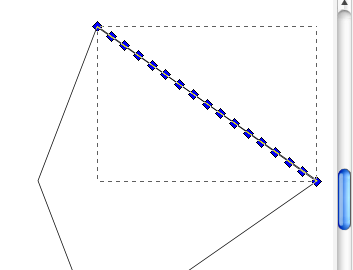
- Adjust them
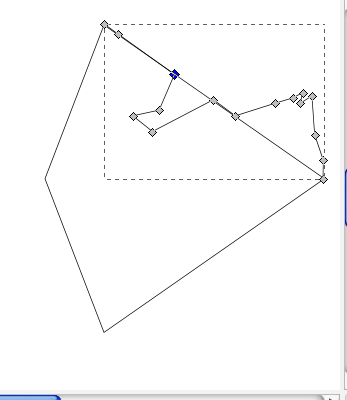
- Select the line and duplicated it
- Flip it horizontally and reposition it
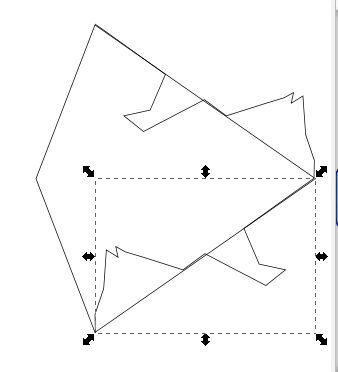
- Draw another segment
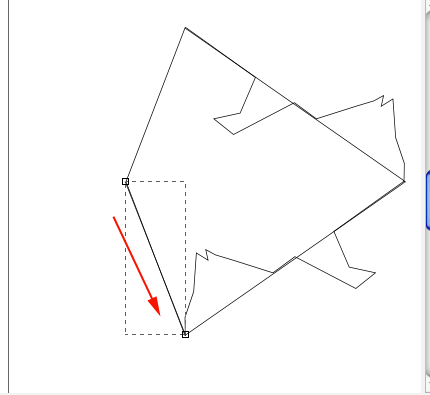
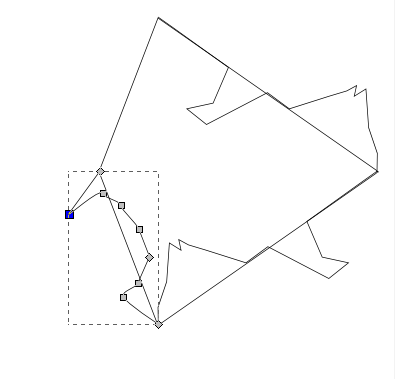
- Add points and adjust them
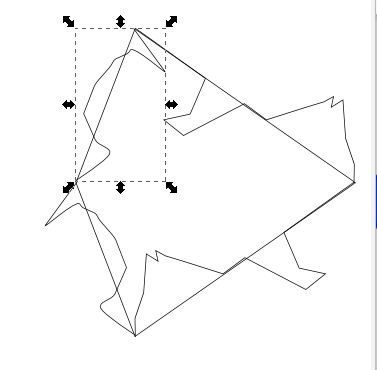
- Select the segment and duplicate it
- Flip it horizontally and reposition it
- Turn off the bottom layer
- Convert all your segments by selecting them and clicking on Object to Path under the Path menu
- Select the segments connected by an overlapping node, also select the overlapping node and combine the nodes
- Repeat for all sides
- You should be able to fill your shape
- Add embellishments
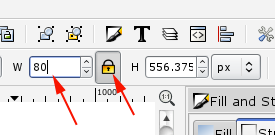
- Resize so that the width is around 80 px. Lock the width and height to preserve the ratio
- Zoom in.
- Add a stroke of .2mm and a lighter fill color
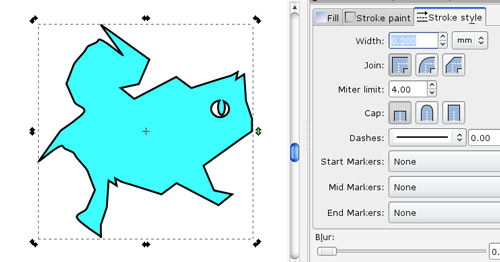
- Make a duplicate and change the fill color
- Turn off the stroke on the duplicate
- Select Dynamic Offset from the Path menu
- Move the node down so that the dupe just fits within the outline of the original
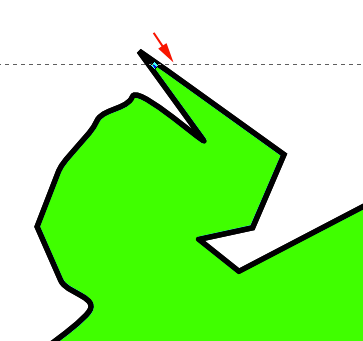
- Move the dupe away
- Put it on its own layer
- Turn off other layers
- Convert shape to a path and save as a svg
