Patterns
Patterns are all around us. We can observe them in our homes, schools, where we work, in our art and in our architecture.
A repeating pattern without gaps or overlaps is known as a tessellation.
In a tessellation there is a base tile that is repeated over a plane.
There are 17 known symmetry groups that form what is referred to as wallpaper patterns.
These symmetry groups refer to two-dimensional repetitive patterns and have been catorgoried by their symmentries: the types of
rotations, reflections, translations, and glide-reflections.
- Rotations are clockwise and can rotate by half-turns, 120 degree turns, 90 degree turns, and 60 degree turns.
-
A reflection is a flip along an axis:horizontal, vertical, or at some angle.
-
A translation is a move in which everything is moved by the same amount in the same direction.
-
Glide reflections are composed of a reflection across an axis and a translation along the axis.
While it may seem surprising, there are only 17 known patterns for tilings. Mathematician Evgraf Fedorov provided a proof in 1891, and
George Plya provided another for this fact in 1924.
A chart created by Dorothy Washburn and Donald Crowe can help you determine which of the 17 patterns your tiling is part of:
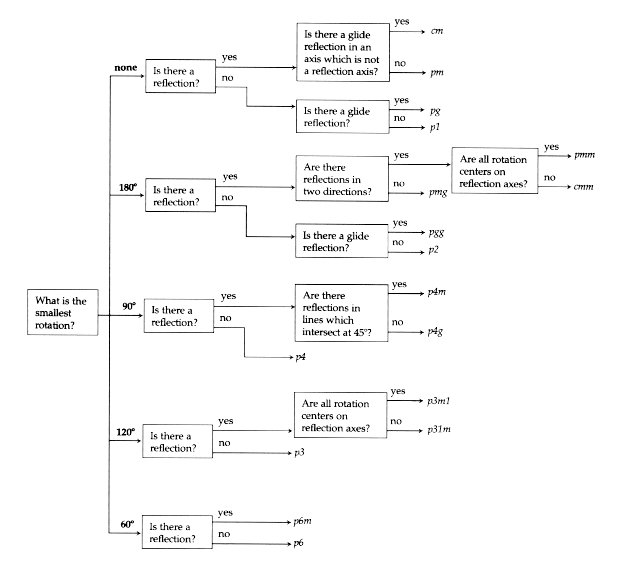 Source:
Symmetries of Culture
by Donald W. Crowe
Groups start with either
p or
c (primitive cell or centered cell).
The number
n represents the type of rotation.
m refers to mirror
g refers to glide
1 refers to translation
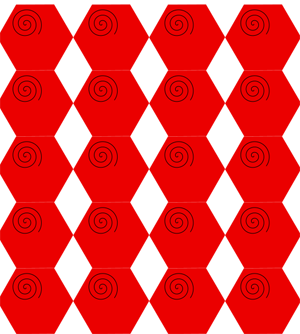
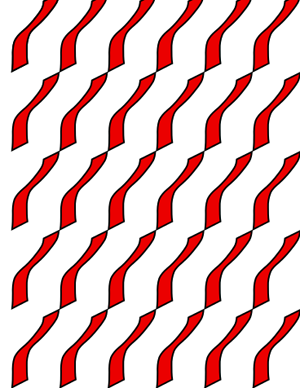
So for example Symmetry group
p1 is made up of only translations.
The picture remains unchanged no matter how many translations you apply.
This group has the simplest pattern and is easy to see:
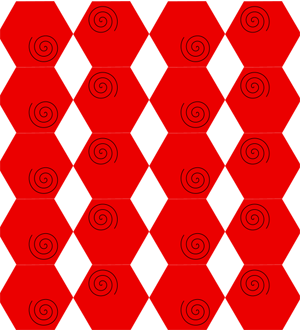
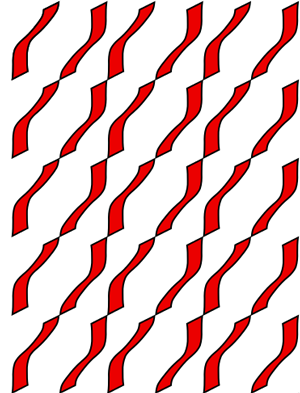
Symmetry group 2:
p2 is made up of both translations and rotations.
180 degree rotations are referred to as half-turns.
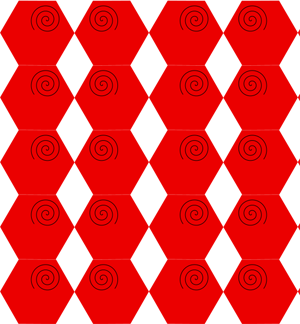
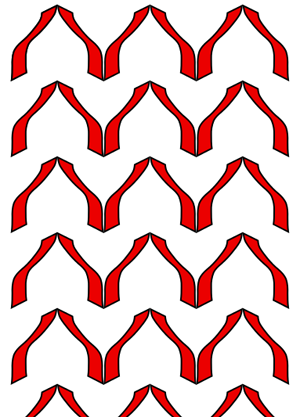
Symmetry group 3 (
pm) has reflections and translations. There are 2 types of
parallel reflections axes. These reflections are referred to as bilateral symmetries.
Symmetry group 4 (
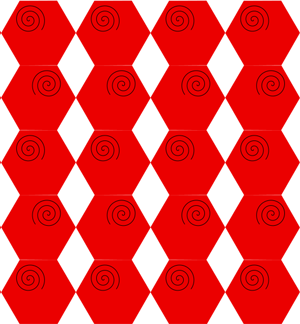
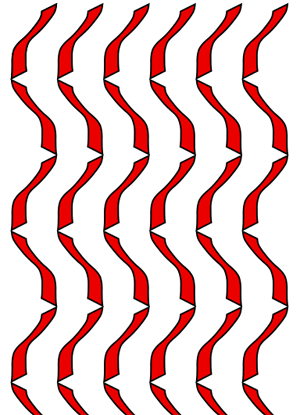
pg) contains glide
reflections and translations. Glide reflections are sometimes difficult to find when you are looking at the pattern.
The direction of a glide reflection is parallel to one
axis of translation and perpendicular to the other axis of
translation.
Symmetry group 5 (
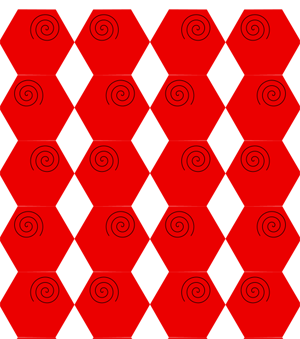
cm) contains reflections and glide-reflections with parallel axes and translations.
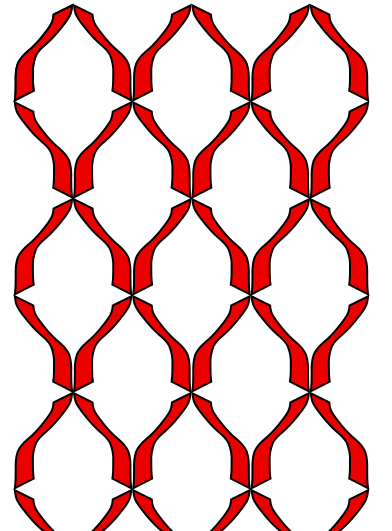
Symmetry group 6 (
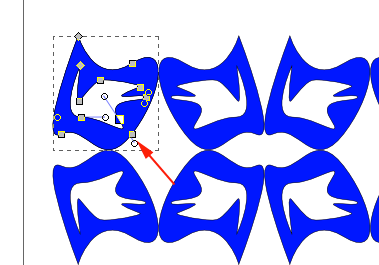
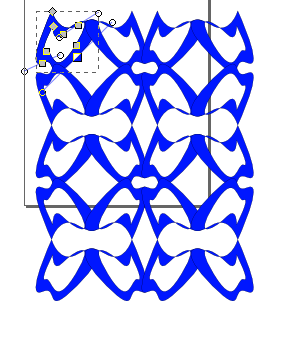
pmm)contains reflections whose axes are perpendicular. The rotations are half-turns.
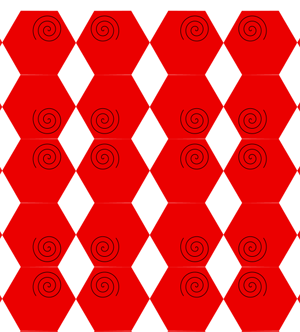
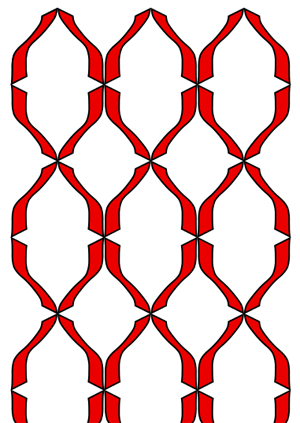
Symmetry group 7 (pmg) has reflections and glide reflections, as well as translations.
The red lines are the axes of reflection, green lines are the axes of glide reflections, and black dots are the fixed points of the half-turns.
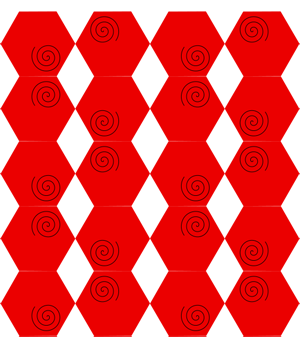
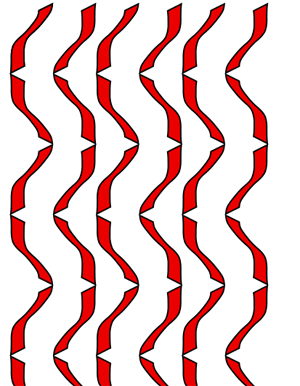
Symmetry group 8 (pgg) contains glide-reflections, half turn rotations, and translations.
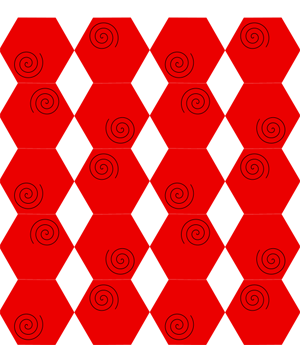
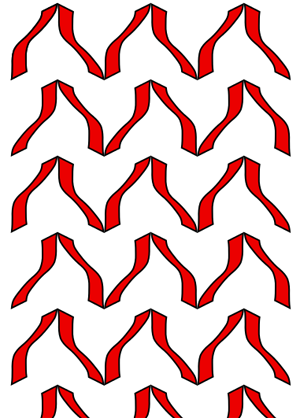
Symmetry group 9 (cmm) contains reflections and 180 degree rotations.
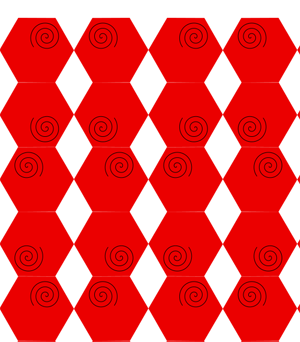
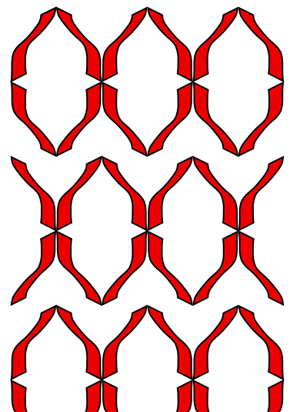
Symmetry Group 10 (p4) contains rotations and translations. This group contains 90 degree rotations,
while the previous groups do not.
The black dots in figure 11 represent the centers for the half turns and the blue squares represent the centers of the 90 degree turns.
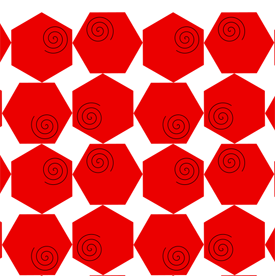
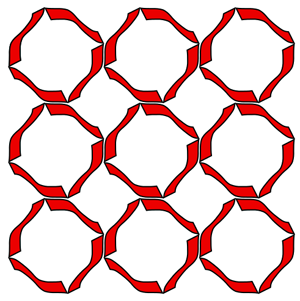
Symmetry Group 11 (p4m) contains rotations, translations, and reflections. The rotation centers lie on the reflection axes.
There are also glide-reflections in this group. This group contains 90 degree turns, half turns, and reflection axes at 45 degree angle.
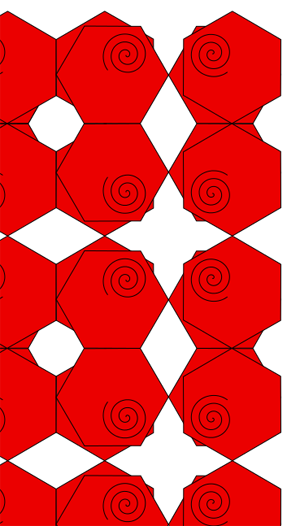
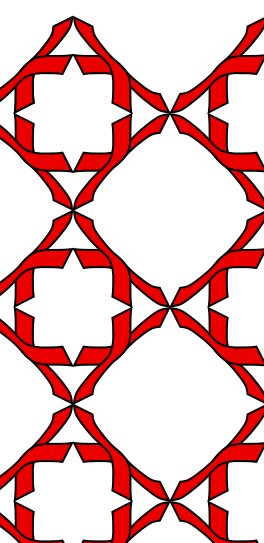
Symmetry Group 12 (p4g) This group contains reflections, glide reflections, and rotations. The axes of reflection are perpendicular at 90 and 180 degree angles. The lattice is square.
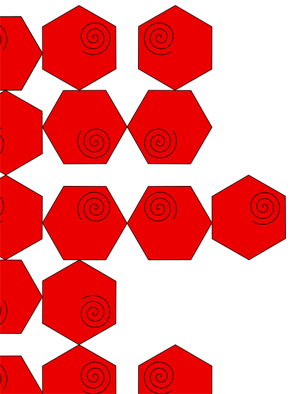
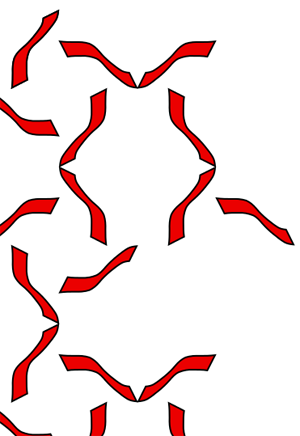
Symmetry Group 13 (p3) This group contains rotations and translations. The lattice is a hexagon. The rotations centers are found at the vertices and centers of the triangles, and are 120 degree rotations.
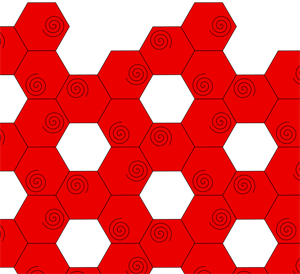
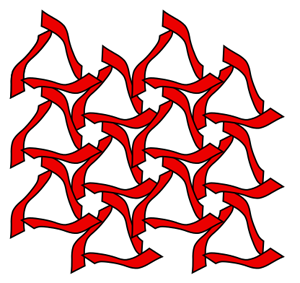
Symmetry group 14 (p31m) This group contains reflections, rotations, and glide reflections. The reflections are at 60 degree inclines to each other and the rotations are 120 degree turns. The lattice is a hexagon. The reflection axes are parallel and make equilateral triangles. The axes of glide reflections are halfway between the reflection axes.
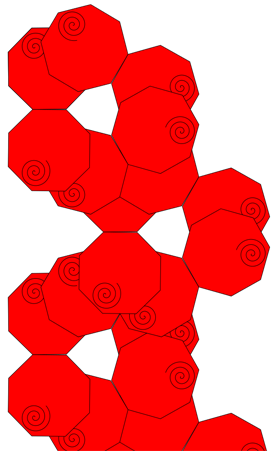
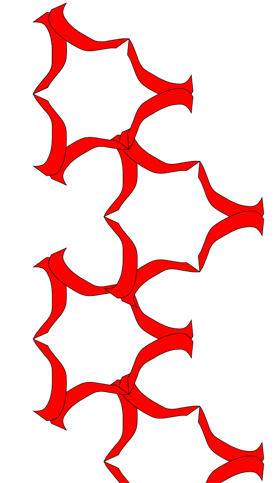
Symmetry Group 15 (p3m1) This group is similar to p31m. The difference is that all of the centers of rotation lie on the reflection axes. The lattice is a hexagon.
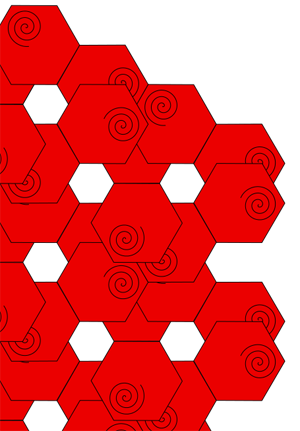
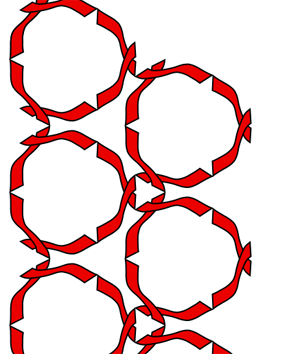
Symmetry Group 16 (p6) This group contains rotations and translations. The rotations are at 60 degrees, 180 degrees, and half turns. The lattice is a hexagon. There are no reflections in this group.
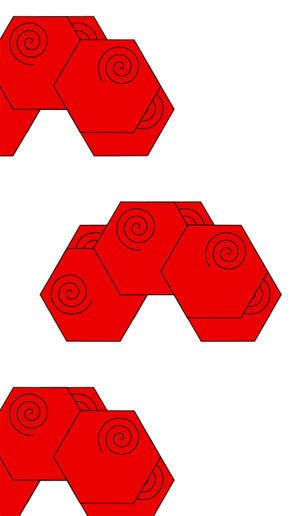
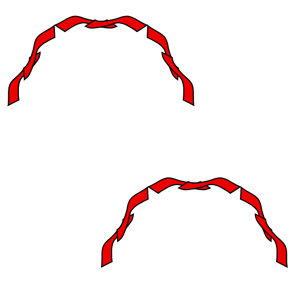
Symmetry group 17 (p6m) This is the most complicated group of them all. It contains reflections, rotations, translations, and glide reflections. The rotations are at 120 degrees, 60 degrees, and 180 degrees.
The lattice is a hexagon. The axes of glide reflections are halfway between the parallel reflection axes. They pass through the centers of the half turns.


There are three regular polygons that satisfy the requirement of covering a plane without gaps or overlaps.
These regular polygons are:
- Triangles
- Squares
- Hexagons
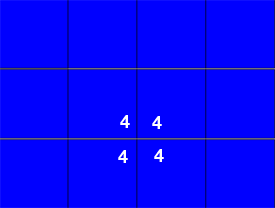
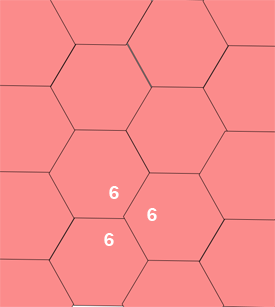
There is a way to symbolize the tilings using numbers. Each number in the sequence denotes
the polygon at each vertex.
333333 is the symbol for the tessellation of triangles
4444 is the symbol for squares
666 is the symbol for hexagons
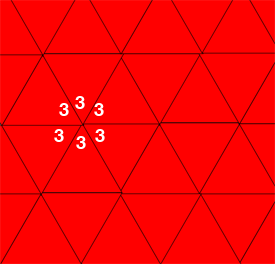
A complete set of tiling symmetries requires taking
these shapes and adding rotations and reflections. There are 17 known tiling symmetries.
- Sphericons
- Customizable Rose pattern
- Customizable curve generator
- Penrose
Print lots of each rhombus. Turn off fill in order to print just the perimeter (this makes them print fast and snap together easily). Using Multiply, I managed to cram 16 of rhomb1 onto a TOM build platform and 18 of rhomb2 (it helps to use some negative separation with rhomb2). This would be a perfect use for an Automated Build Platform, but mine isn't attached right now. I can still print upwards of 30 tiles per hour.
Assemble. It's easy to get stymied (for instance, nothing can attach to certain parts of the black star). The arcs also represent the maching rule, so lining up arc segments helps to figure out where pieces can go. The arcs are formed by thin slices out of the STLs; they only go halfway up so you can tell which side is the top. As the pattern gets larger, the ratio of rhomb1 to rhomb2 tiles will approach the golden ratio (~1.618), because math is awesome.
The OpenSCAD file is fully parametric in case you want to modify these.
Inkscape
Inkscape is a free vector graphics editor.
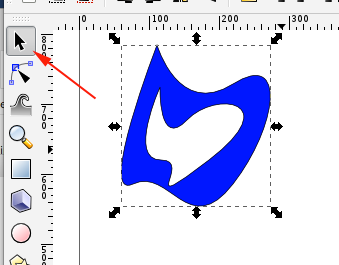
One of the great things about a vector program is that it allows you to clone objects.
What that means is not only can you make a copy of an object, but when you change the original the clones also change.
Moving the original or a clone will not affect either the clone or the original, but if you edit the original or apply a transformation to it, like rotation, scale or skew will.
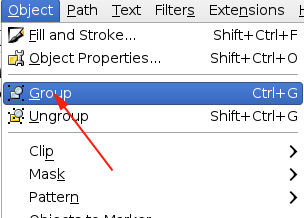
Any object can be cloned - path, shape, text or bitmap. If you need to get a clone of several objects at once, you can group them and then clone the group.
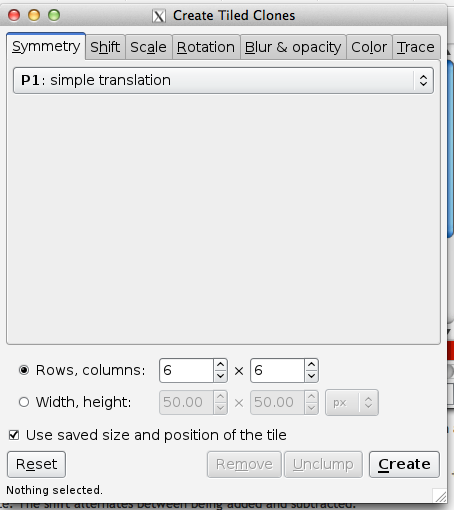
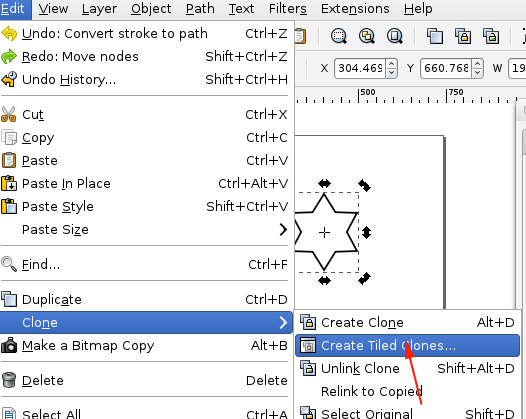
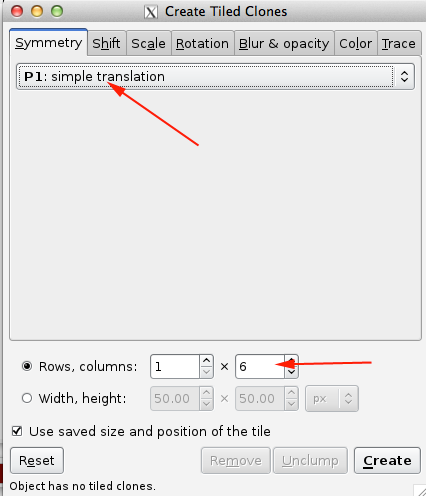
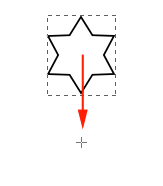
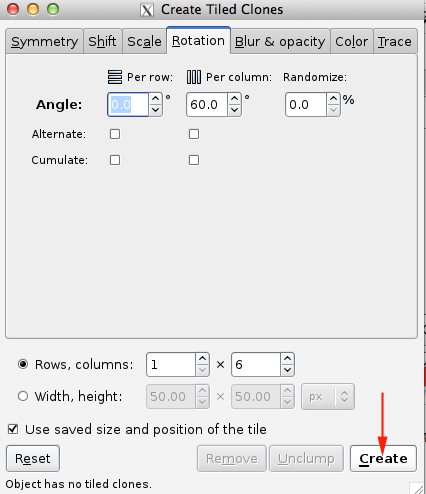
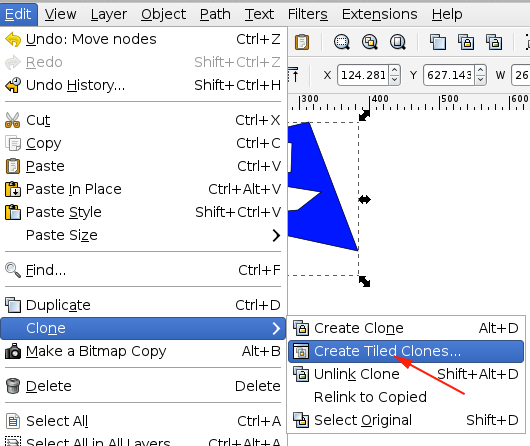
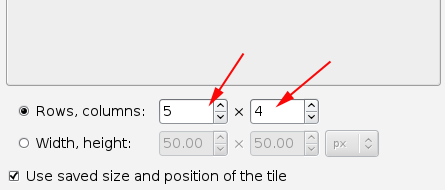
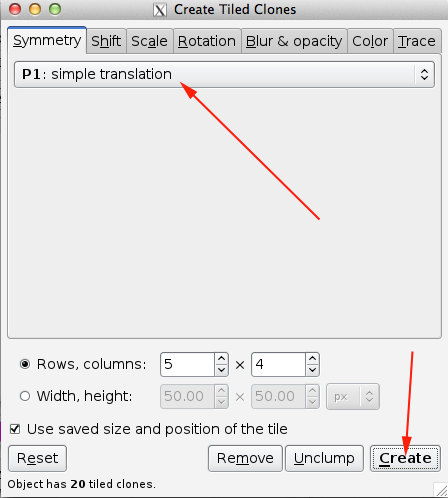
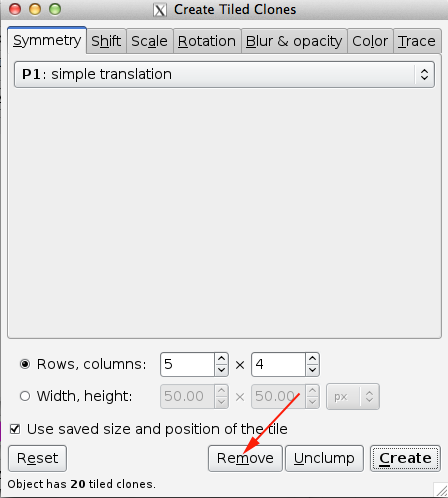
Inkscape also provides a convenient way for you to create patterns through the Create Tiled Clones menu.
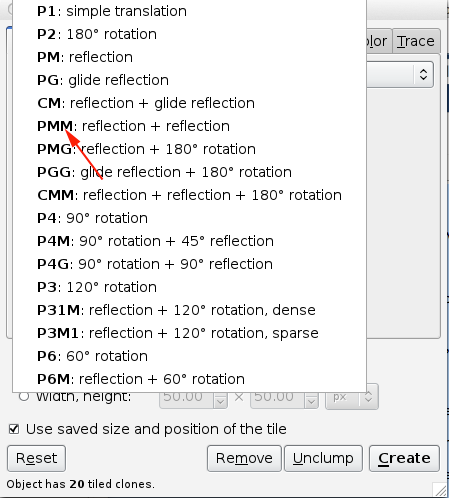
You can choose your symmetry from the pull-down menu under the Symmetry tab.

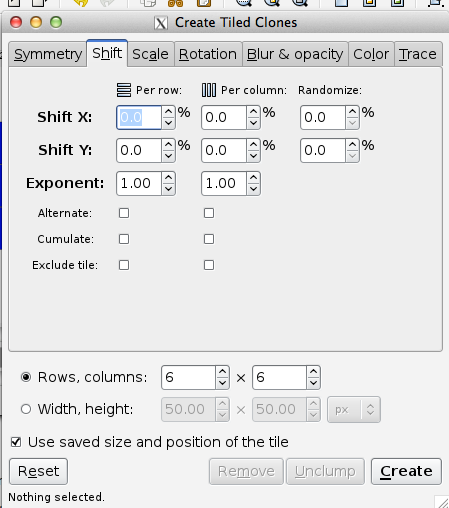
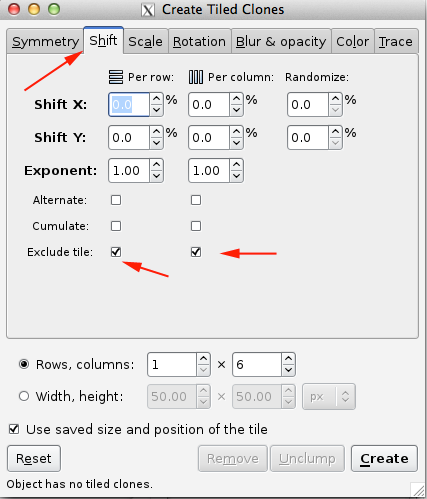
The Shift tab allows you to vary the spacing between tiles. With the default parameters, rectangular tiles are arranged so that their Geometric bounding boxes are touching. The following options are available to add or subtract space between the tiles:
Shift X, Shift Y: Adds (or subtracts) to the tile spacing in units of bounding box width and height. A random factor can also be added.
Exponent: Changes the exponent factor z so that position of each tile is x (or y) = (1 + "shift")z.
Alternate: The shift alternates between being added and subtracted.
Cumulate: The previous shift is added to the new shift. For example, if there was a Shift X of 10%, normally the space between subsequent tiles would be 10%, 20%, 30%, and so on. With this option, the shifts become 10%, (10+20)% (10+20+30)%, etc. This is useful when one is also scaling the tiles to keep the tile spacing constant.
Exclude tile: The tile width or height is excluded in the calculation of tile spacing. This is useful when using the Rotation option to put tiles on a circle. In this case, it is a shortcut for specifying a -100% shift.

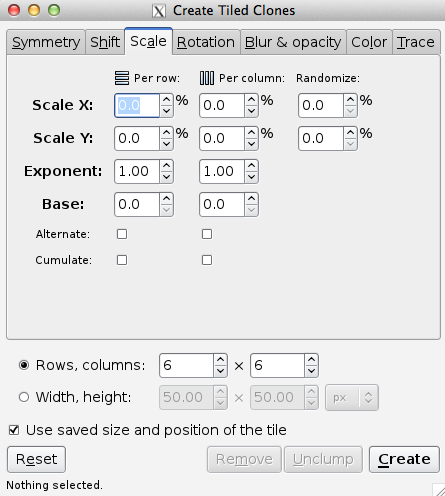
The Scale tab allows one to increase or decrease the size of the tiles depending on the row and column position. The following options are available to scale tiles:
Scale X, Scale Y: Scales each tile in terms of percentage. A random factor can be added.
Exponent: Scale each tile with an exponential factor. The nominal scaling S becomes Sexponent.
Base: Used to create a logarithmic spiral along with Rotation. The nominal scaling S becomes baseS-1 unless base is one in which case scaling remains unchanged. Use a value less than 1 for a converging spiral and a value greater than 1 for a diverging spiral. A true logarithmic spiral would use a base of e = 2.718 (or 1/e = 0.368). See the Tile Tricks section for examples.
Alternate: Alternate scaling up and scaling down tiles.
Cumulate: Scaling is cumulative.

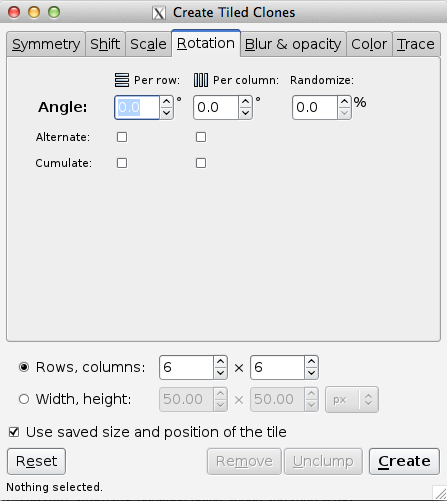
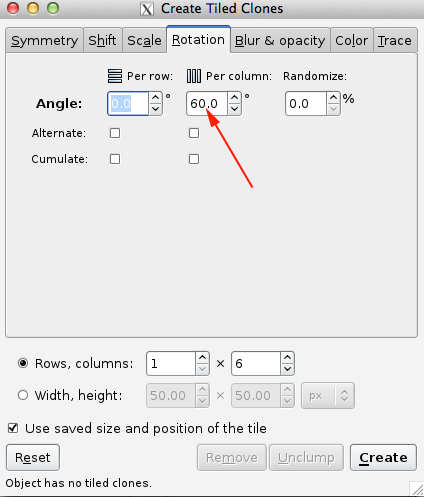
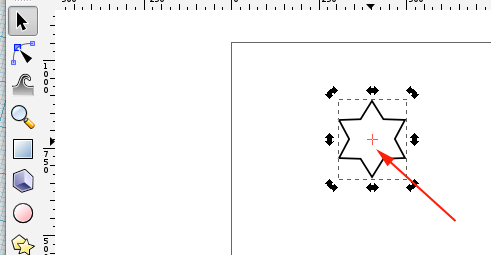
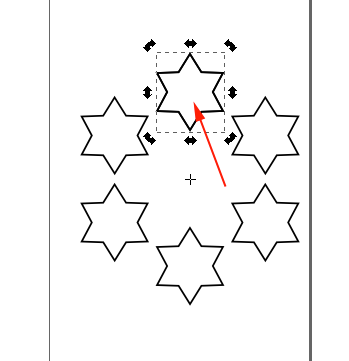
The Rotation tab allows one to rotate the tiles depending on the row and column position. Rotation center is used as the center of rotation. See the Tile Tricks section for examples of using a shifted Rotation center. The rotation is specified in degrees. The following options are available:
Angle: Rotate by this amount around the Rotation center. A random factor can also be added.
Alternate: The rotation alternates between being added and subtracted.
Cumulate: Rotation is cumulative.

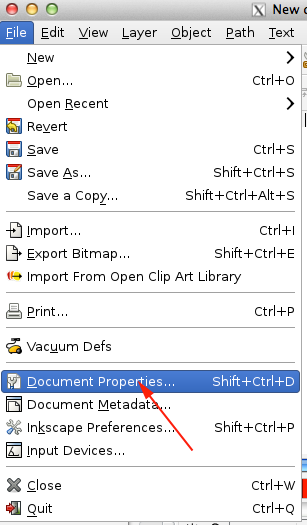
- Create a new document and open Document Properties:

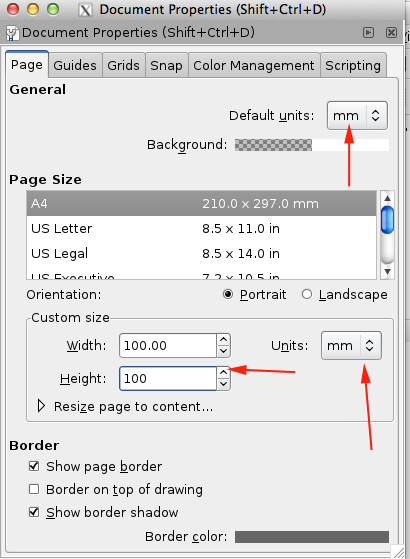
- Set the properties:

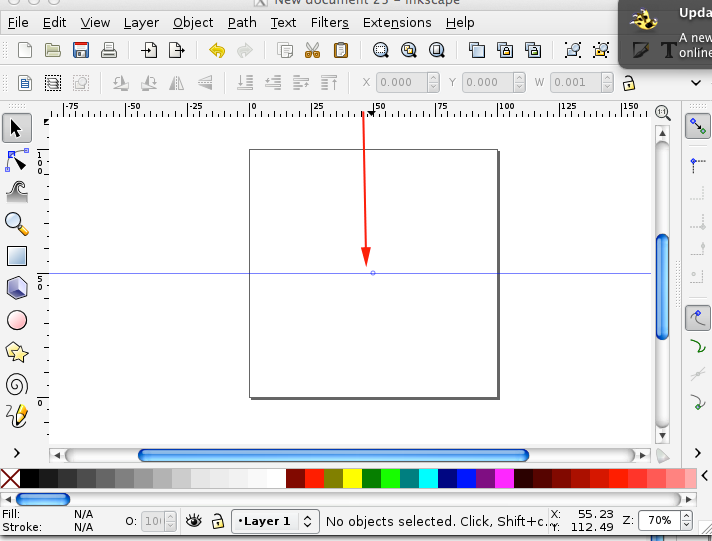
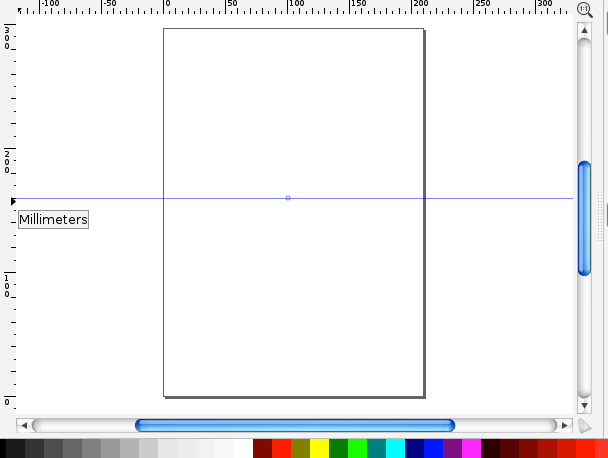
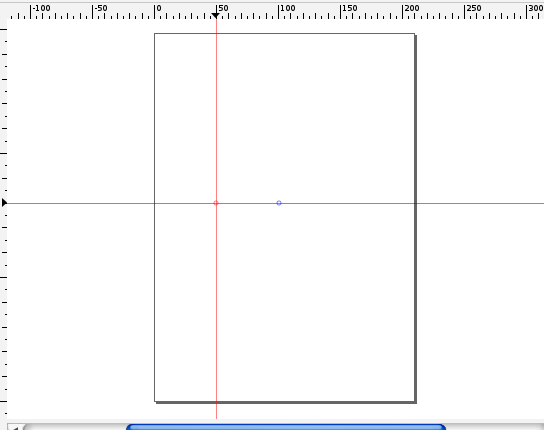
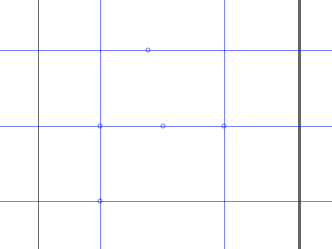
- Set midpoint by clicking and dragging from ruler:


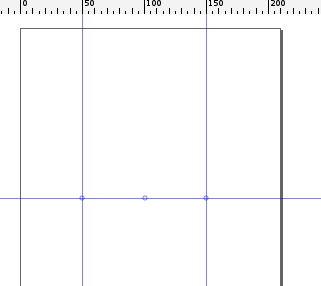
- Set boundaries:


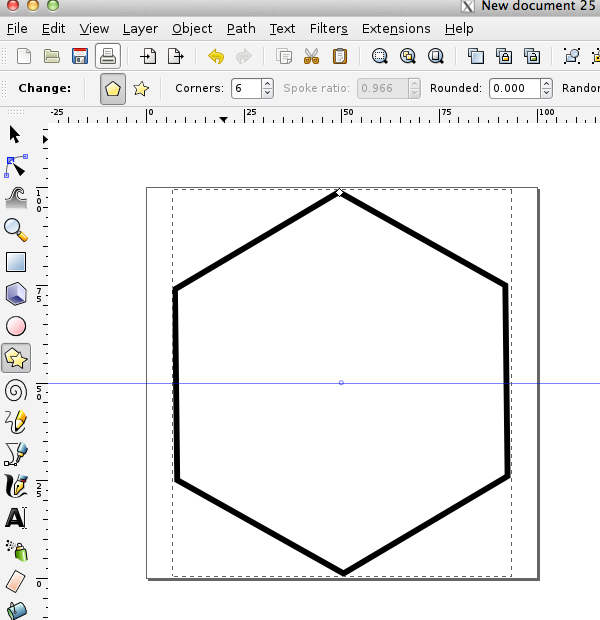
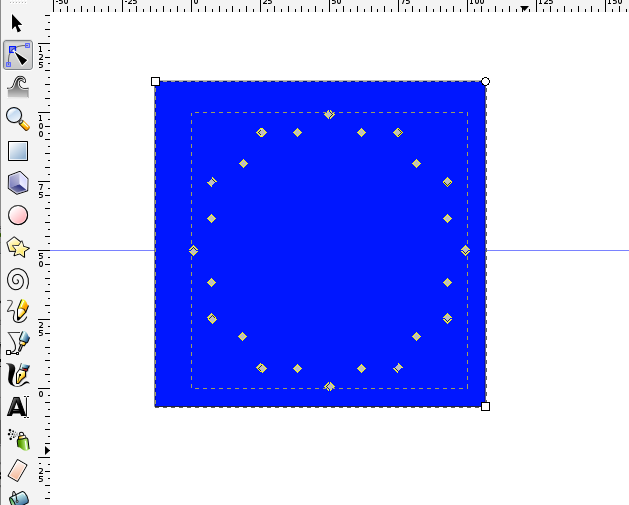
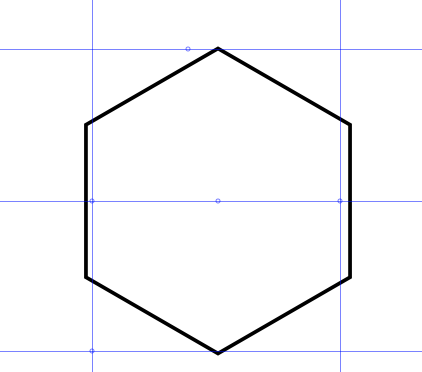
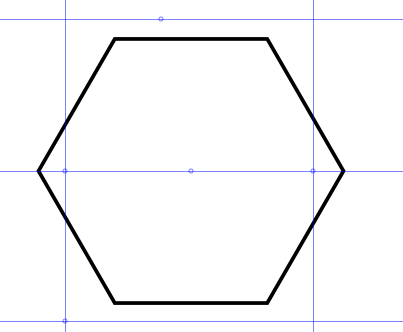
- Click on the polygon tool, select 6 sides and while holding CTRL drag a shape inside your boundaries:

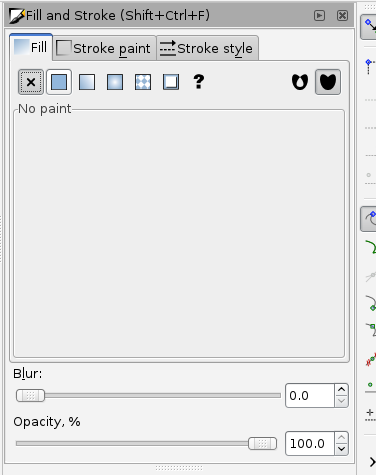
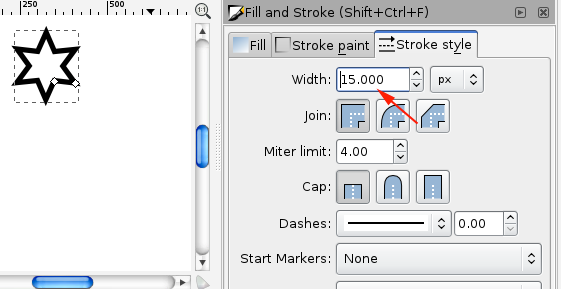
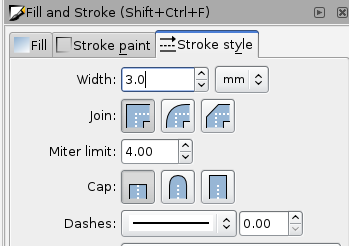
Set the Fill to None and the stroke to 3mm

- Draw another polygon or
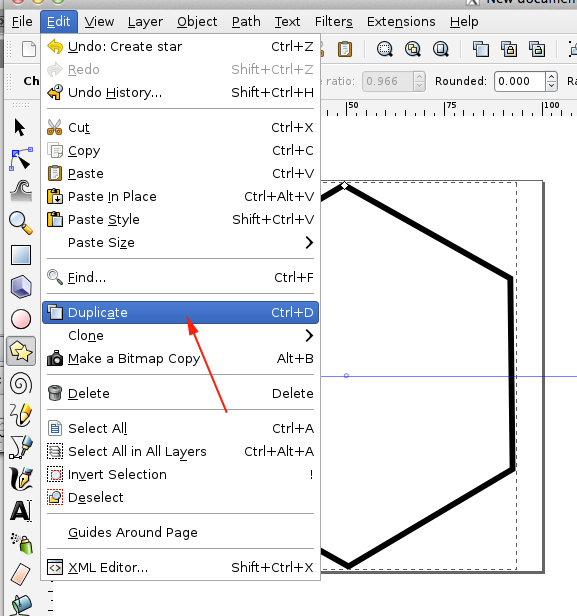
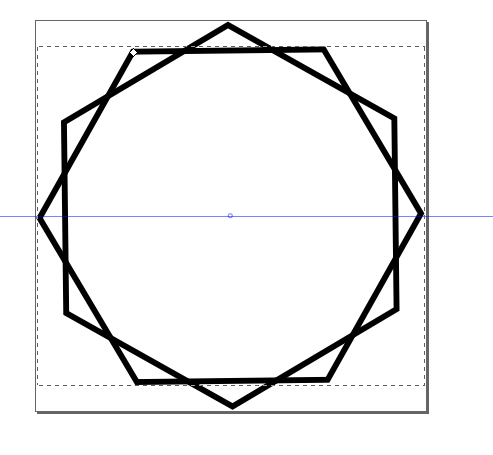
- Duplicate the shape (CTRL+D):

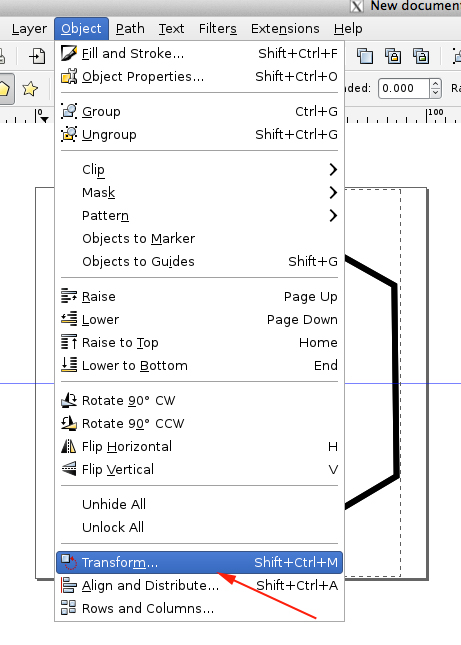
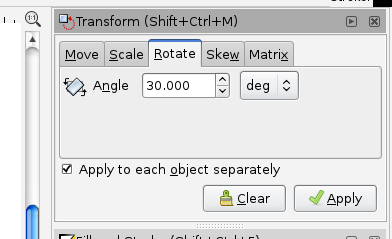
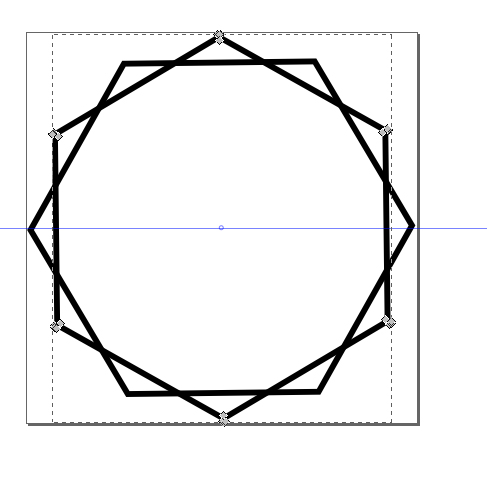
- Transform the shape (you want to rotate the polygon by 30 degrees):

- Enter 30 degrees and apply:


-
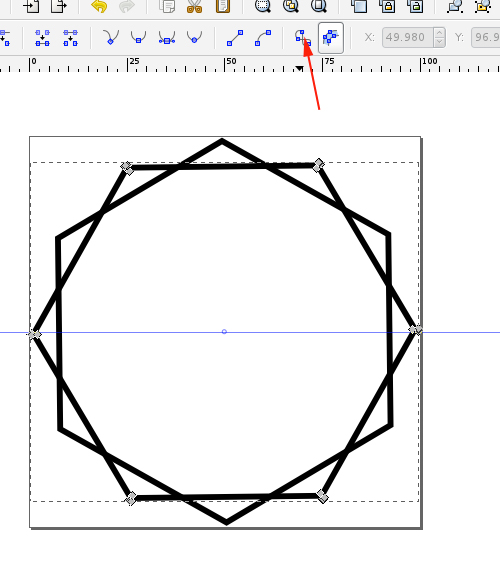
- Convert the shape to paths:


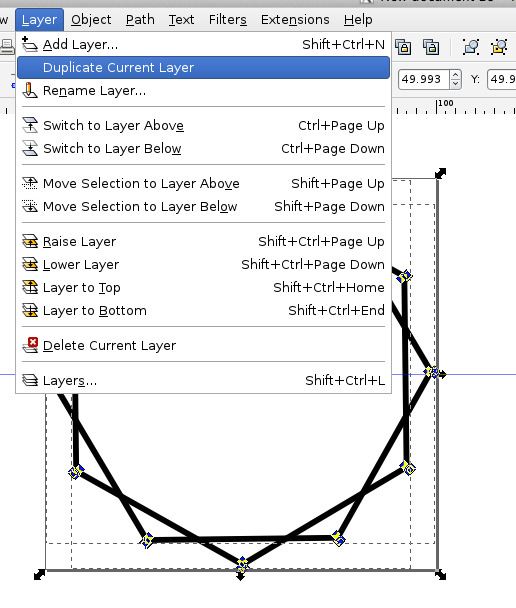
- In the Layer menu, select Duplicate current layer:

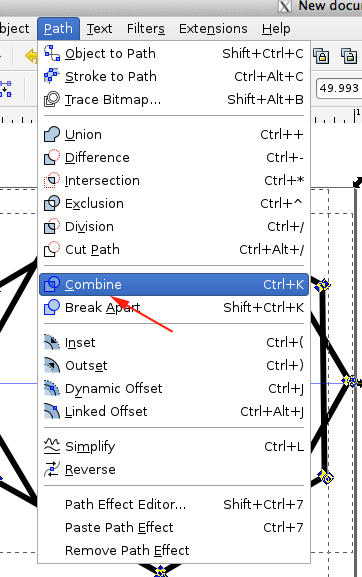
- Open Layers, turn off top layer by clicking on the eye. Select both paths from bottom layer and combine:

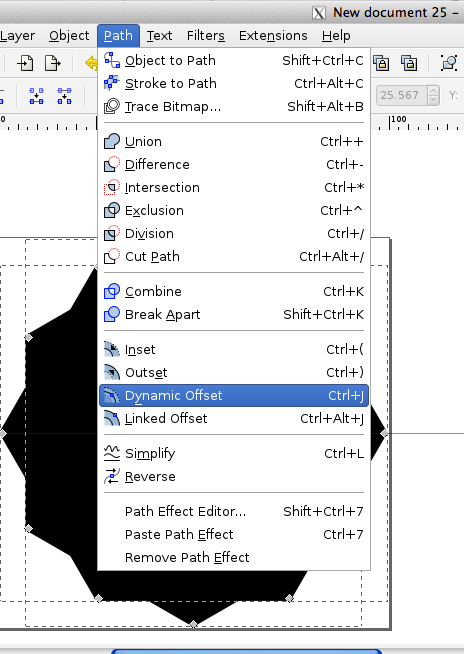
- Fill the selection, then select Dynamic Offset (CTRL+J)

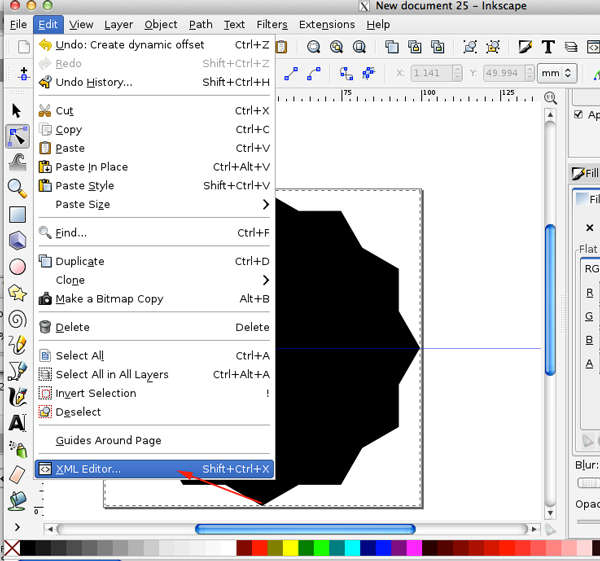
- In the Edit menu, open the XML menu:

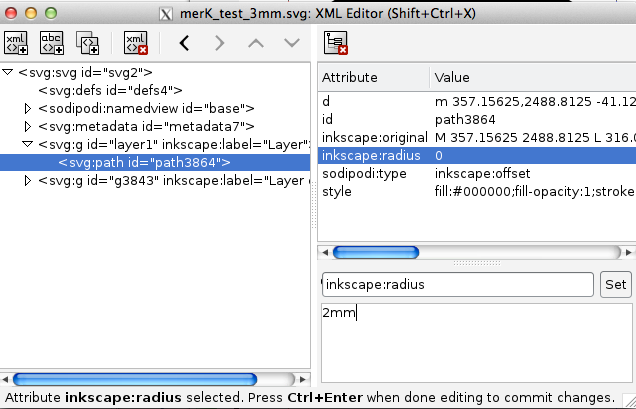
- Set the offset radius to 2mm:

- This will automatically convert to pixels when you click on Set:

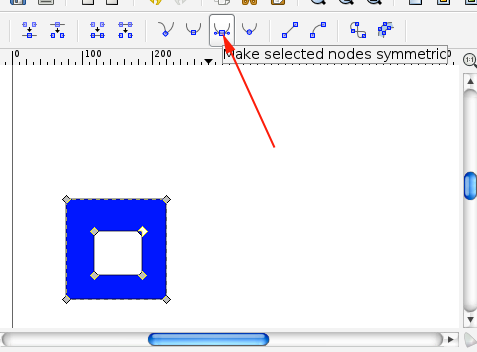
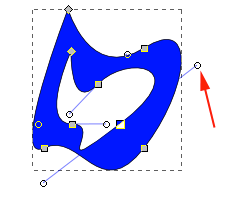
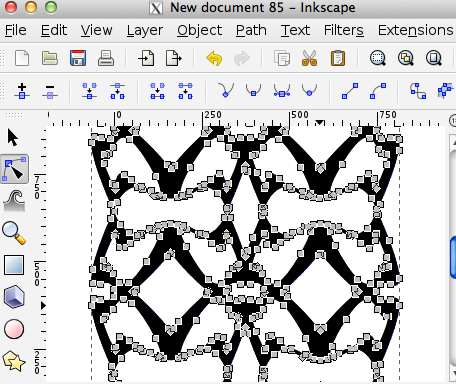
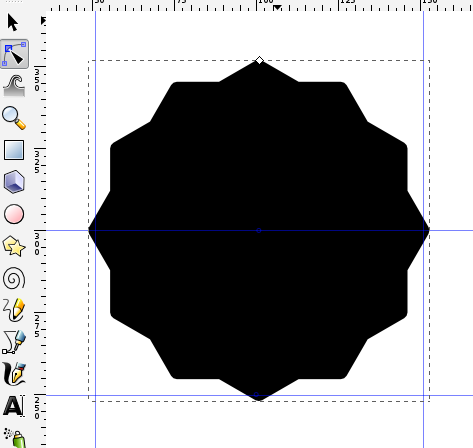
- The offset will no longer be comprised of nodes. Convert the offset shape to a path.

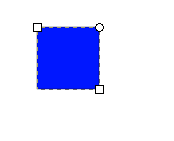
- Add a square over it:

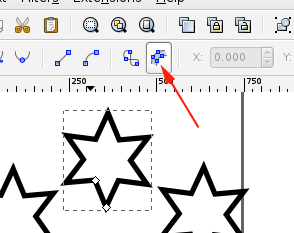
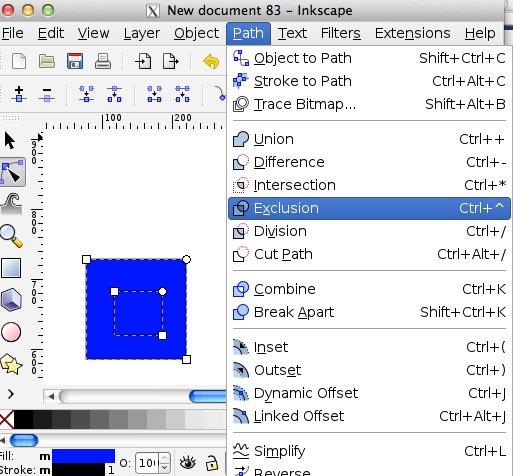
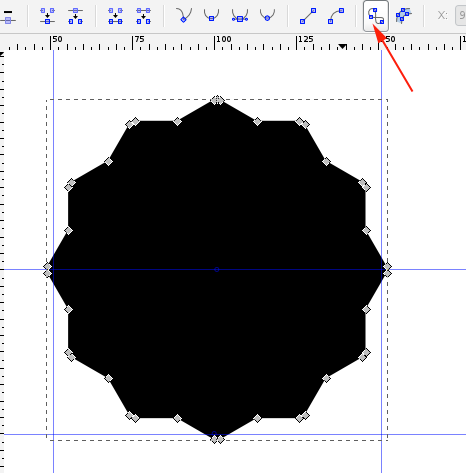
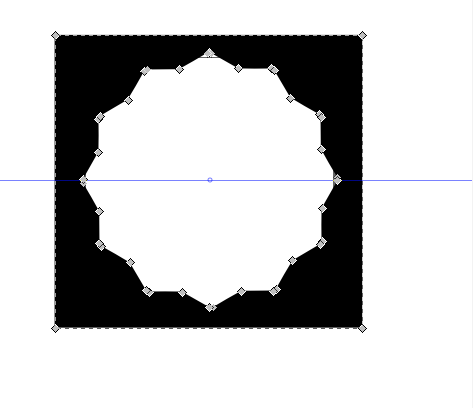
- With the node select tool, select all the nodes and select Exclusion:

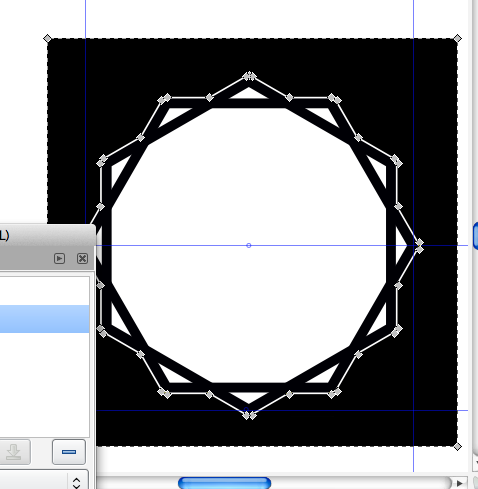
- This is what you should see with both layers turned on:

- Turn off the bottom layer. Make a few duplicates of the current layer and then make a few versions like this:

And others like this:

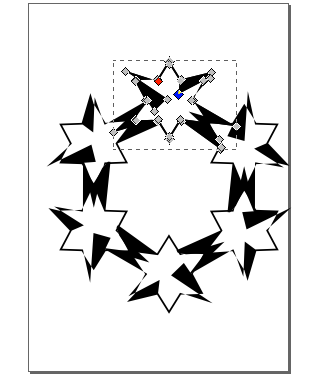
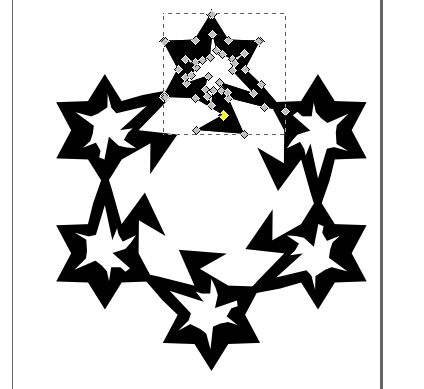
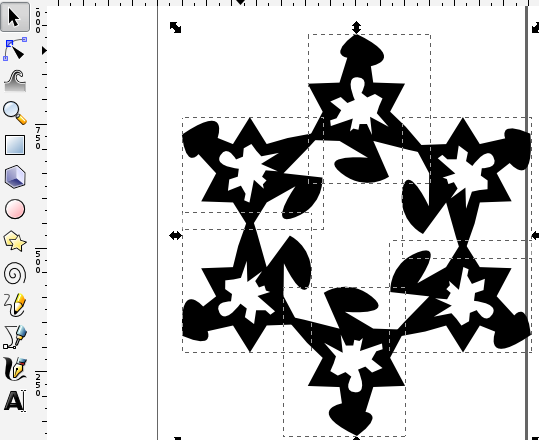
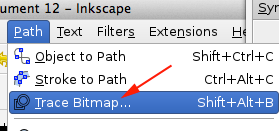
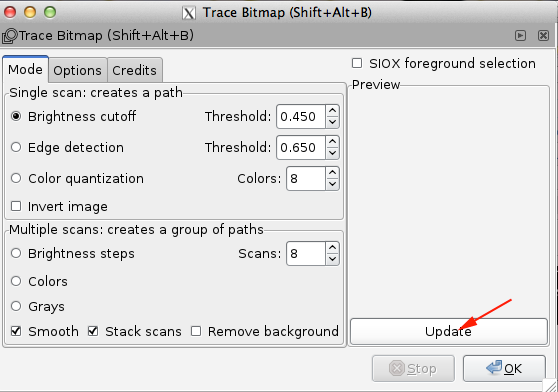
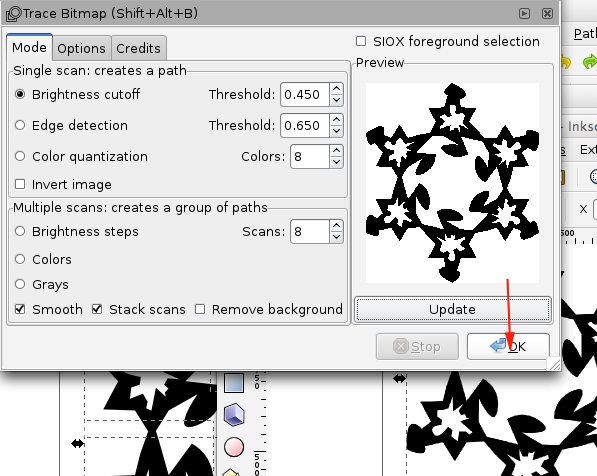
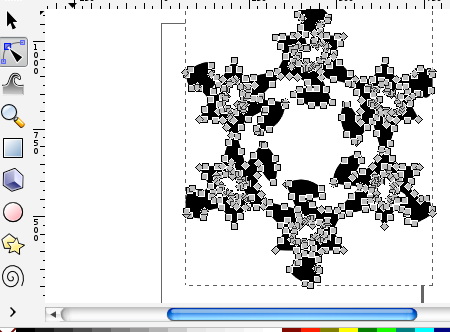
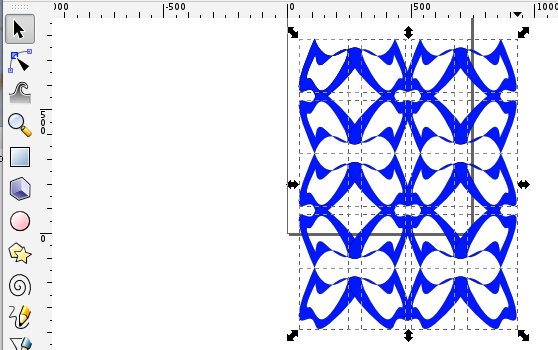
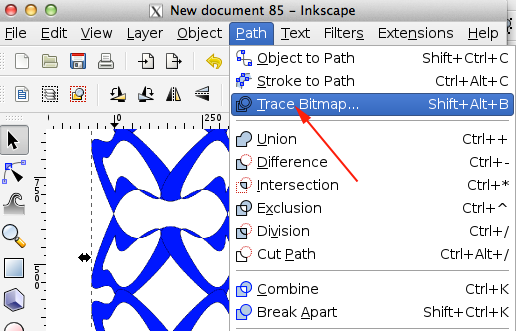
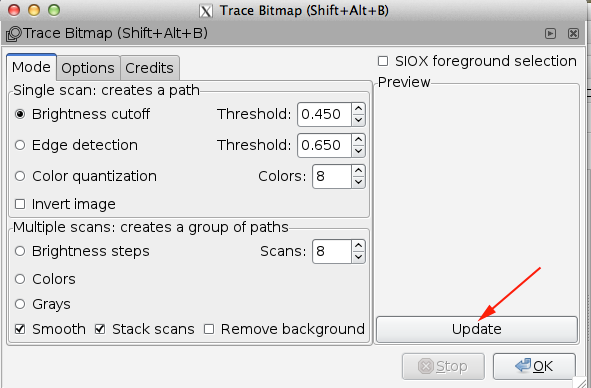
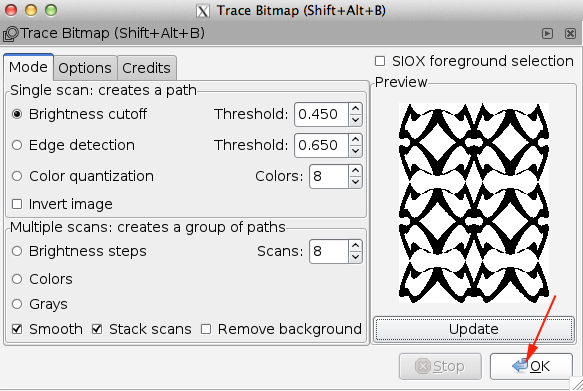
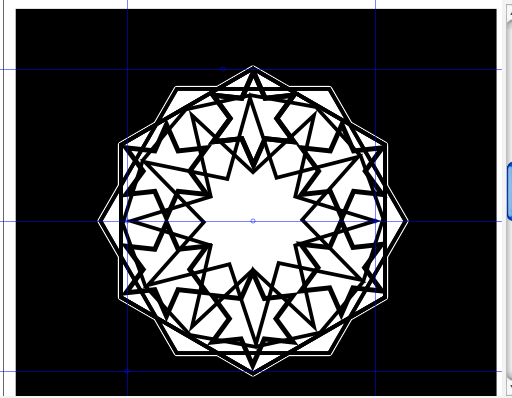
- Add circular patterns from another document (you'll have to trace bitmaps and delete the copies because you'll need all the patterns to be paths. Keep your layers organized. When they are all turned on, you should see something like this:

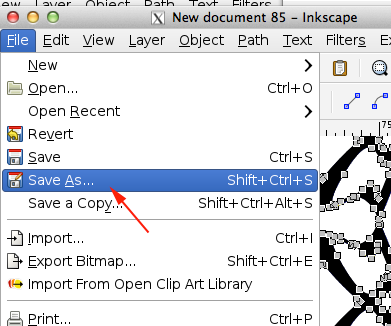
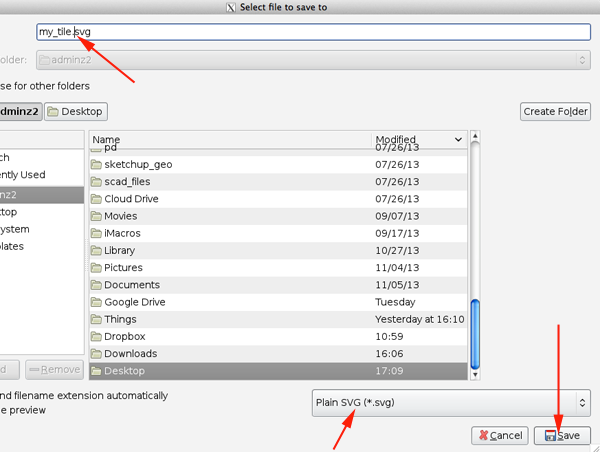
- Turn off all the layers, then starting at the bottom, turn one on at a time and save each as an svg in order to extrude each layer for 3D printing
Customizer
Thingiverse is the universe of things. It is a place where people share what they have made with the rest of the community.
A parametric model is that which is created by attributes that can be adjusted.
Customizer by is a way to
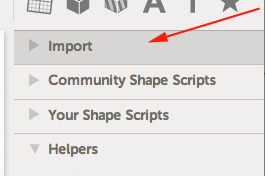
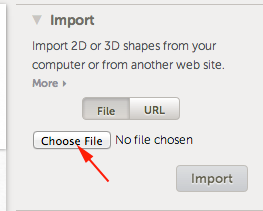
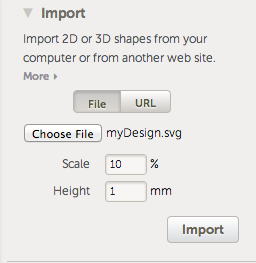
create parametric models that you can share, download and print. A customizer file is created using OpenSCAD, a scripting language used to define 3D models, and then uploaded to Thingiverse. This file is tagged as Customizer, which allows you to open the script in the customizer application.
Pattern Maker is an OpenSCAD file that allows a user to specify geometry, overlap, thickness and size of a pattern.
Patterns in Art
There are four basic shapes, or groups that repeat in Islamic Art. Complicated patterns are constructed from the underlying geometric frameworks:
- circles and interlaced circles
- squares or four-sided polygons
- a star pattern derived from squares and triangles inscribed in a circle
- multisided polygons
Islamic patterns consist of a few elements. While the patterns may seem complicated, they are actually built with the repetition of the few elements. The repetition is done in several geometric operations. Rotation and reflection creates both the rhythm and the perceived complexity in the patterns.
The grid structure serves as a foundation upon which these patterns may be infinitely repeated.
"The principles and teachings of Islam as a way of life, a religious code, and a legal system were promulgated by Muhammad (ca. 570-632 A.D.), an Arab merchant from Mecca. These teachings were revealed to him over a period of many years beginning in 610 and were subsequently codified in the text known as the Qur'an. The word of God, as set out in the Qur'an and handed down in the sayings of Muhammad (known as hadith, or Traditions), forms the core of the religion. (
Islamic Art and_Geometric Design)."
There are four types of ornamentation that can be found in Islamic art: calligraphy, figural forms (human and animal), vegetal motifs, and geometric patterns.
Workshop
Images from workshop
- 20 minutes—Discussion of forms
Meaning can be associated with forms.
Triangles have a variety of associations. A pointed up triangle can represent a strong foundation or stability.
The pointed up triangle has also been associated with male energy, while the pointed down triangle with female energy. Point-up triangles can also represent the spiritual world, while the other direction represents the physical world.
Hexagrams are the union of an two triangles pointed in opposite directions.
The most common depiction of the hexagram is the Star of David, also known as the Magen David. In the Middle Ages, the hexagram was often referred to as the Seal of Solomon, referencing a Biblical king of Israel and son of King David. The hexagram also came to have Kabbalistic and occult meaning. The hexagram, which is the union of triangles
has been associated with the union of opposites.
- 20 minutes—stencil demonstration and hands on activity
Pick a few pre-printed stencils and use the sponge to apply the paint. Wait for the layer to dry before applying another stencil.
- 20 minutes—Create your own SVGs
Create your own complicated or simple stencil
- Open Inkscape
- Open the template file (on a flash drive)
- Turn off the bottom layer
- Click on top layer and select Layer Duplicate Current Layer
- Make another copy
- Turn off the top layer and delete one of the polygons
- Turn off the middle layer and turn on the top layer. Delete the other polygon
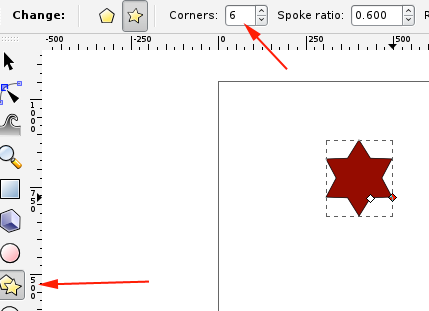
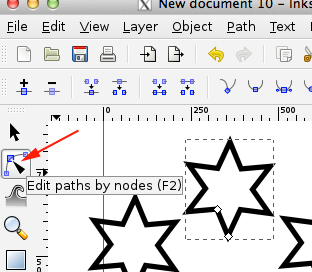
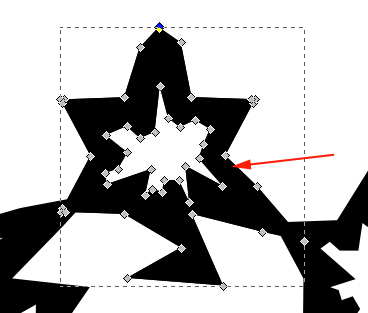
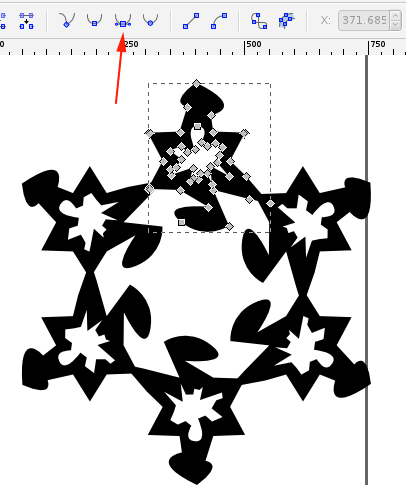
- Make a star, change the offset, clone.
- Make a copy, paste, trace bitmap. Delete original and extra shape, move traced form into position.
- Select all the nodes and select Path>Combine
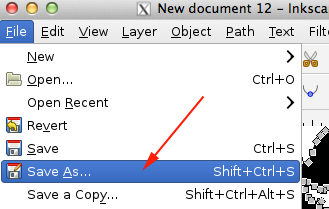
- Save as an svg on the desktop
- 30 minutes—Look for patterns and numbers
Gallery tour
- 30 minutes—Complete projects
Complete the stencil. Collect print. Show designs


 A complete set of tiling symmetries requires taking
these shapes and adding rotations and reflections. There are 17 known tiling symmetries.
