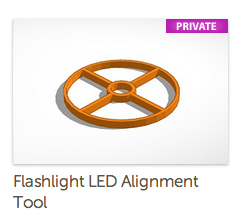
A Flashlight
Introduction to 3D modeling
You want to design something, but where do you start?
Let's begin with the idea that you will design a customizable personalized toy, which happens to also be a storytelling flashlight.
The first question that you have to ask yourself is who is this toy for? Is it for you? An older friend? A younger sibling?
Once you've answered that question, you can start to describe the attributes and functionality of your toy:
- The toy will use an LED to project an image on the wall.
- The toy will have an on/off switch.
- The toy will have an interchangeable plate so that it can project different images.
- The toy will be designed in such a way that the battery can be replaced.
Next you have to figure out how the plate will be part of your design. This is where you start to brainstorm.
How does the plate attach to the tube? There are many ways this can happen. Here are a few ideas. You should also make drawings to illustrate these ideas. Drawings are invaluable because they convey information that may not be readily apparent with your verbal descriptions, and they can get an idea/conversation started.
- It screws on.
- Magnets hold the two parts together.
- A hinge is incorporated so that the plate operates as flip cap.
- There is a notch so that the plate can slide in and out.
- The plate is held in by a cap that snaps on the cylinder.
All the ideas presented above are good, but some are more simple to execute (better) than others. Why are we coming up with several ideas?
Design is an iterative process. One idea is good, but the next idea may be better and the next idea after that can be even better because you are begining to explore and refine.
After you gather your ideas, select one. For this exercise, we're going to select the last.
Next step is to imagine how large your toy will be. You can start with the internal circuit and go from there. Start with a guestimation, then use digital calipers to assign a number to your measurements. For this toy, our diameter will be 30mm and the length of the tube will be 65mm.
Instructions
Schematic

- Breadboard the circuit first to test it.
- Freeform solder to make your design more permanent.
- Use a digital caliper to measure your components. Write down the dimensions.
- Design the enclosure. For this first exercise, we'll walk you through the modeling process with Tinkercad. You will use this online application to create a tube, a bottom, a top and a plate with a design.
- Open Google chrome, a webGL enabled browser.
- Navigate to Tinkercad.com.
- Sign in or sign up
- Click on the Create a New Thing button.
- The first part to design is the main tube. There are 2 ways to do this:
Option 1
- Drag a cylinder from the left on to the workplane:
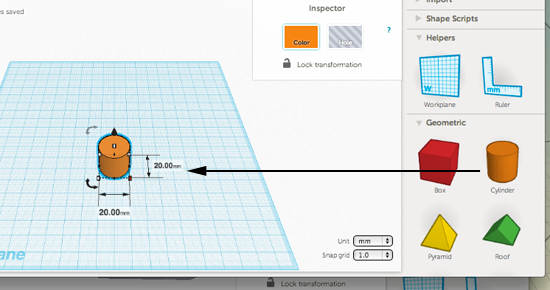
- Drag the node out to adjust the x and y dimensions:
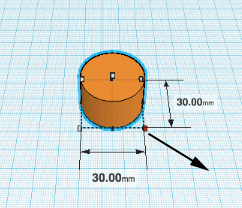
Option 2
- Drag the ruler on to the workplane and adjust the x value first. Press tab to make the next adjustment
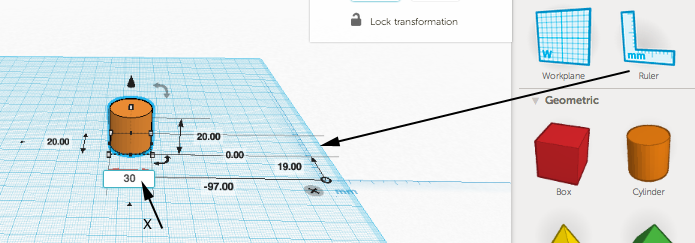
- Press tab to make the next adjustment:
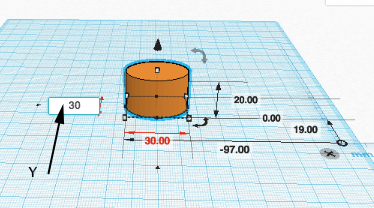
- Press tab to make the next adjustment:
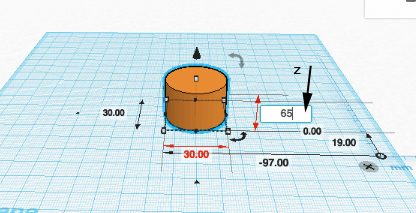
- Click on the x to dismiss the ruler
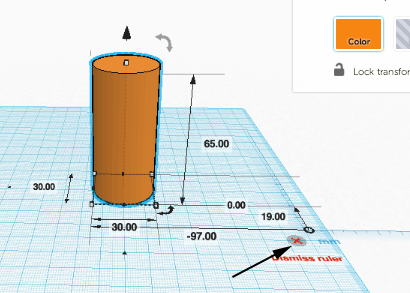
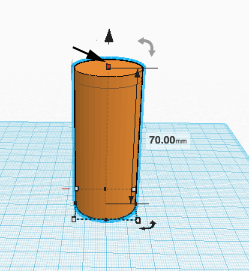
- Make a duplicate of the cylinder by pressing CTRL or Command D, then drag the top node up to enlarge the duplicated cylinder to 70mm. You want the outer cylinder to have a wall thickness of 1.5. Adjust the X and Y of the taller duplicated cylinder to 27:
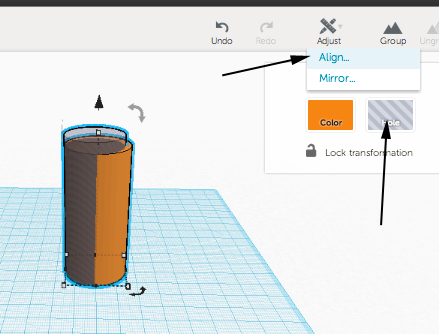
- Select the taller interior cylinder and convert it to a hole. Then select both objects and select align:
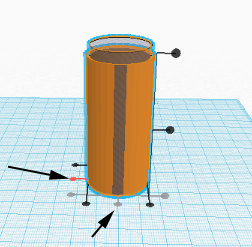
- Select the two center nodes to center the objects:
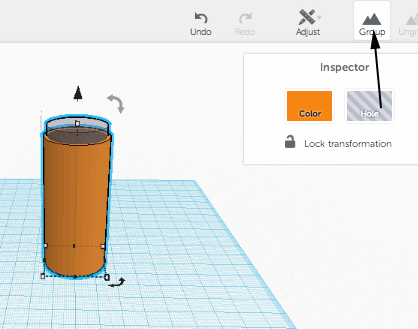
- Select both objects and Group them:
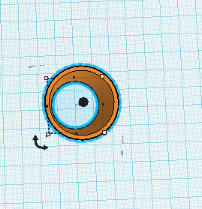
- CTRL+mouse drag to rotate the view and see the newly formed hole:
- You are going to create the interchangeable plate. Drag a new cylinder on to the workplane. Drag the ruler out as well and adjust the dimensions of the cylinder to 30x30x2:
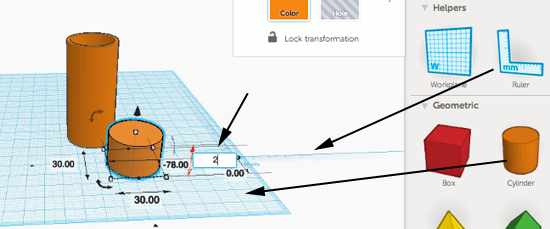
- Make a duplicate (CTRL or Command D) of the cylinder and adjust it to have the following dimensions 28x28x20:
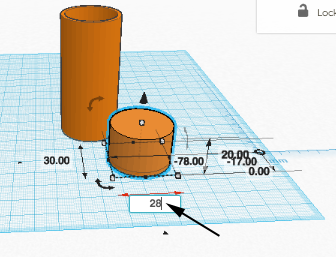
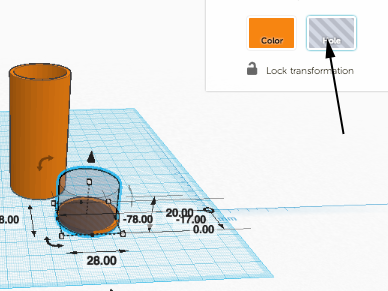
- Convert the duplicated cylinder to a hole:
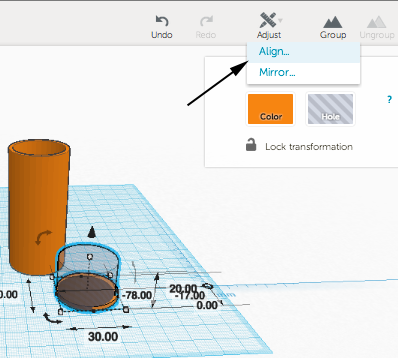
- Align the last two cylinders:
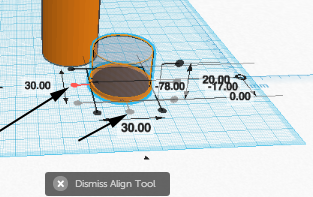
- You are going to model the top of the flashlight. Drag another cylinder on to the workplane. Adjust the dimensions to 26x26x30:
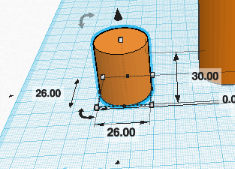
- Drag the workplane from the right palette on to the top of the last cylinder
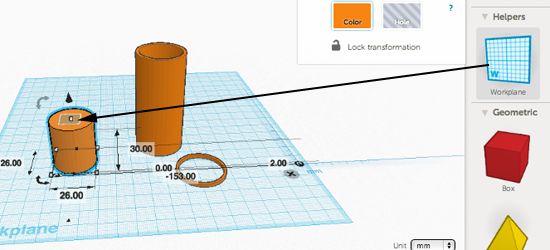
- Drag another cylinder to the adjusted workplane. Drag the ruler on to the workplane as well:
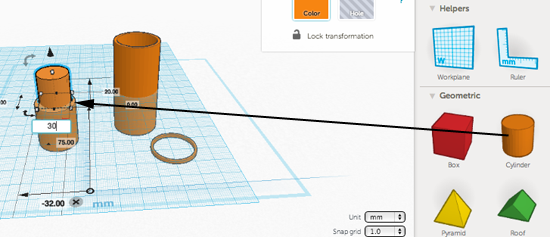
- Adjust the dimensions to 30x30x2:
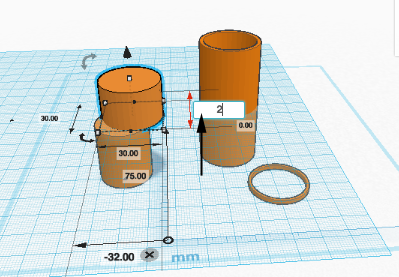
- Select the two cylinders and align them:
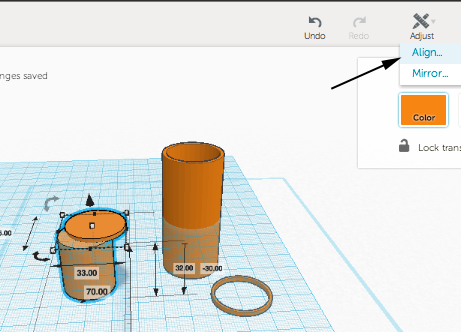
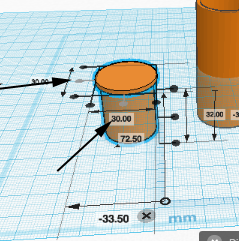
- Drag out another cylinder and adjust the dimensions to 23x23x40:

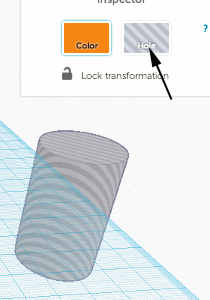
- Drag the workplane from the right palette and drop it anywhere in the work area to reset it. Convert the last cylinder to a hole:
- Select the last modeled object and the hole and then Group them:
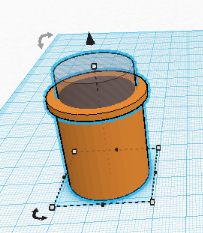
- Drag a cube on to the workplane and adjust the dimensions to 40x4x30:
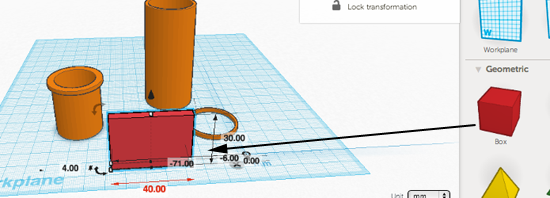
- Convert the cube to a hole, select the last object and the hole and select align:
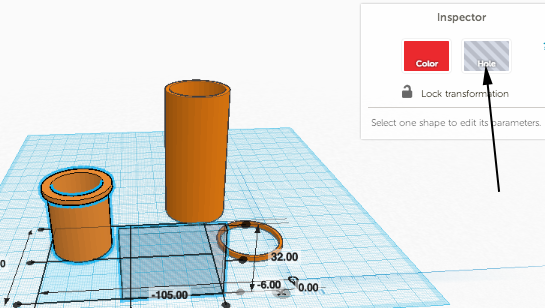
- Once the hole is aligned, click on the workplane, then select the hole. Duplicate (CTRL or Command D) the hole and rotate around the Z axis while holding the SHIFT key:
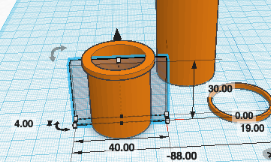
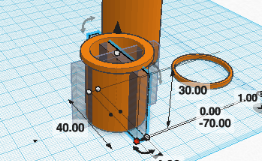
- Group all the parts:
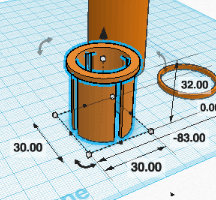
- Drag a cone on to the workplane. Drag the ruler on to the workplane. Adjust the cone to 28x2x14:

- Drag a cube on to the workplane. Make it much larger than the cone. Convert it to a hole, raise it 2mm above the workplane:
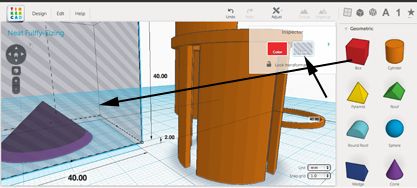
- Group the hole and the cone:
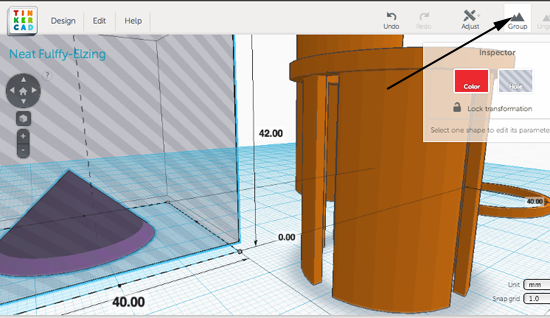
- Hold SHIFT and rotate the section of the cone 180°:
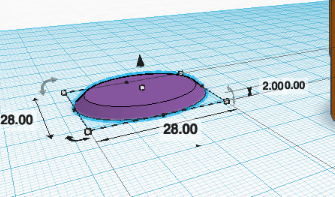
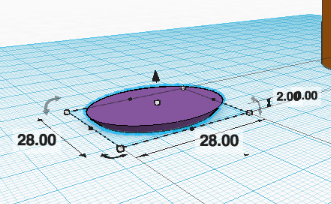
- Align the section of the cone with the top piece:
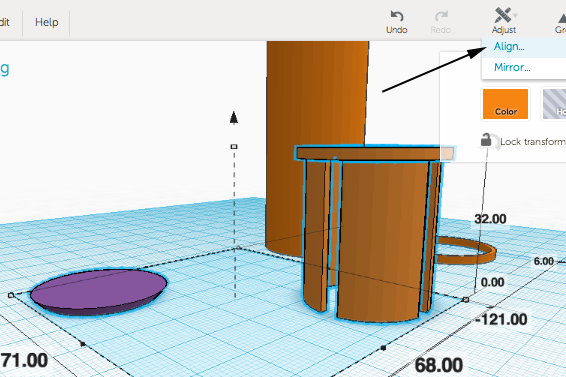
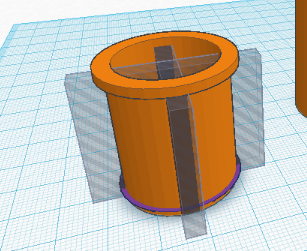
What you are doing is creating a mechanism to keep the top inside the cylinder.
- Select the top piece and ungroup to reveal the cubes:
- Select the same piece and ungroup again to reveal the interior cylinder:
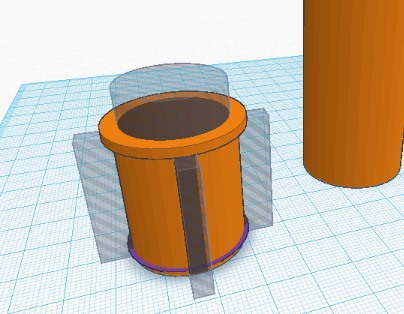
- Move the interior cylinder down at least 1mm
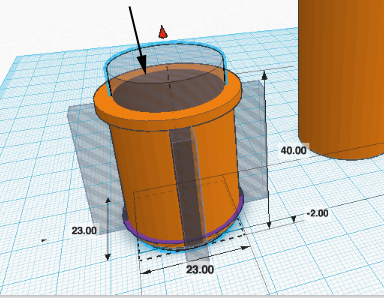
- Select all the pieces of the top and click on group:
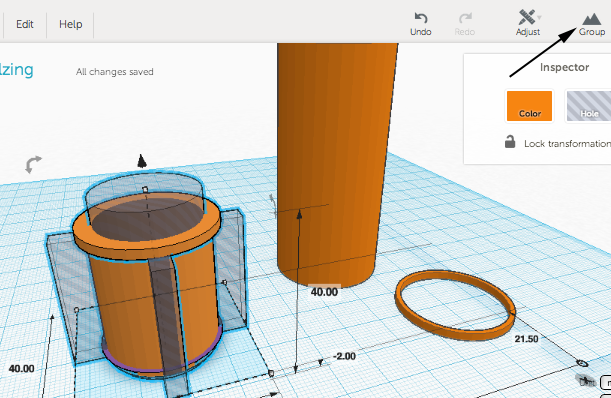
- You are now going to model the bottom of the flashlight. Duplicate the top piece and move it away from the original:
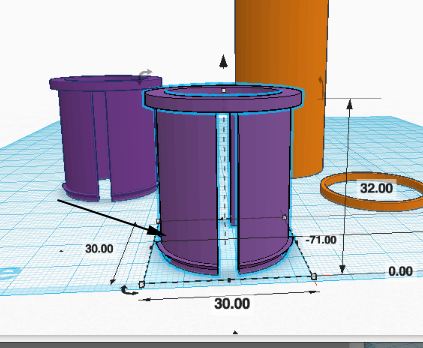
- Ungroup and move the interior cylinder down so that now the top cylinder of the top piece does not have anything removed from it:
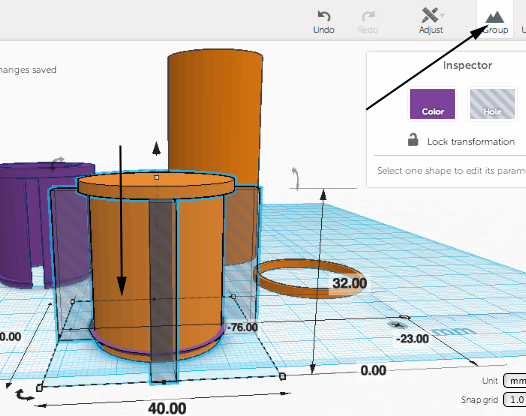
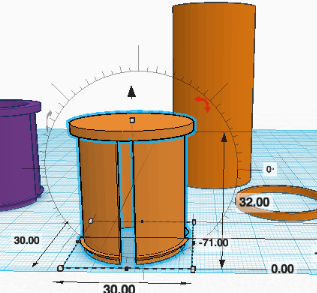
- Group all the pieces, then hold SHIFT while rotating to rotate it 180°
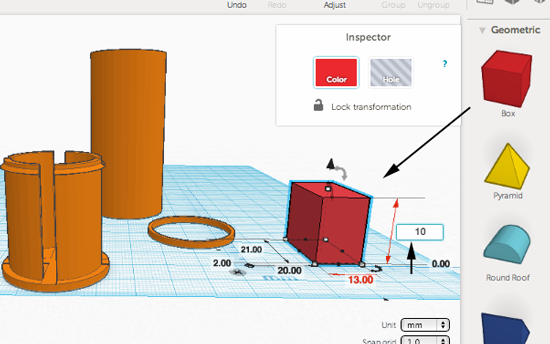
- Drag a cube from the palette and adjust it to 13x21x some number greater than 2:
- Convert the cube to a hole:
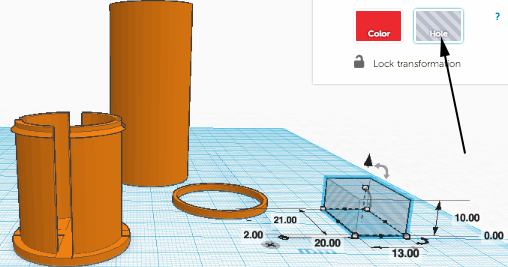
- Select the bottom piece and the hole and align them:
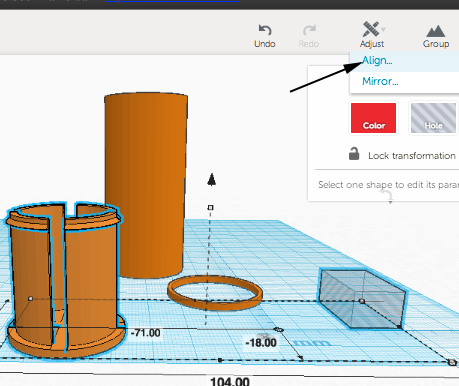
- Group the aligned objects:
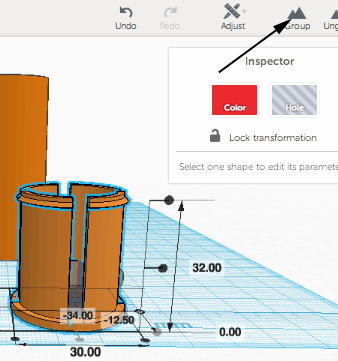
- You are going to return to the plate. Drag out another cube and adjust the dimensions to 28x2x2:
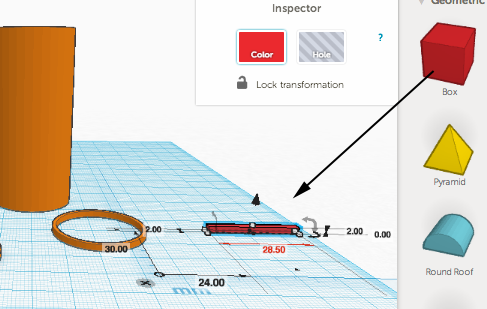
- Align the bar with the short cylinder
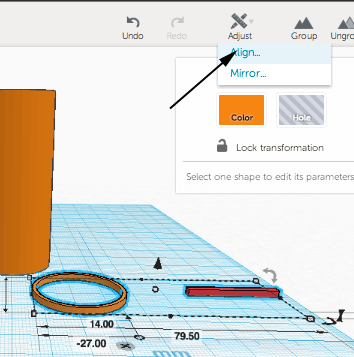
- Duplicate the bar and rotate the duplicated bar while holding SHIFT:
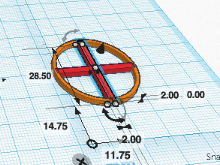
- Group all the two bars and the short cylinder:
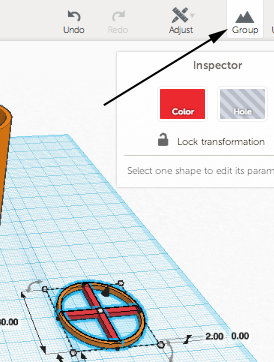
- Align the short cylinder with the tube and then group the aligned objects:
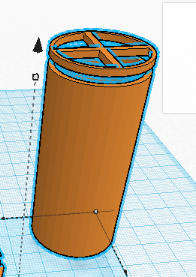
- Align the grouped objects with the top, group them,then align the top with the group:
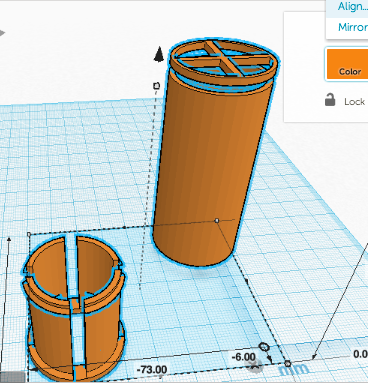
- Ungroup the pieces and adjust the placement so that the objects are stacked from top to disk to tube to bottom. Leave some space between each:
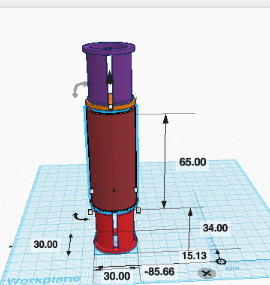
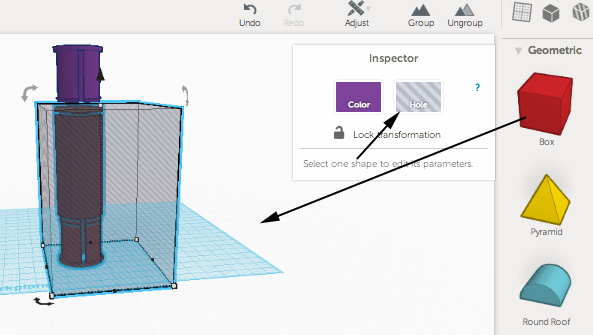
- Drag out a cube. Convert it to a hole. Cover the disk, tube and bottom and group them with the hole so that only the top is showing:
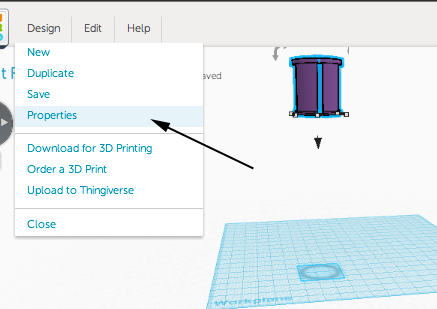
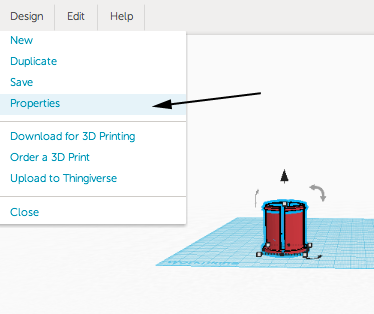
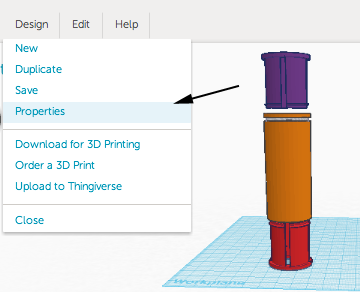
- Click on Design>Properties:
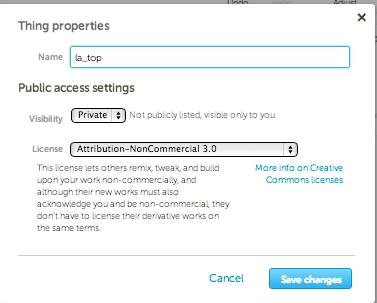
- Rename the mode your initials_top
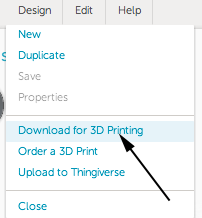
- Click on the Design menu and select Download for 3D Printing. Select STL:
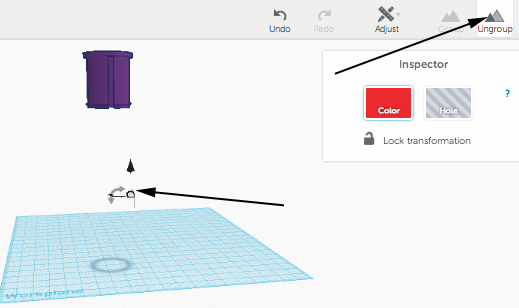
- Ungroup the hidden pieces:
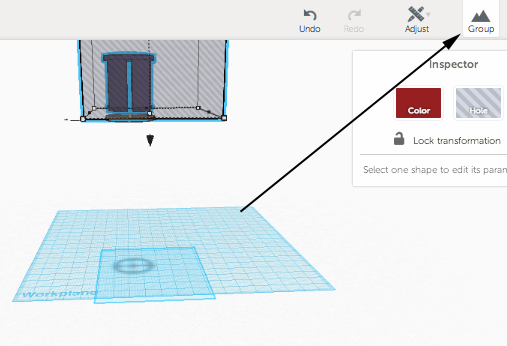
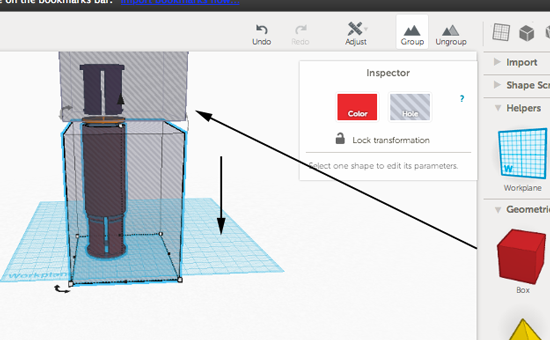
- Create another hole over the top piece. Move the bottom hole over just the tube and botom piece. Group everything except the the cylinder with the cross:
- Remame:
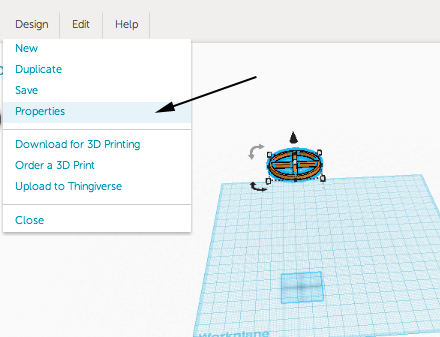
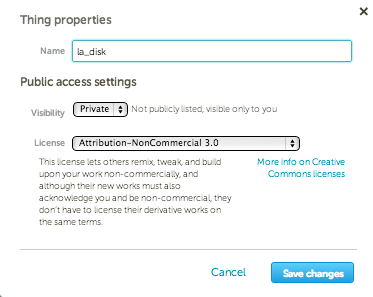
- Download for printing.
- Ungroup, adjust, group, rename, download:
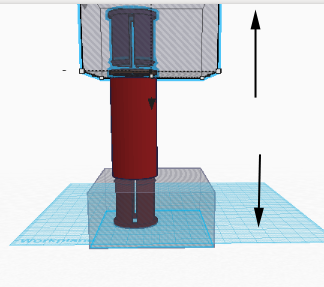
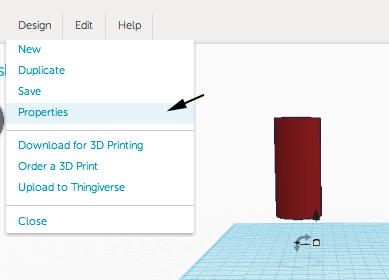
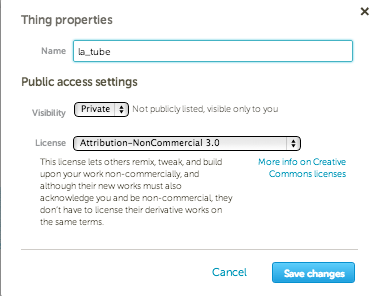
- Continue the same process for the last piece:
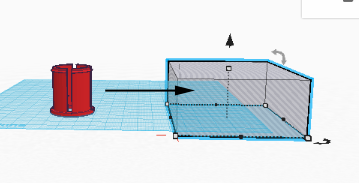
- Reveal all the pieces:
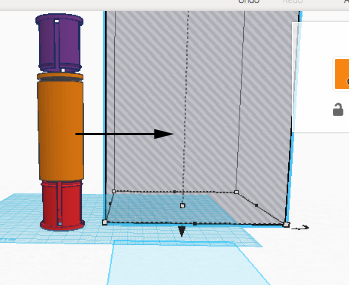
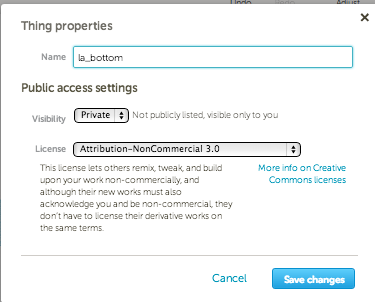
- Remane the model:
- Where's the personalization here? Now that you have printed and tested your flashlight, feel free to design a series of disks that can be substituted in and out of the toy.
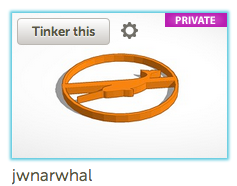
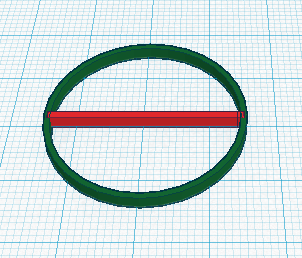
Import the image into Tinkercad and scale down so that your image sits like this on a disk (you can remove one of the bars):
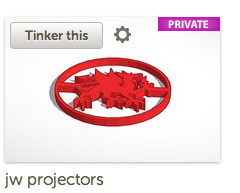
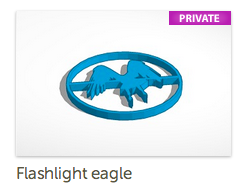

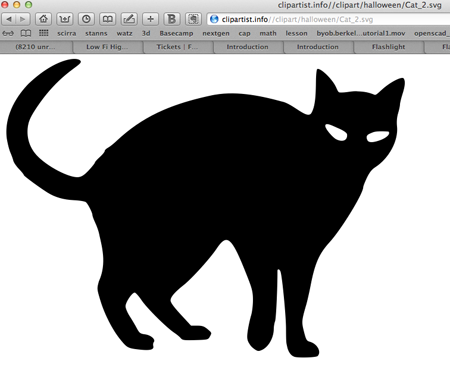
- Find an svg image on the internet or create one of your own.

- In TinkerCad, isolate the disc:
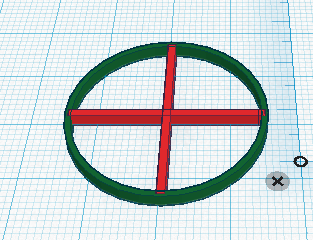
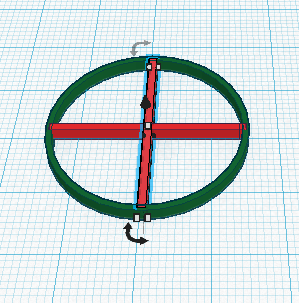
- You may want to remove one of the rods:
- Navigate to the Import option

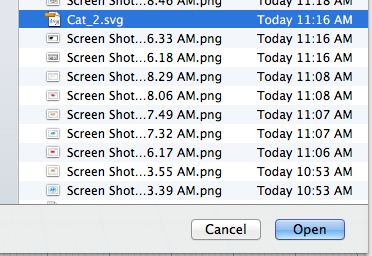
- Select file
- Adjust size of import:
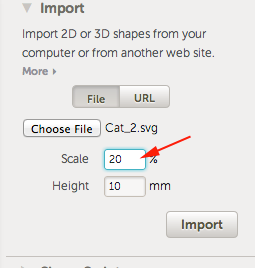
- Scale the image in Tinkercad

- Move the image into place and adjust height if needed

- Group the components

- Create a piece to hold the LED:
