Thingiverse
30 minutes including slicing- Navigate to Thingiverse and log in or create an account
- Find an object that interests you
- Download the object
- Open in Makerware of Tinkering suite
- Scale the object so that it is small and can be printed in under half an hour
- Export for printing
Slicing
MakerWare
- Open MakerWare. If you have not installed this software, you can find it here.
- Click on the Add button and navigate to or just drag your stl file on to the virtual platform.

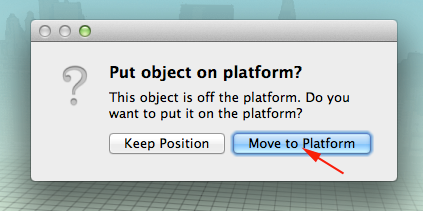
- If you see this window, click on the move to platform button
- To use any of the transformation tools, your STL file must be selected (i.e. highlighted in yellow)
- Press M to move the model on the platform:

- Press T to rotate the model on the platform:

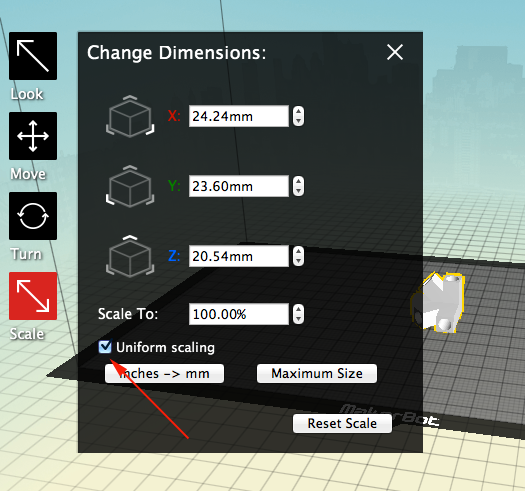
- Press S to scale the model on the platform:

- Click on Uniform scaling to toggle this option. When deselected you can scale along each axis:
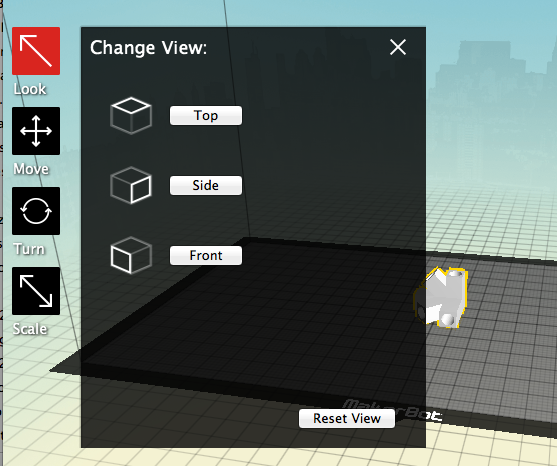
- Press L to change the view:
- Click on the Make Icon
. Generally the default settings are fine for most prints.

- Click on the Export button to save the x3g file. You can save this file on your computer or on an SD card. If you are tethered to your printer you should select Make It Now before pressing the Export button

- To save all your transformations, save the thing file by clicking on the Save icon.

Modeling
40 minutes- Break up into teams
- Collect straws and connectors
- Build a wireframe structure using a set of straws and connectors.
You may cut or bend your straws. When constructing your forms, think about triangles, hexagons, grids and Archimedean, Platonic and Johnson solids.
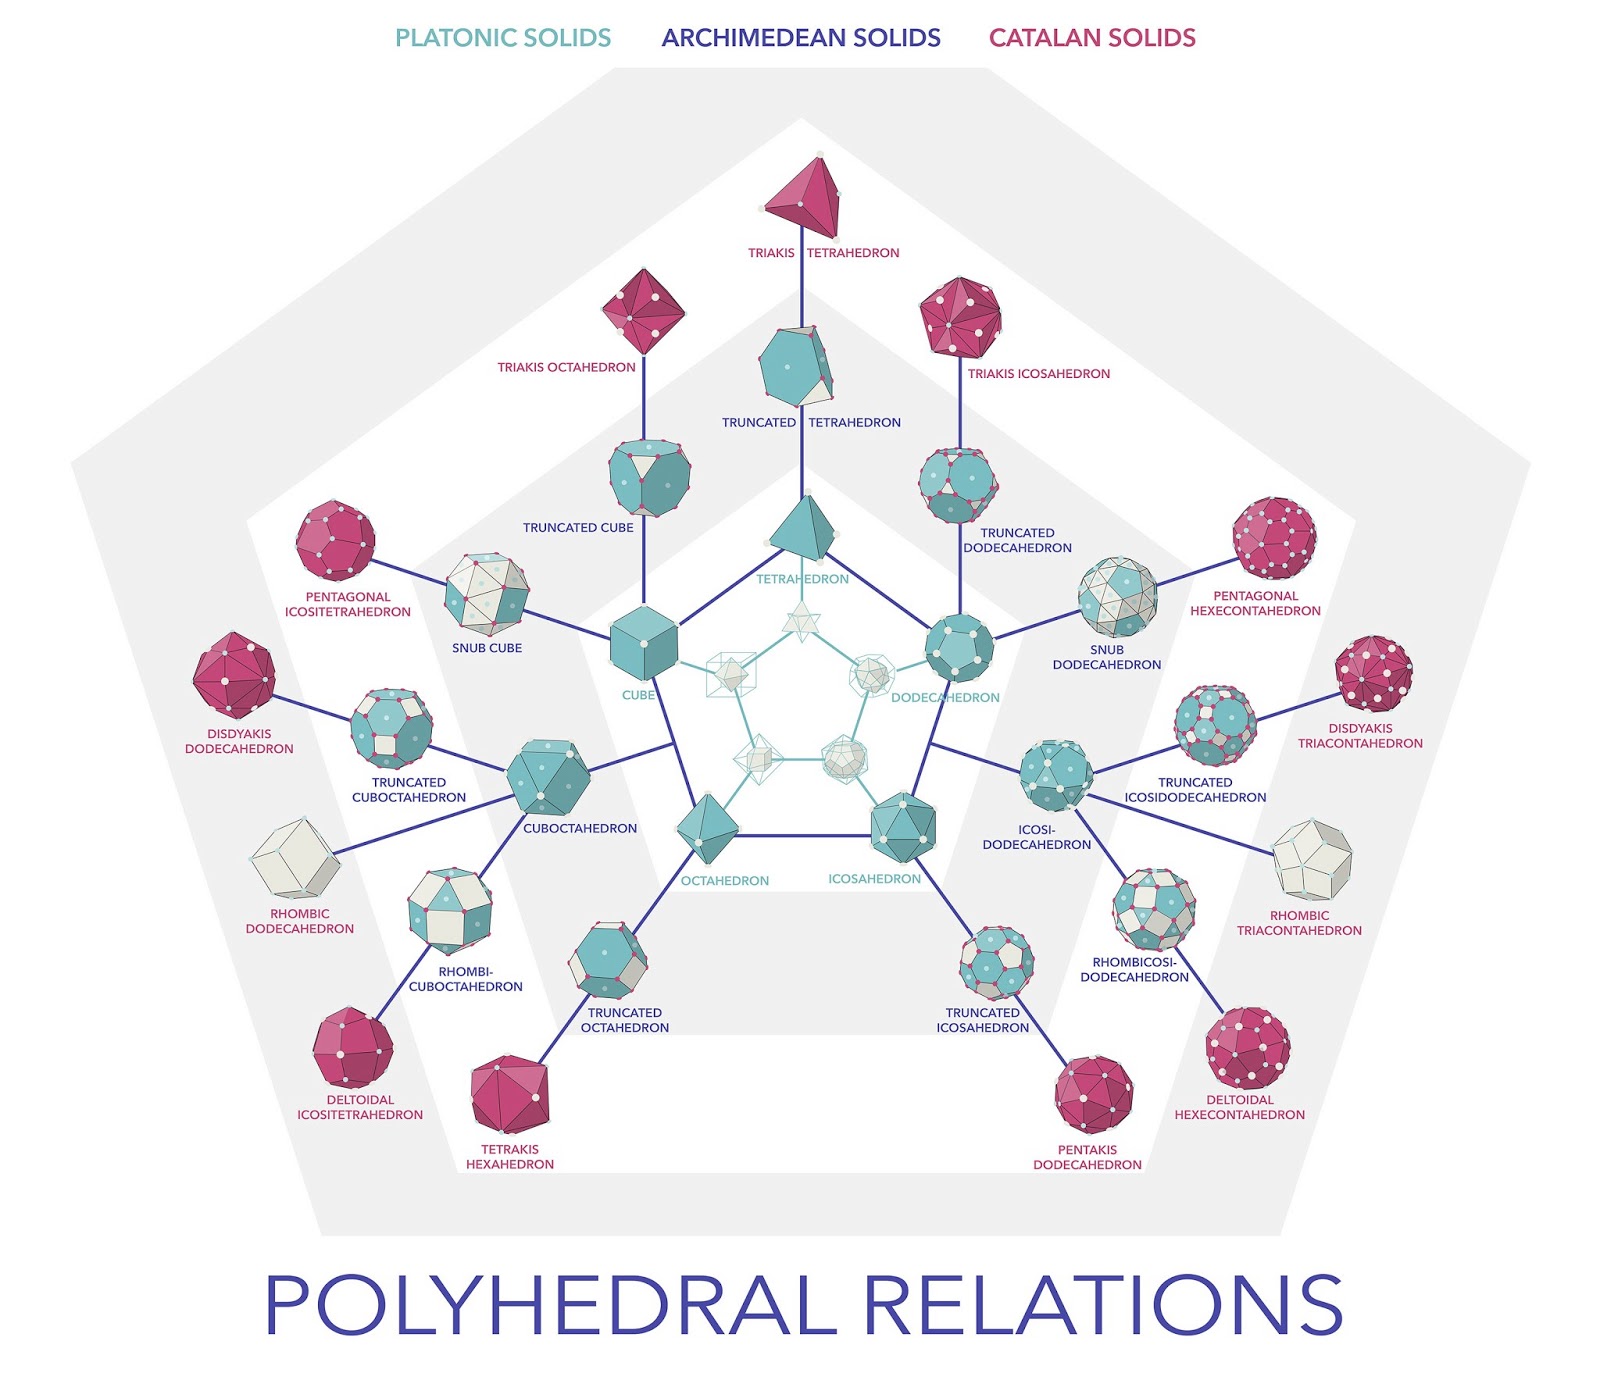
Archimedean solids are symmetric, semi-regular convex polyhedrons composed of two or more types of regular polygons meeting at identical vertices. Platonic solid are composed of only one type of polygon that meets at identical vertices, and Johnson solids have regular polygonal faces that do not meet in identical vertices.
Modeling
Introduction to TinkerCad
15 minutes signup and demo1 hour modeling
Tinkercad is an easy-to-use tool for creating 3D models for 3D printing. It is part of the Autodesk family of products, which are free and exist to enable students, makers, and individuals from all walks of life to design and make the things they imagine.
- Navigate in a web-gl enabled browser (Chrome or Firefox) to tinkercad.com
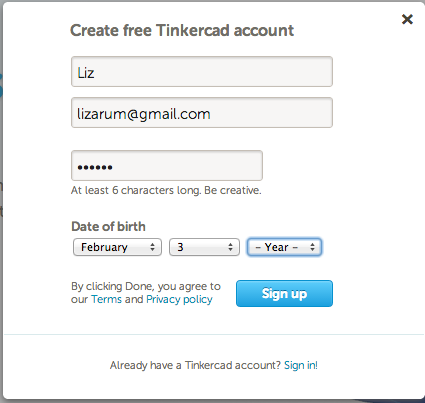
- If you have not already signed up for a free account, do so now

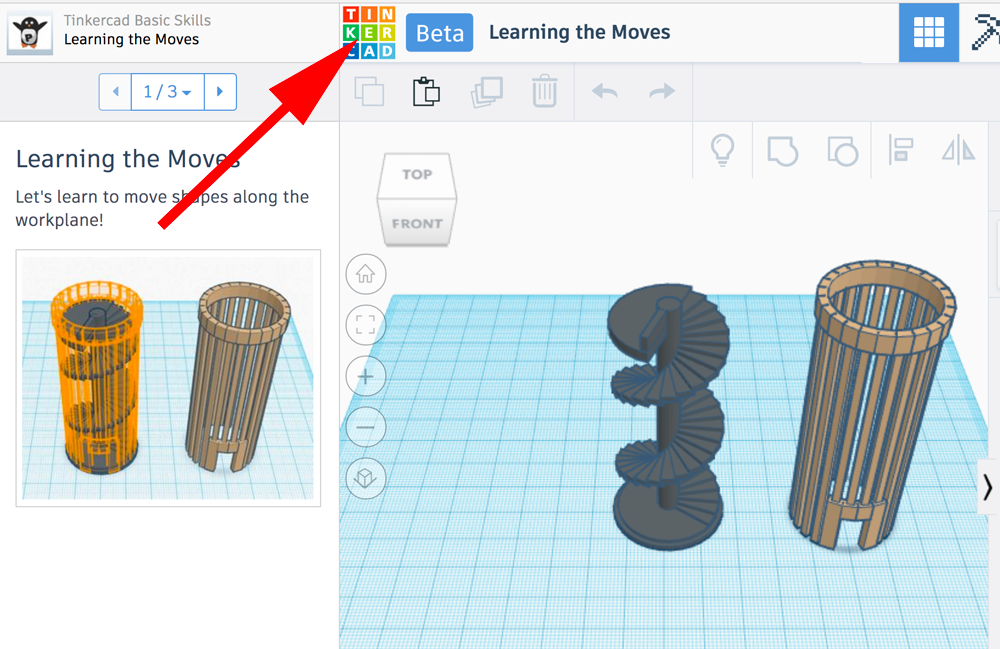
- To exit the tutorial and start experimenting, exploring and modeling click on the Tinkercad logo:
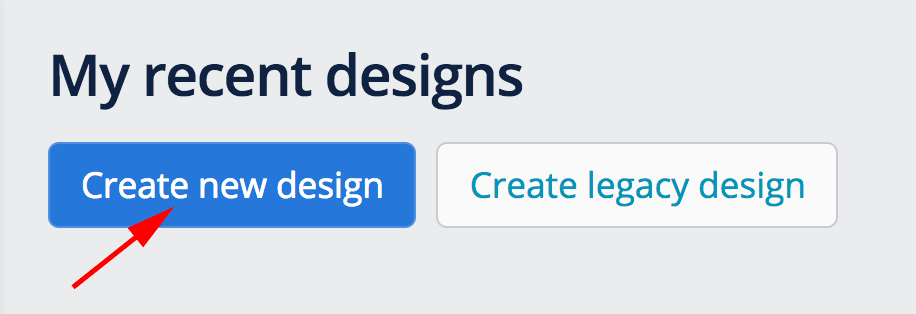
- To start a new model click on Create new design
- For greater precision I generally change the Snap grid value to 0.1
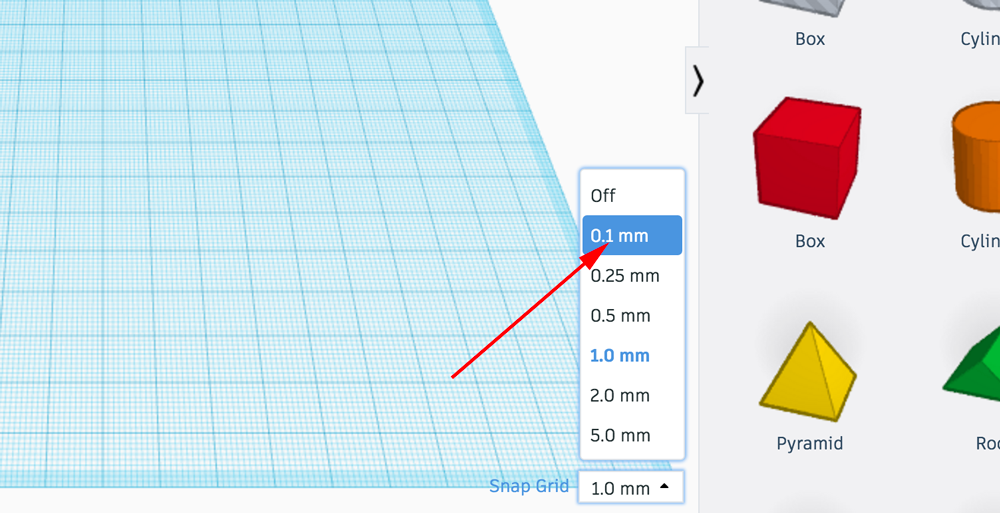
- To add shapes, letters and numbers you drag your selection from the palette on the right over to the workplane:

- You can get the dimensions of an object by moving the cursor over the nodes or handles:
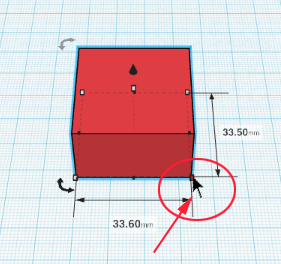
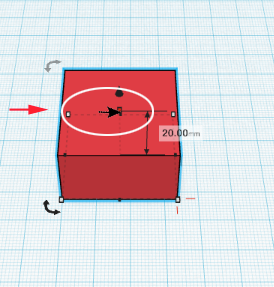
- You can also get and/or modify the dimensions by laying down the ruler:
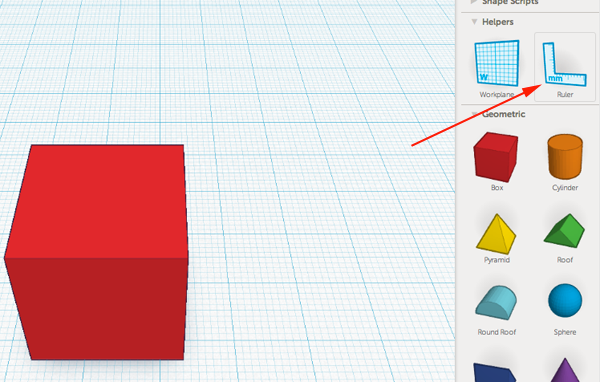
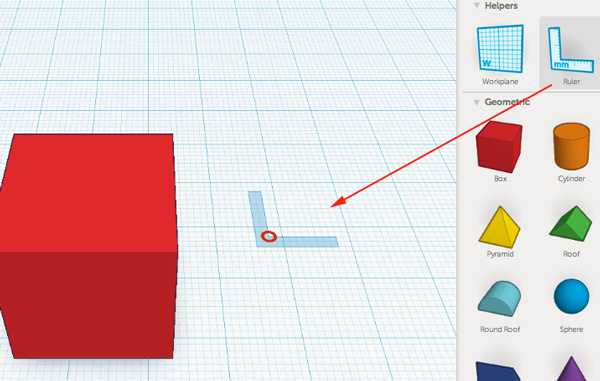
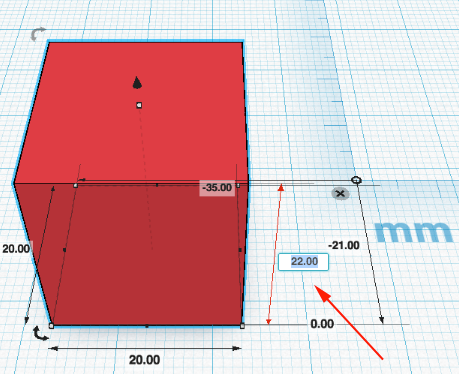
- You can resize your form by dragging the corner points or using the ruler and editing the field:


- Dragging the corner point while holding shift will increase the X,Y and Z axis proportionally:
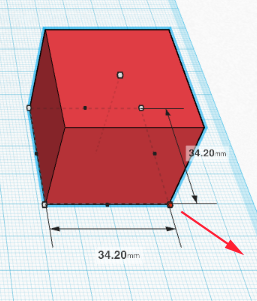
- You can copy and paste your forms using the standard keyboard commands. When you paste, Tinkercad will move your new form to the right:
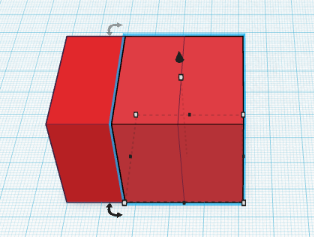
- You can raise the height of your form by dragging the node below the up arrow
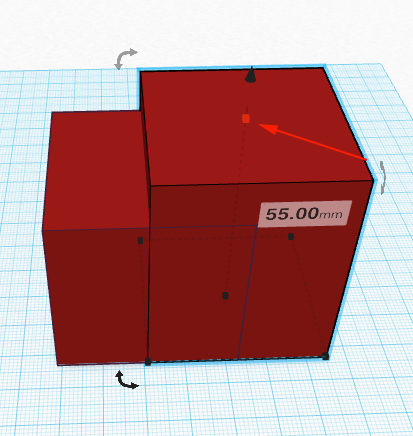
- You can subtract shapes from each other by placing the shape you want to remove, selecting it and then clicking on the the hole icon
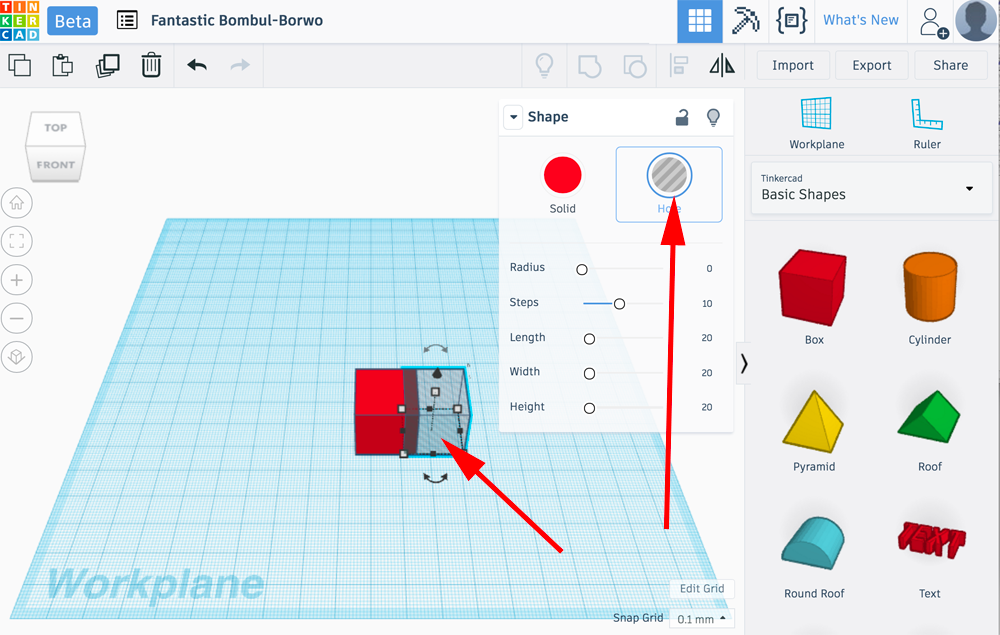
- You can still adjust the location of the hole by dragging the form
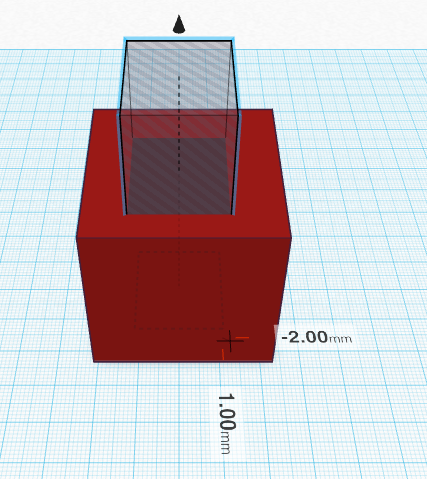
-
When you want to remove the shape, drag your cursor over or Shift+Left Click on both objects (what you want to keep and what you want to remove)
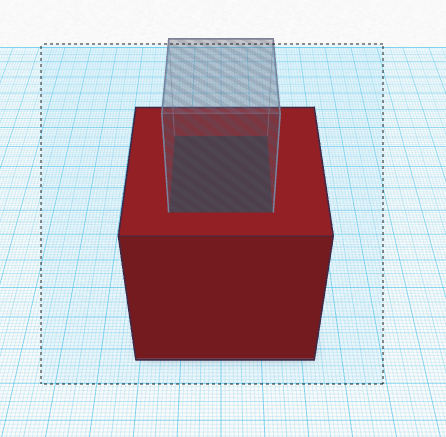
- When both are selected, click on Group
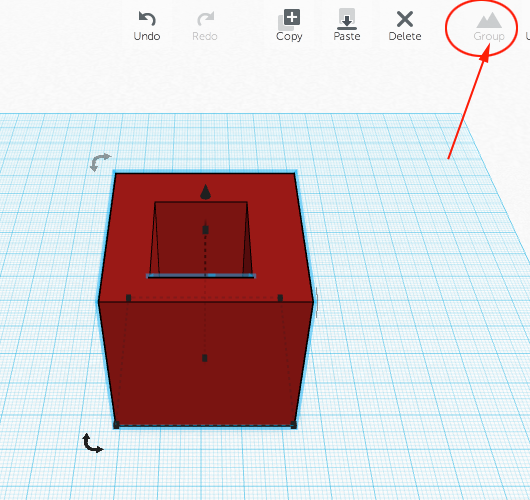
- To view the hole, rotate with the mouse:
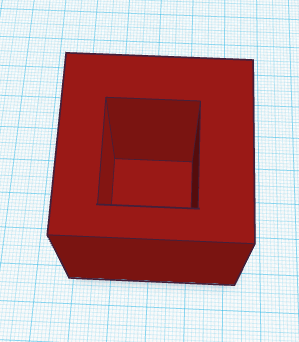
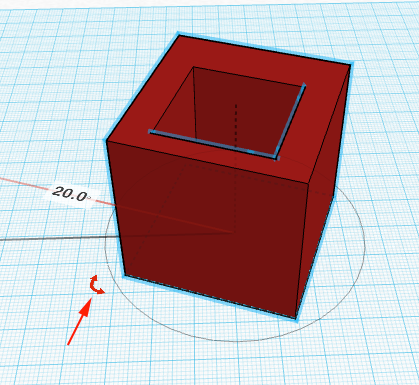
- You can easily rotate your objects by clicking on the rotation icons:
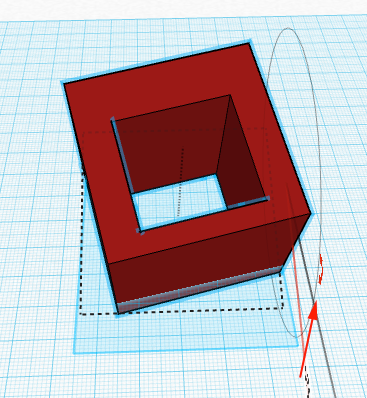
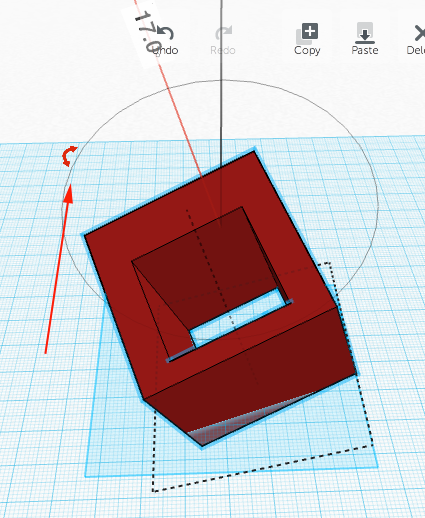
- You can move the workplane by placing it on a side of any of your forms. This allows you to add more forms on an angle:
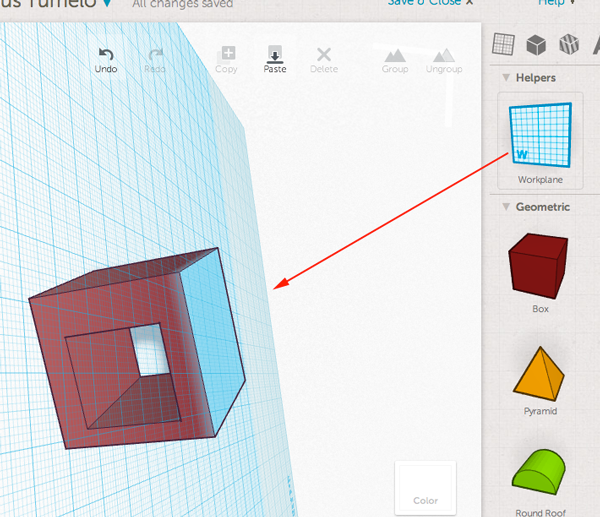
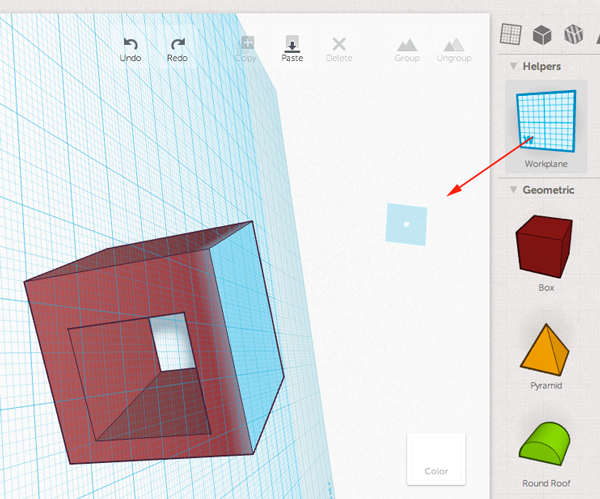
- To reset the workplane, just drag the workplane from the palette to the work area:
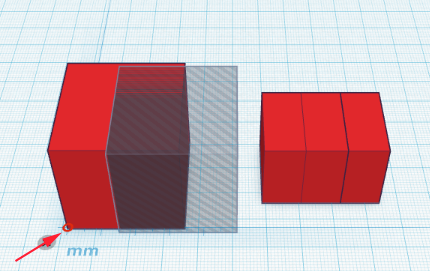
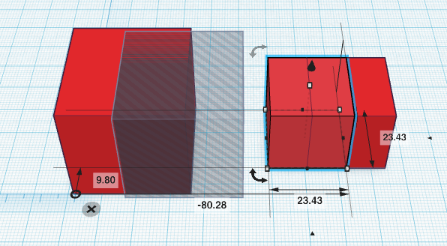
- You can measure distances using the ruler
Place the ruler then click on objects:
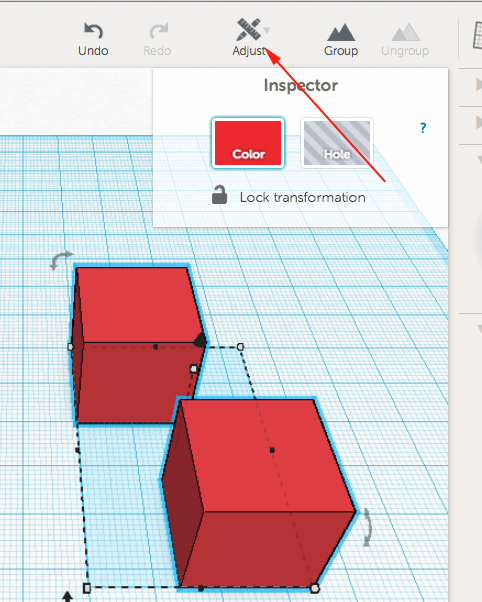
- To align forms, select them and click on Adjust:
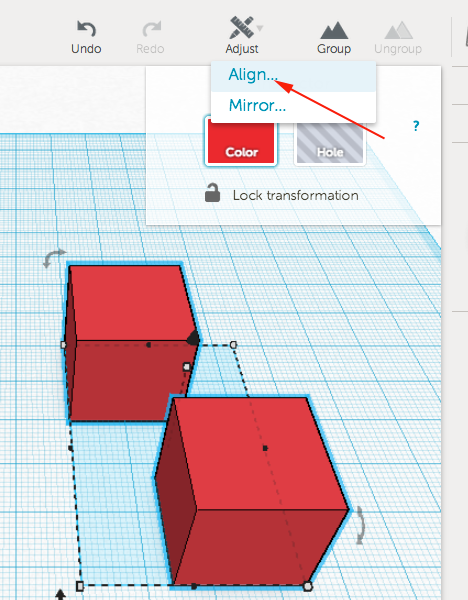
- Now select Align
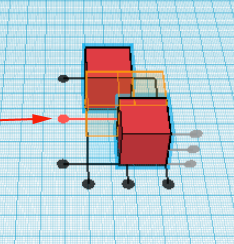
- Click on the node you would like the forms to align with:
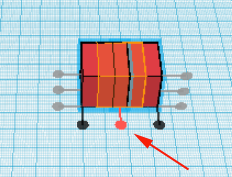
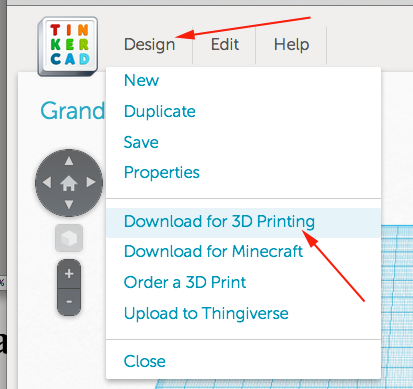
- To save the STL file, click on Design and select Download for 3D Printing:
Then select on the STL button: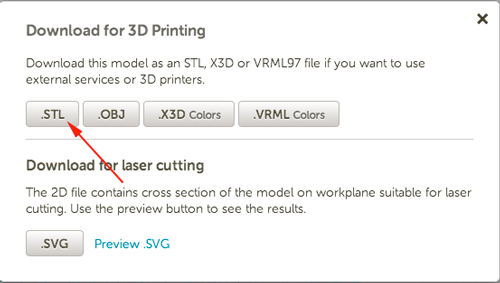
- Experiment, have fun, print
- When you are ready to print your object, click on the Design menu and select Properties.
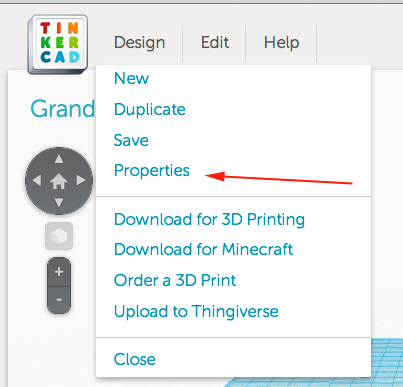
- Rename your file and save the changes
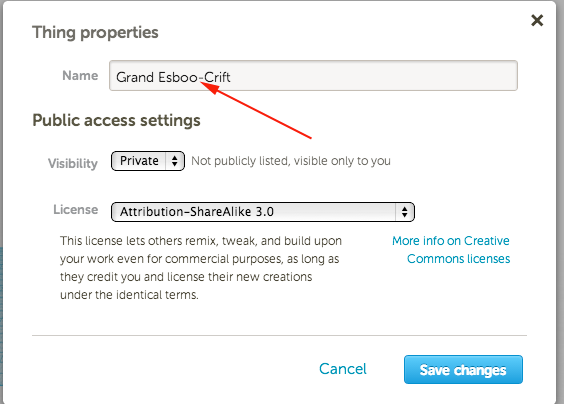
- From the Design menu select Download for 3D Printing:

- Select on the STL button:

Importing SVGs
5 minute demo- Find an svg image on the internet or create one of your own.

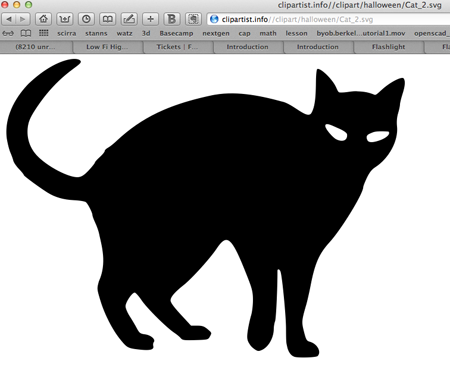
- Navigate to the Import option

- Select file
- Adjust size of import:
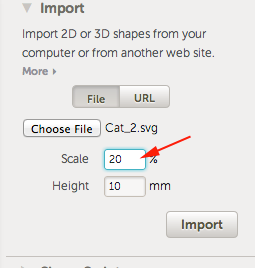
- Scale the image in Tinkercad

Meshmixer
5 minute demo- Download or open MeshMixer
- Import your stl into MeshMixer
- Navigate to the print icon
- Once on the virtual Makerbot bed, rotate, move or scale your item as necessary
- Navigate to the bottom Left and enable Support options.
- Generate support
- Export to Makerbot or save as an STL file
NetFabb
5 minutes- Download Netfabb basic or open the application
- Import your model
- You can fix the model by clicking the Red Cross
- Cut the model by adjusting the widgits on the right side and executing the cuts
- CTRL+click on the model to select it and Export as ASCII
