Blender
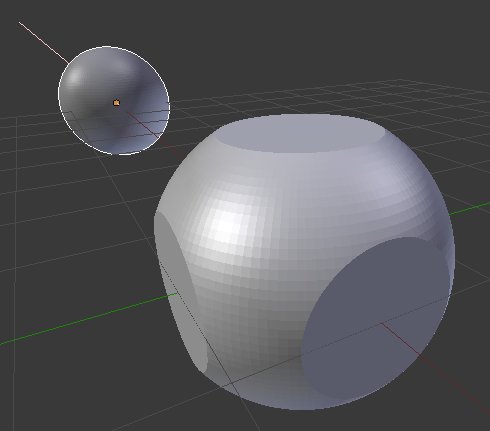
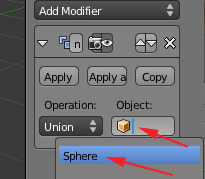
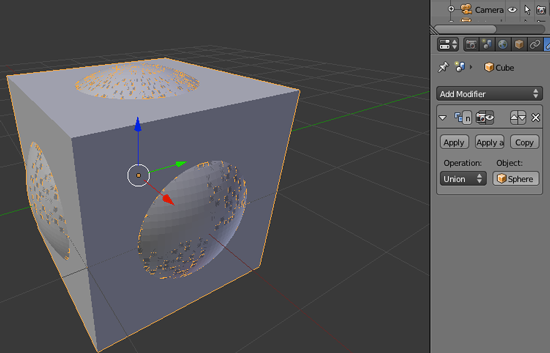
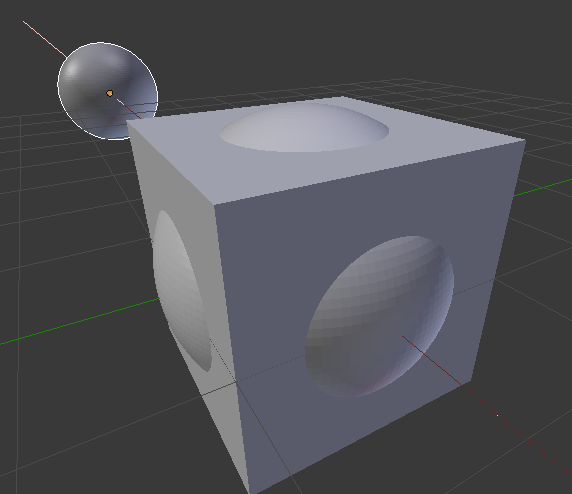
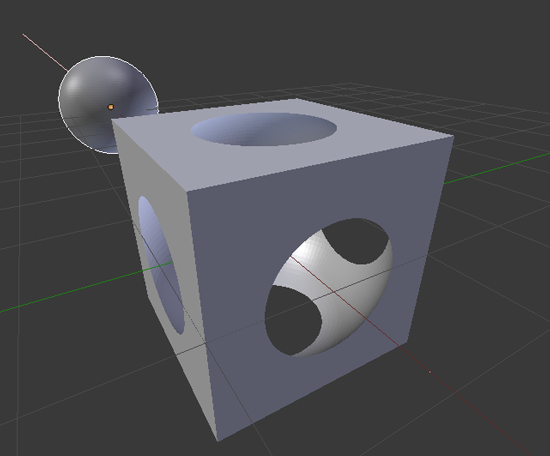
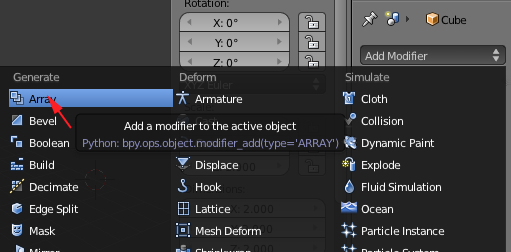
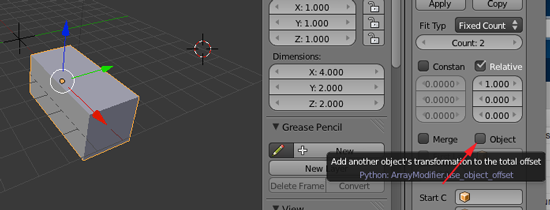
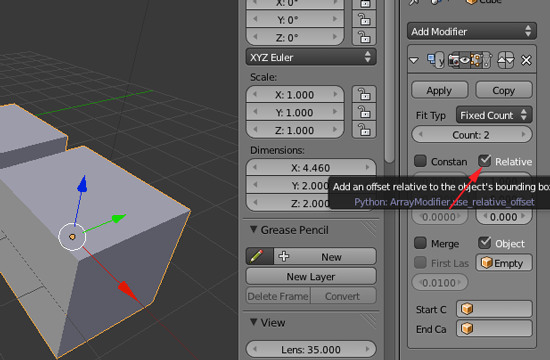
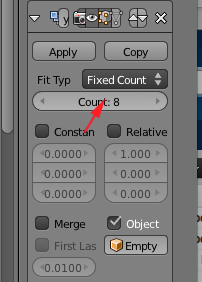
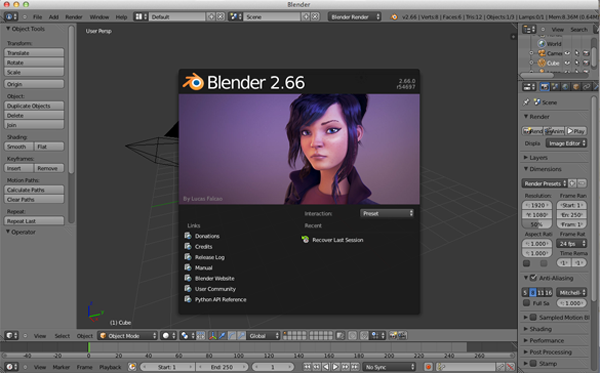
Blender is another one of those amazing programs that does just about everything. It is a 3D modeling program, a game engine, and an animation system. Blender supports a range of 3D object types including polygon meshes, NURBS surfaces, bezier and B-spline curves, metaballs, and vector fonts. It also supports multiresolution sculpting, and non destructive real time Boolean and Array modifiers. You can model meshes based on vertex, edge and/or face selection. You can also import and export obj and stl files (File>Import>STL file or File>Export>STL file), as well as convert stl files into OpenSCAD polygons.
The Blender interface may seem intimidating at first, but with some practice it will all seem to make sense:
To Deselect an object or to select all press A.
The Blender interface may seem intimidating at first, but with some practice it will all seem to make sense:
Navigation
To Navigate in Blender use the Right mouse button to select an object.Left dragging on a selected object constrains the movement to the x, y or z axis. Shift and clicking the middle mouse button allows you to pan. The Mouse wheel enables zooming. Click and dragging with the middle mouse button rotates.To Deselect an object or to select all press A.
- If you don't have Blender installed, download it from blender.org and install it.
- Open Blender:
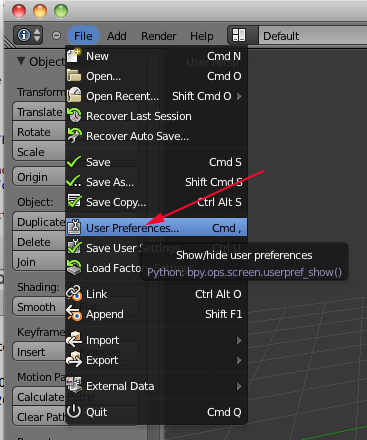
- Set up your User Preferences. Navigate to File>User Preferences or type (CMD + ,).
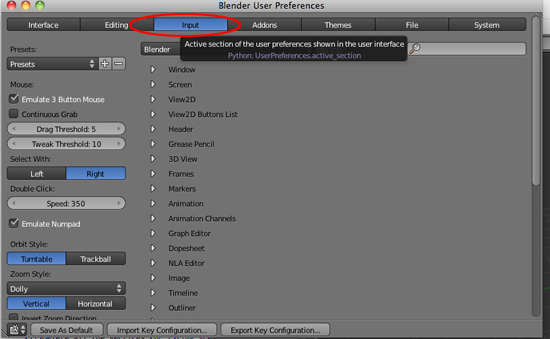
- Click on Input
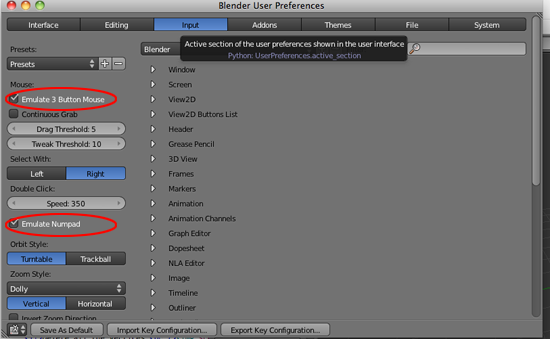
- Click on Emulate Button Mouse and Emulate Numpad
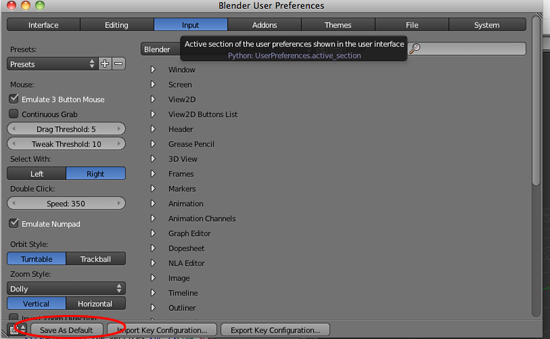
- Click on Save As Default
- To maximize a window, place the cursor in the window and press SHIFT+spacebar:
To revert back, press SHIFT and spacebar again.br /> - To toggle the Tool Shelf Panel, press T
To toggle the Properties panel, press N
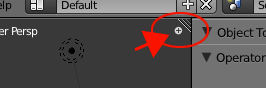
In addition to creating your own layouts, you can call up premade arrangements from a drop-down list at the top of the screen: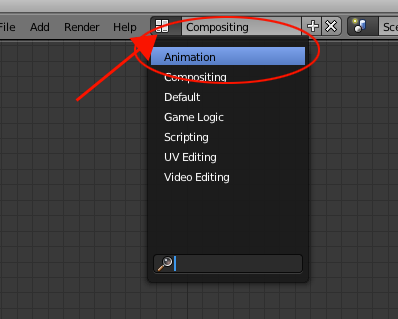
To undo a step, press CTRL+Z. To redo a step, press Shift+CTRL+Z
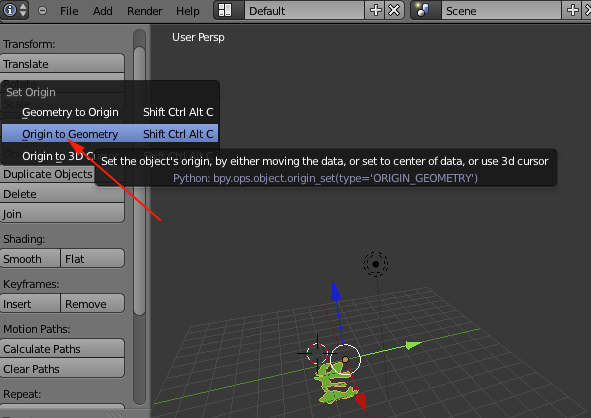
OPT+G resets the location to the global center
OPT+R resets the rotation so the object stands pright in global coordinates
OPT+S resets the scale to the object's original size
- To resize and add another viewport, hold your mouse over the diagonal strips at the top-right or bottom-left corner, the mouse pointer will change to a cross).
- Hold down the LMB (meaning Left Mouse Button) and drag towards the center of the window, or up and to the right.
- As you increase the size of one window, you will decrease the size of the other. Blender does not allow the windows to overlap, as they would in other programs. This is why Blender's interface is known as a non-overlapping window interface.
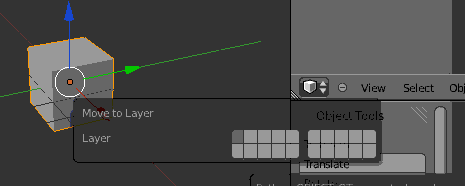
- Blender works with layers much like other programs where objects can be placed in different
layers and displayed as needed. It's a good idea to get comfortable with layers because
as your scenes get bigger, turning layers on and off can help with the speed of your work and
ability to see things better.
The Layer menu can be found on the header strip of the 3D view. If you can't see it, toggle the Show Pull Down Menu button

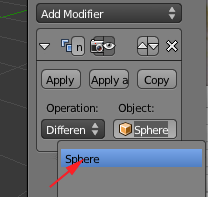
To move things between layers, select the object with the Right Mouse Button (RMB) and type M for move, then click on the appropriate layer button.
- You can also select a layer through the numpad. Press 1 for layer 1, 2 for layer 2, OPT+1 for layer 11, etc.
-
You can turn on layers by clicking on the layer menu:

-
To turn on multiple layers, hold down Shift and click on the
buttons.
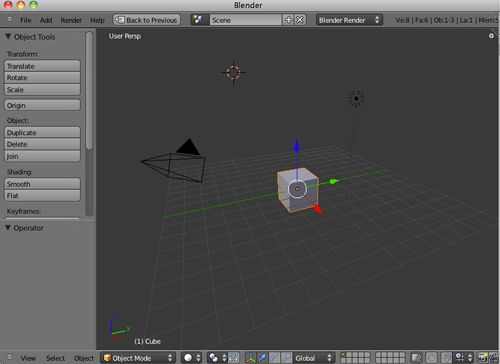
- As you move around, you will see that there are four objects in your 3D scene by default:
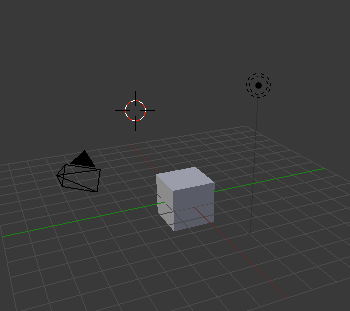
 1) The Camera
The camera location and rotation will determine what you will see at render time. To see in your 3D viewport what the camera will see, activate that window by pressing number 0 . To switch out of the camera view, press 0 again or drag the MMB.When using Blender as a 3D modeling application with the intention of 3D printing, you don't care that much about the camera.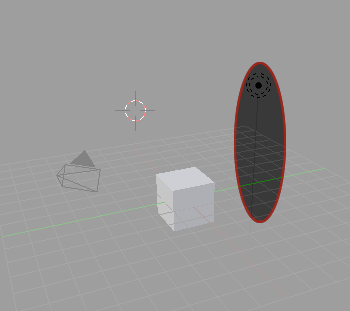 2) A Lamp
A lamp is simply a light source. It will not be rendered, but the light it provides to the scene will be rendered. Again, when using Blender for 3D printing, you don't have to think about the lighting.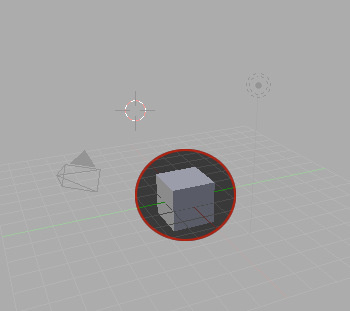
3)
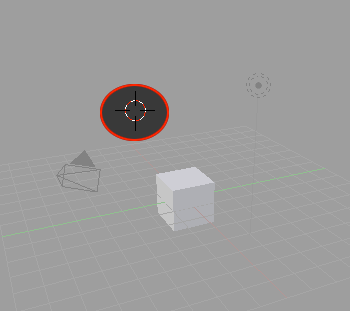
4) The 3D Cursor (works like an 'insertion point')
This is not an object, but a tool for you to use to choose where to put new objects in the scene, much like the cursor when you're typing on a word processor (the 'insertion point').
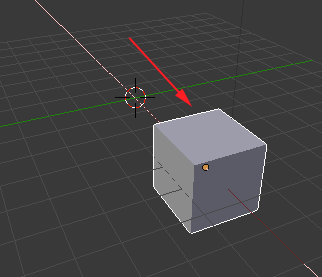
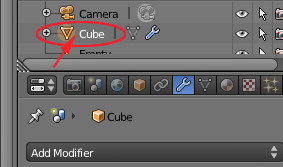
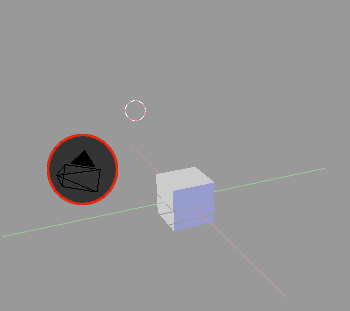
4) A Cube
If the cube is not selected (if there is not an orange line around it), RIGHT click on it to select it: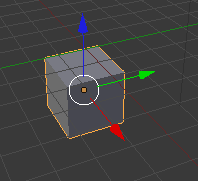
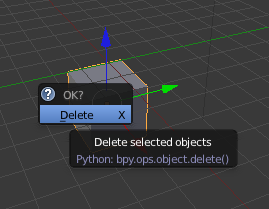
Press X and click on Delete
Press SHIFT+A, select Mesh and Cube to add a new cube. - Set your viewport to Front View by pressing the number 1 on your keyboard (use the number keys above the letters).
- Press number 5 to switch out of perpective mode and into orthogonal mode. Press it again to switch back. Press CTRL+ 5 to switch to a bottom view.
- Press number 1 to change the viewport to a front view. Press CTRL + 1 to switch to a back view.
- Press number 3 to change the viewport to a right view. Press CTRL + 3 to switch to a left view.
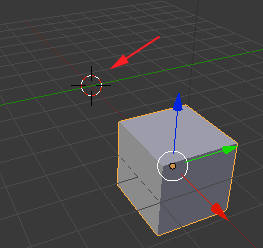
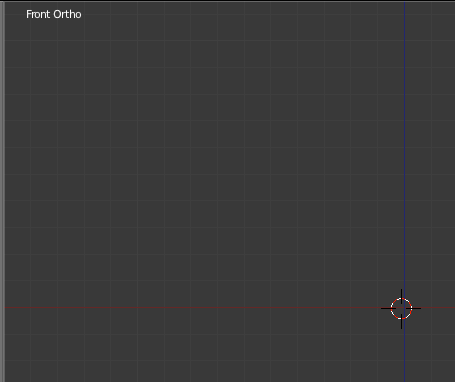
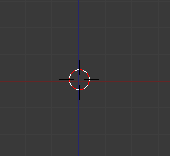
- Align the 3D cursor to the intersection of red and blue lines:
- Press Z KEY to toggle back and forth between Wireframe Mode and Solid Mode.
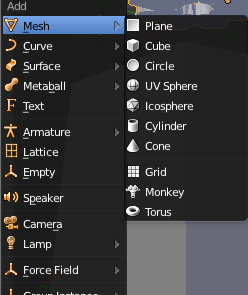
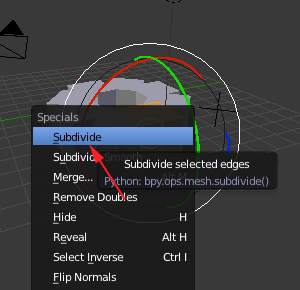
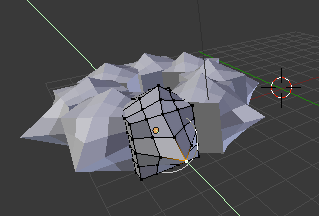
- To add a mesh press SHIFT+A and select Mesh. Then click on an object from the list.
- Press Tab to switch from Object Mode to Edit Mode.
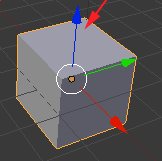
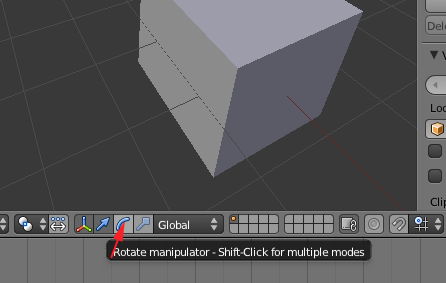
- You can use the manipulators instead of the hotkeys to manipulate objects.
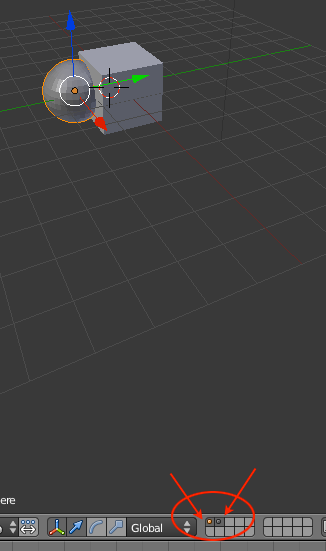
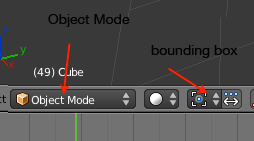
Make sure you are in Object mode and that the pivot mode is set to median point or bounding box center: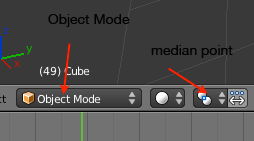
To move the object, hold the LMB on one of the arrows and drag in the direction you want your object to move in.
To use keyboard shortcuts:
- Press G for move (or grab)
- Press R for rotate
- Press S for scale
- Press G for move (or grab)
-
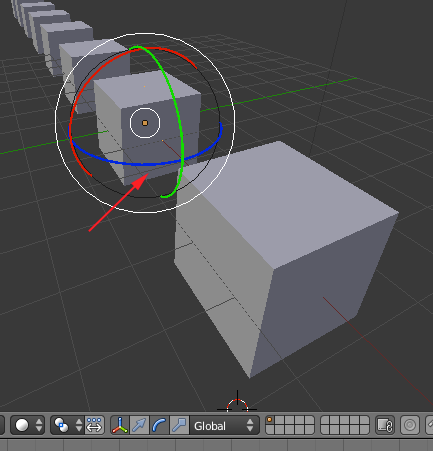
Global X,Y and Z are world space. Z is always up, no matter which way the object is rotated. In local space, Z is up only in terms of the object itself.
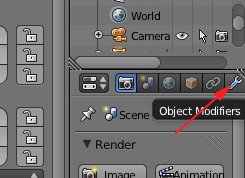
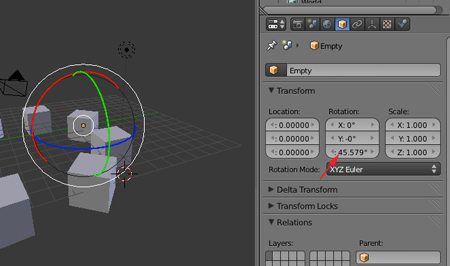
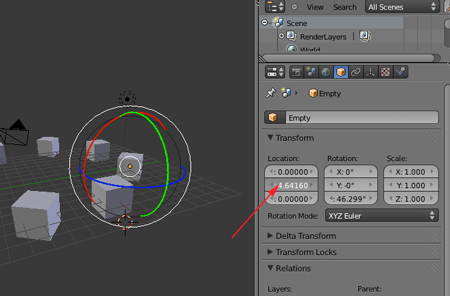
Press N to reveal the Properties Panel:
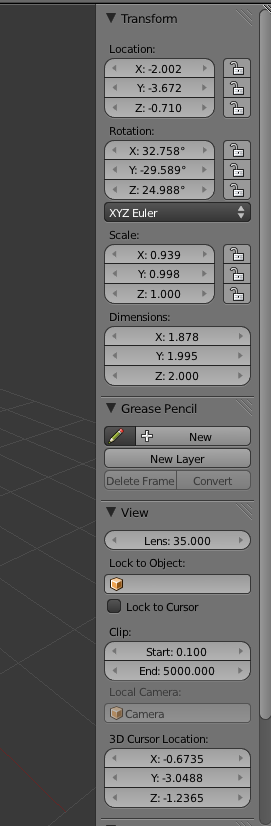
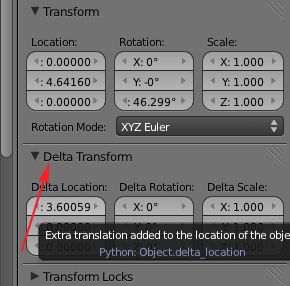
You can specify your transformations through numbers.
This is extremely helpful. Before editing objects, it is often a good idea to place them at 0,0,0.