The Mirror Tool
Tinkercad's mirror tool allows you to flip a form along the x, y or z axis.

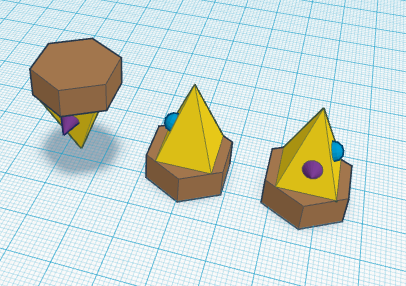
The Following three forms are identical, but flipped along an axis:
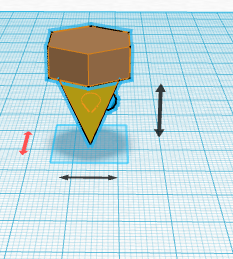
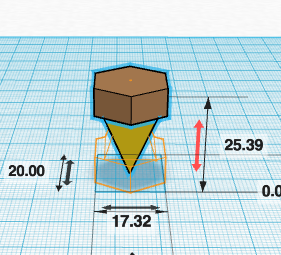
To mirror a form, select the object, click on adjust>Mirror and then select the axis:
Warm Up Challenge
- Open a web-gl enabled browser
- Navigate to Tessellation with Glide Reflection
- Make a copy of the Design
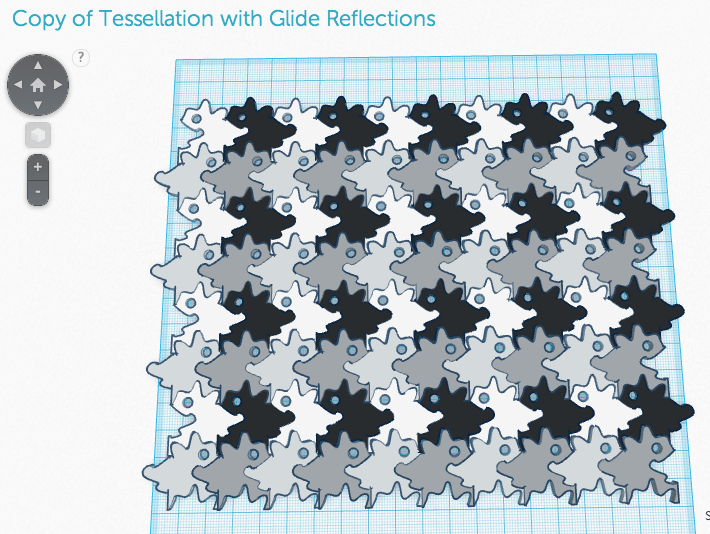
- Your challenge is to recreate the image below. How few moves can you accomplish the goal? Which tools did you use?
Making Your Own
The completed warm up creates a tessellation with a horizontal translation symmetry, and vertical glide reflection. A tessellation, is a tiling of the plane with no gaps or overlaps. The most common tessellations today are floor tilings, using square, rectangular, hexagonal, or other shapes of ceramic tile, but other shapes can be tessellated.
To create your own tessellation you will need to create an SVG, import it into Tinkercad, duplicate, mirror, arrange and change the heights (so that you can see the tiles as separate entities when printed).
Inkscape
- Open Inkscape.
- Select the rectangle tool:

- Draw a rectangle. You can create a square by holding down the control key when you drag.
- Make sure your rectangle is filled and has no stroke. Double click on the bottom left where you see the words fill and stroke to open up the palette, then select fill and no stroke:

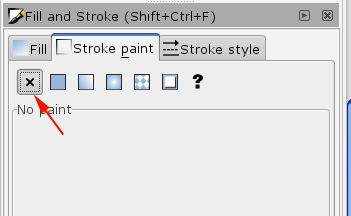
- Select the bezier tool:
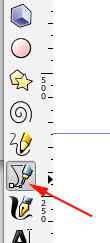
- Alter the bottom by creating a nibble. Dag and pull as you draw your shape.
- Select the selection tool:

- Select the nibble and the rectangle and under the Path menu choose Division:

- Select just the nibble and move it to the top:

- While the nibble is still selected navigate to the Object menu and select flip horizontally:


- Select the nibble and the rectangle and under Path menu choose Union

- Select the bezier tool again:

- Create a nibble on the left side of the rectangle:

- Select the nibble and the rectangle and under the Path menu choose Division:


- Select just the nibble and
translate it to the right side:

- Select all the paths and under the Path menu select Combine
- Feel free to embellish the interior shape

- When you are done, save the image as an svg.
- Next step is to modify the tile just a bit so that when it two or more are printed, they will fit together.
Resize the tile. Lock the width and height so that their relationship remains constant. Then resize the width to 80px: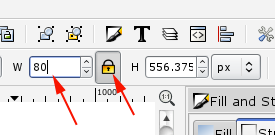
- Add a stroke of .2mm.
- Click on the selection tool then on the tile. Press CTRL+D to create a duplicate.
- Change the fill color of the duplicate and turn off its stroke.
- Under the Path menu select Dynamic Offset.
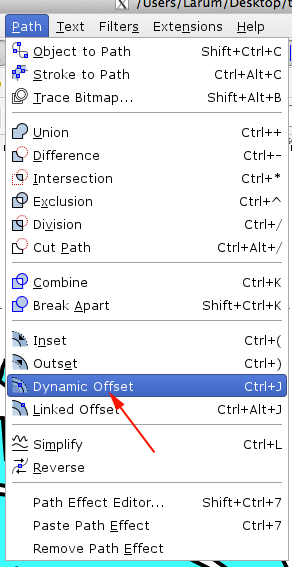
- Find the node at the top and drag it down slightly so that the duplicated tile just fits within the stroke of the original tile.
- Create a new layer by selecting Layer>Add Layer.
- Click on the Add Layer Button.
- Move the duplicated tile onto the top layer by selecting it and then clicking on Layer>Move Selection to Layer Above.
- Turn off other layers so that all you see is the duplicated tile.
- Make sure the tile is selected then select Path>Object to Path
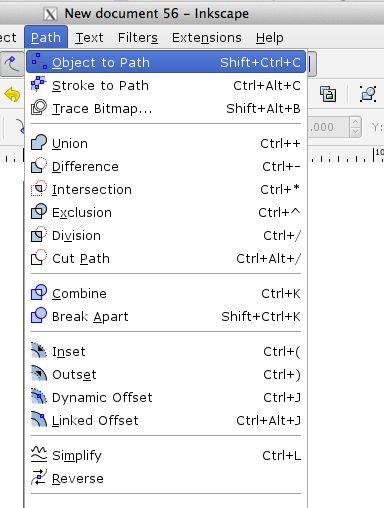
- Save as an SVG
Tinkercad
- Open a web-gl enabled browser.
- Navigate to Tinkercad, sign in and create a new design
- Import the SVG (chances are you will need to scale the SVG to 5%)

- Duplicate, mirror, arrange and change the heights as needed
