Tutorial
Lofting in Sketchup
What is it?
The process of extruding one 2D profile into another, different 2D profile is often called lofting. The curviloft plugin allows you to do three basic operations:- Loft By Spline
- Loft along Path
- Skinning
What's the tutorial?
Curviloft
Installing
- Navigate to Sketchucation.com and either sign up or log in.
- Download the plugin LibFredo6. The curviloft plugin is dependent on the LibFredo6 plugin
- Unzip the file and place the files LibFredo6.rb and the folder LIBFREDO6_Dir_46 in your plugin folder
- Download the plugin ] Curviloft.
-
Place the CURVILOFT_Dir_12 folder in your plugins folder
- On the Mac I also had to create the following folder in my plugin folder:
DEFPARAM_Dir
Loft by Spline
- Open SketchUp.
- Click on the GEM to get plugin updates
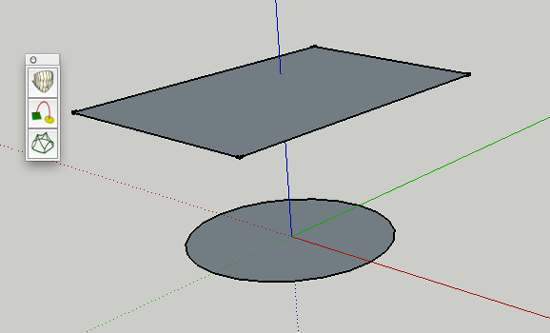
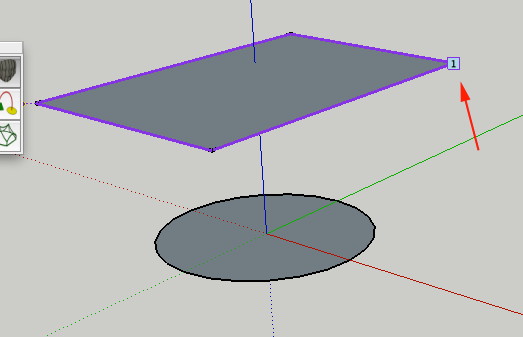
- Start with two flat profiles positioned one above the other:
- Select the By Spline option
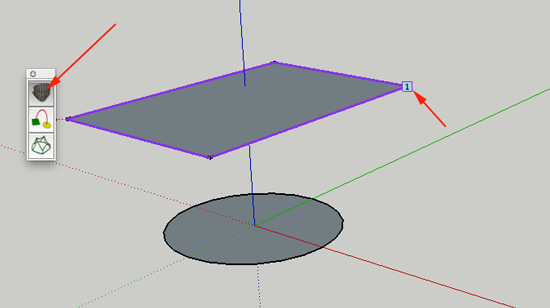
- If there were more than two, you would need to click the profiles in the order that you wanted to connect them. Click the first profile:
- Click the second profile:
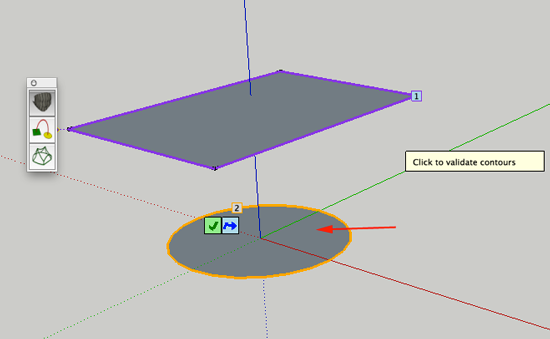
- When all profiles are numbered, click the green checkmark:
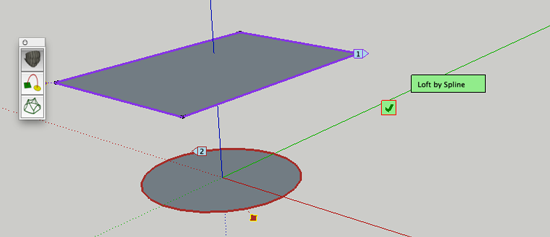
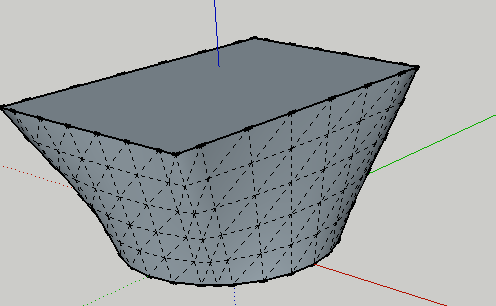
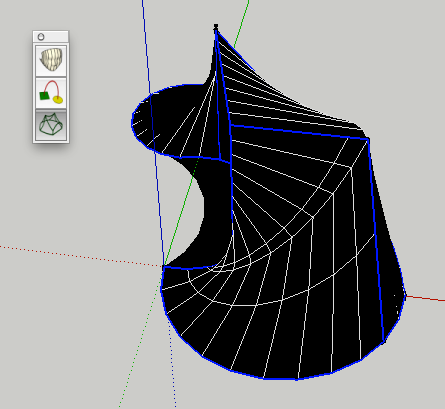
- You should see a preview:
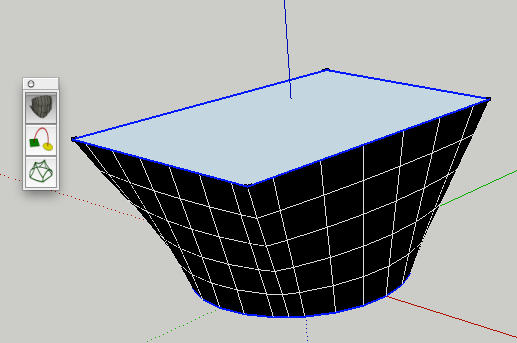
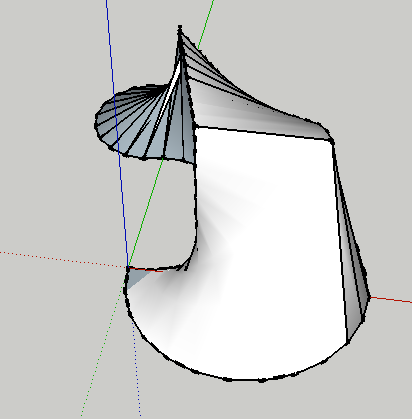
- If you're happy, click the checkmark. You may need to reverse the faces:
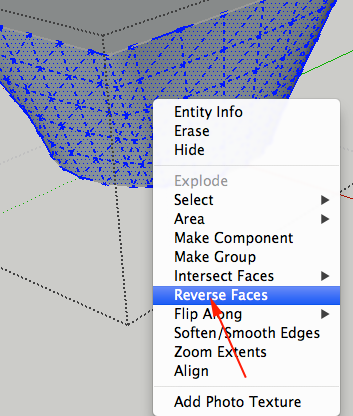
- CTRL+click to select Edit Group from Context Menu. Triple click on the entity:

- CTRL+click and select Reverse Faces:
- When you perform a Loft by Spline operation, the tool is generating two different kinds of geometry which it later combines. Intermediate profiles (left) are in-between 2D shapes spaced between the profiles you start out with. Splines (right) are lines that connect adjacent profiles together:
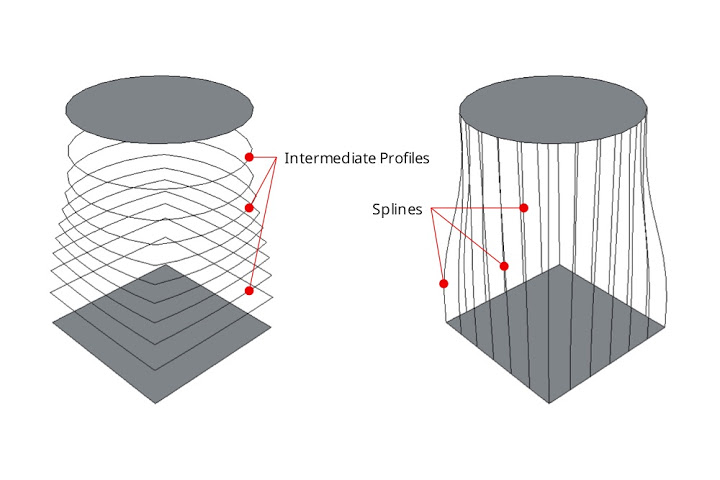
Organic modeling made simple with Curviloft
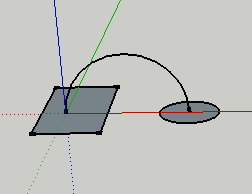
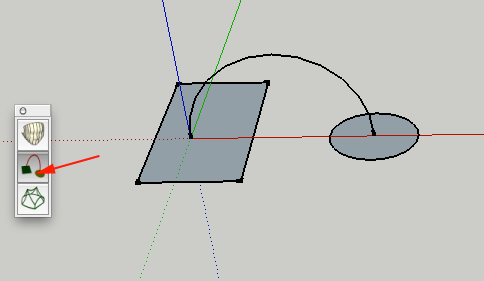
Loft along Path
- Create two profiles and connect their centers with a a curve:
- Click on the Loft along Path
- Click on the curve to select it:
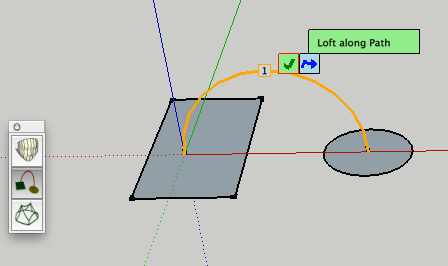
- Click on the edge of one of the profiles:
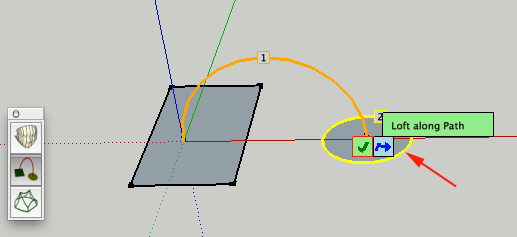
- Click on the edges of the second profile:
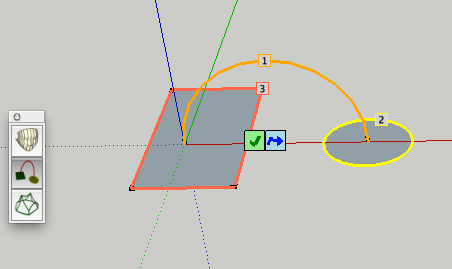
- Click on the green checkmark to loft. You will see a preview:
- If you want to accept the loft click on the green checkmark:
- If you want to return to preview, click on the orange arrow

Skinning
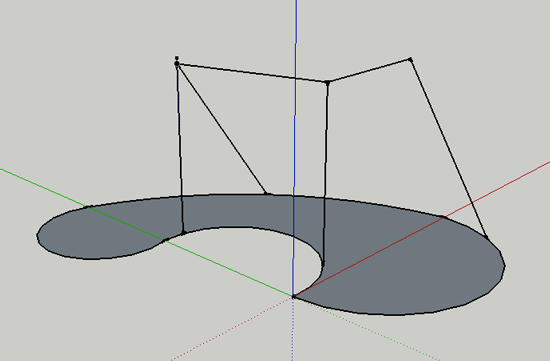
- Draw a shape that has lines that describe the structure:
- Click on the Skinning tool and select the edges
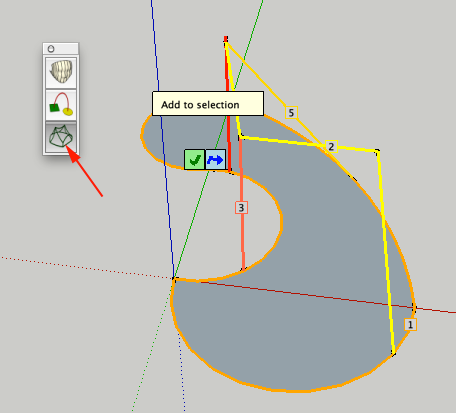
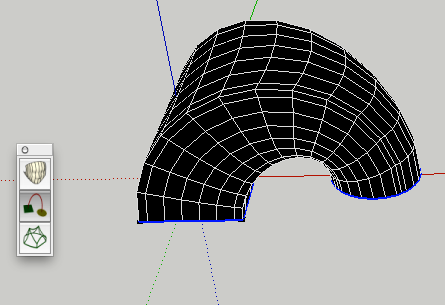
- Click on the green checkmark to loft. You will see a preview:
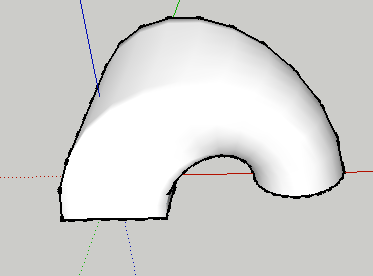
- If you want to accept the loft click on the green checkmark:
- If you want to return to preview, click on the orange arrow
Now what?
- Create a model that takes advantage of loft.
- Come back tomorrow for more information and inspiration!
