Constructing a Model
40 minutes- Break up into teams
- Collect straws and connectors
- Build a wireframe structure using a set of straws and connectors.
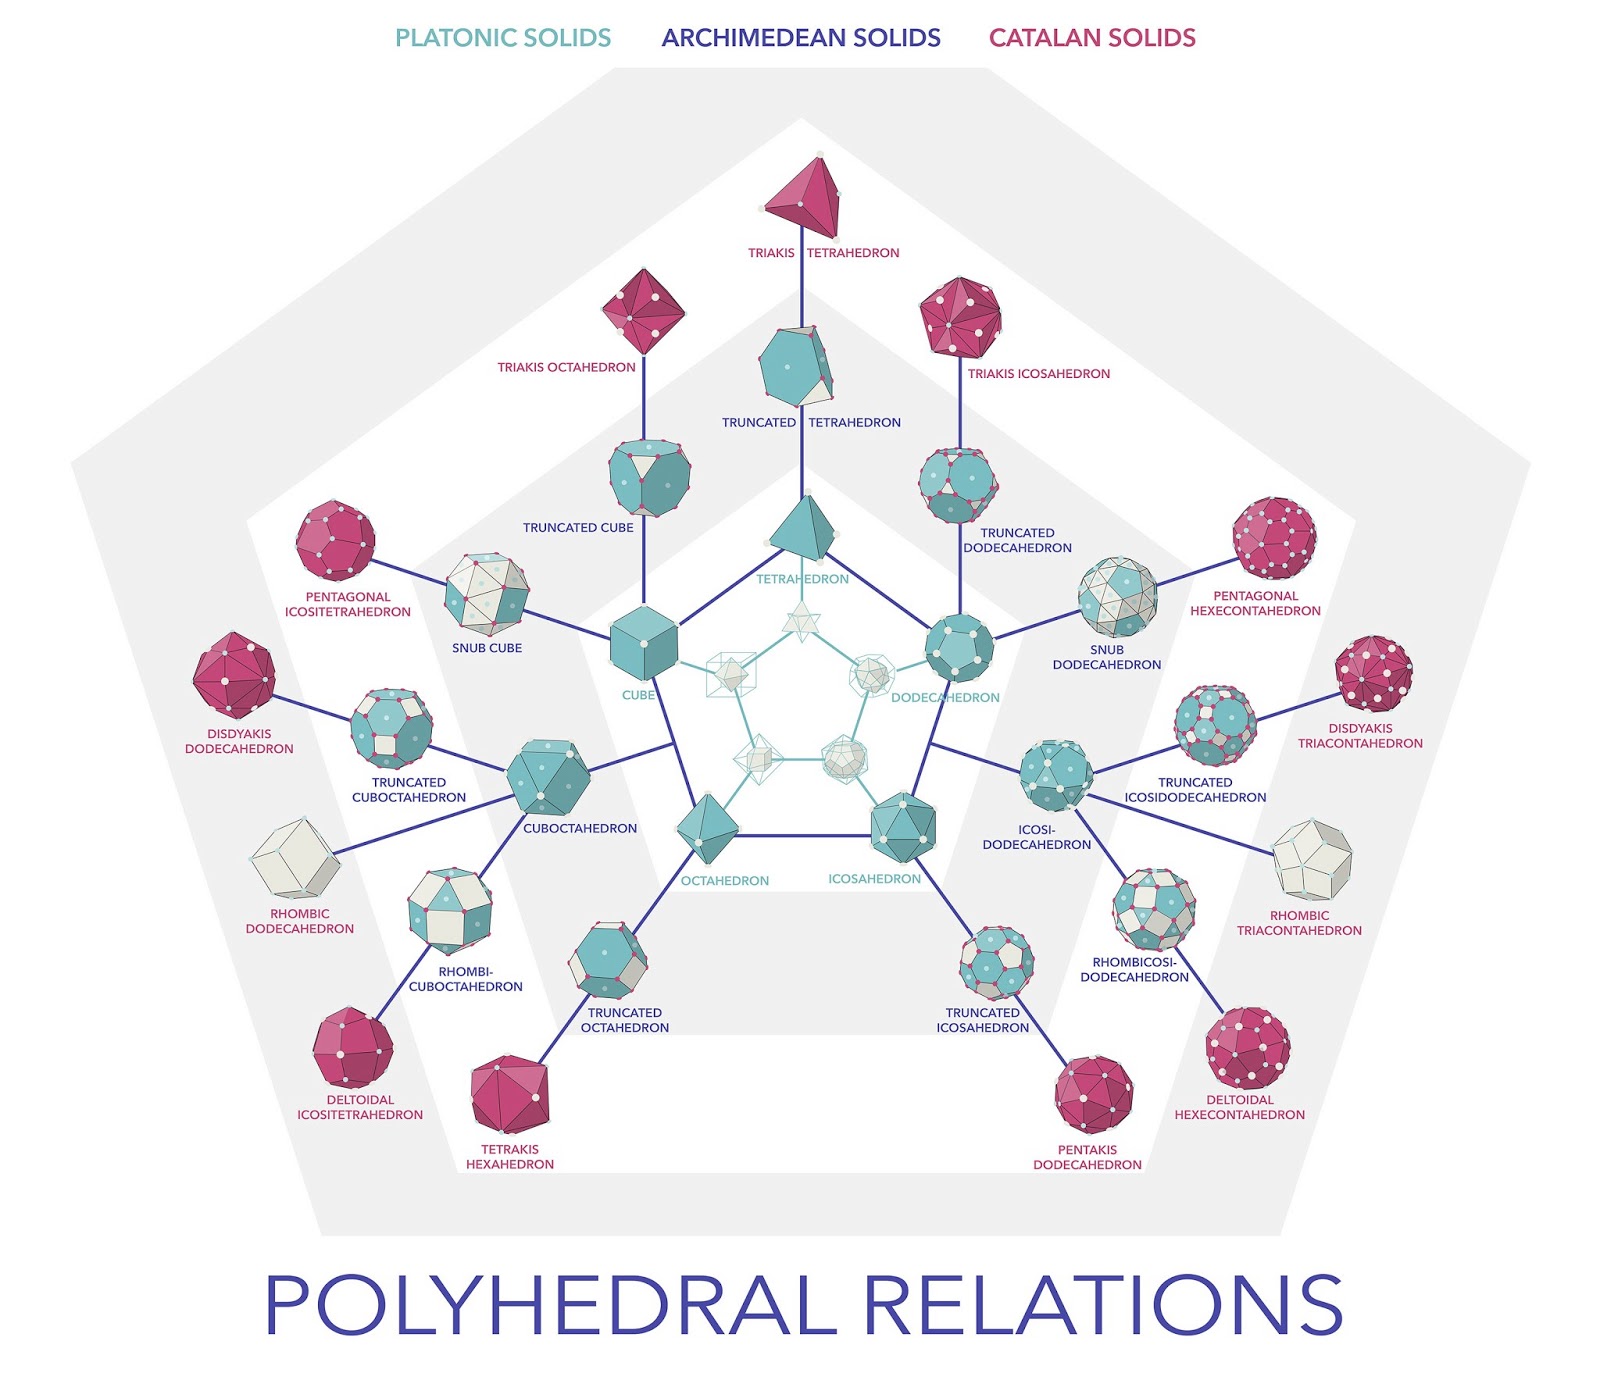
You may cut or bend your straws. When constructing your forms, think about triangles, hexagons, grids and Archimedean, Platonic and Johnson solids.
Archimedean solids are symmetric, semi-regular convex polyhedrons composed of two or more types of regular polygons meeting at identical vertices. Platonic solid are composed of only one type of polygon that meets at identical vertices, and Johnson solids have regular polygonal faces that do not meet in identical vertices.
Sketching
15 minutesSketching is an important part of 3D modeling. By getting your ideas and dimensions of the object you want to model on paper, you can convey your ideas to others and you give yourself the opportunity to find misconceptions and mistakes before you spend time modeling.
Your sketches are your blueprints.
Drawing's real power lies in its immediacy and speed; its capacity to materialize thoughts and ideas quickly so that they can be expanded upon or shared before they disappear. The designer uses lines and marks to shepherd ideas into existence while they are still only partially formed in his or her mind.
This process— a cumulative rather than linear one— allows the designer to go back to a sketch and add to, or subtract from, it or simply revisit ideas on paper and continue the thinking process begun earlier. Such sketch ideation is not simply a matter of documentation or observation; instead it is a highly creative and dynamic act where the power and poetry of line can capture character and begin defining form or clarifying connections thereby enhancing communication. Sketching can be used to show cause and effect, time-based interactions, or form factors.
Henry, Kevin (2012-08-27). Drawing for Product Designers (Portfolio Skills) (Kindle Locations 109-115). Laurence King. Kindle Edition.
Digital Calipers
A digital or electronic caliper is a precision instrument that can be used to measure internal and external distances accurately.When using digital calipers:
- make sure that the surfaces are clean
- Turn on the device, close the jaw and zero the measurement
- When measuring the outside of an object use the lower jaw
- When measuring an interior, use the upper jaw
- When measuring depth use the base of the caliper. Rest the base on the top of the hole and adjust the depth measuring blade until it touches the bottom of the hole. The locking screw is tightened and the measurement can be read on the LCD display.
More Information about sketching
Modeling
Introduction to TinkerCad
20 minutes signup and demo1 hour modeling
Tinkercad is an easy-to-use tool for creating 3D models for 3D printing. It is part of the Autodesk family of products, which are free and exist to enable students, makers, and individuals from all walks of life to design and make the things they imagine.
- Navigate in a web-gl enabled browser (Chrome or Firefox) to tinkercad.com
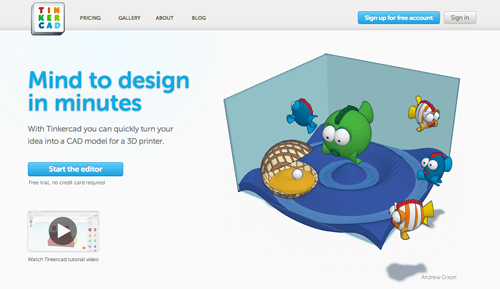
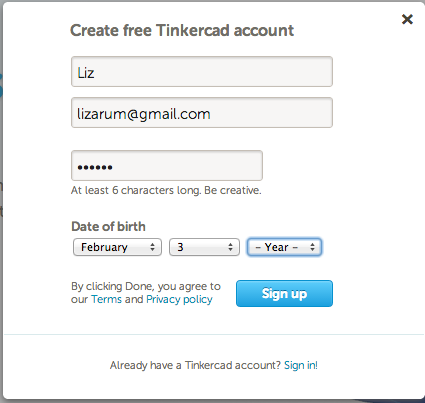
- If you have not already signed up for a free account, do so now

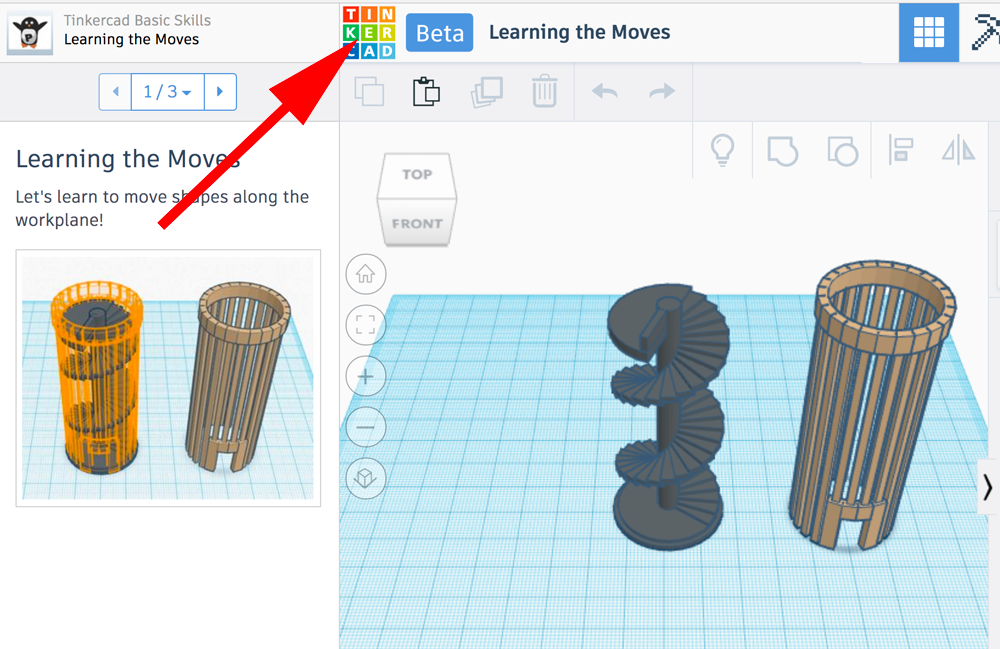
- To exit the tutorial and start experimenting, exploring and modeling click on the Tinkercad logo:
- To start a new model click on Create new design

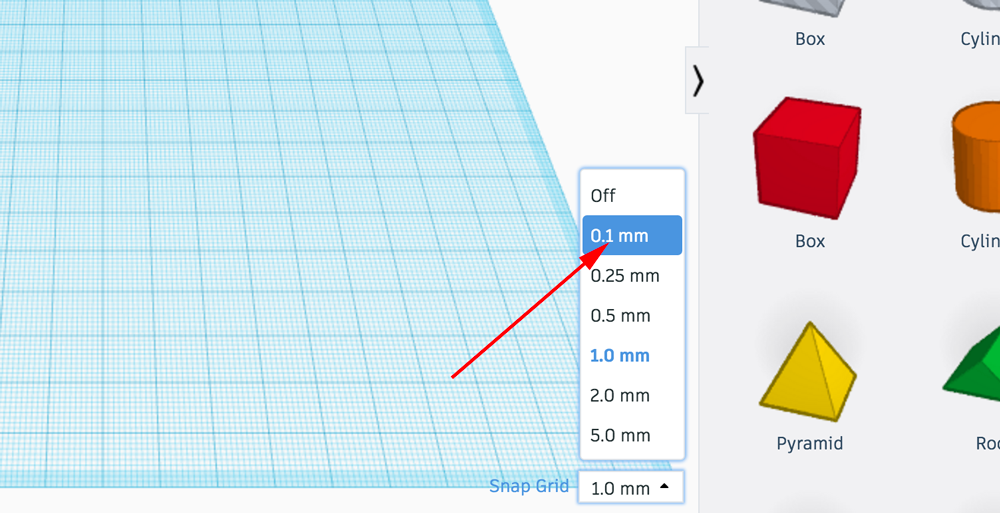
- For greater precision I toggle the Snap grid value between 0.1 and 1.0
- To add shapes, letters and numbers you drag your selection from the palette on the right over to the workplane:

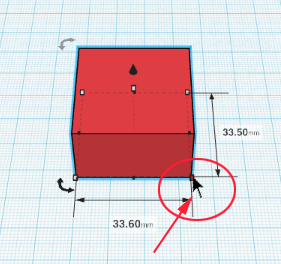
- You can get the dimensions of an object by moving the cursor over the nodes or handles:
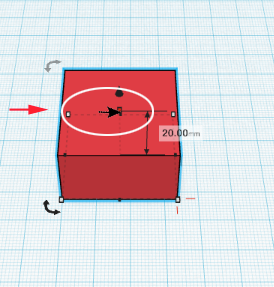
- You can also get and/or modify the dimensions by laying down the ruler:
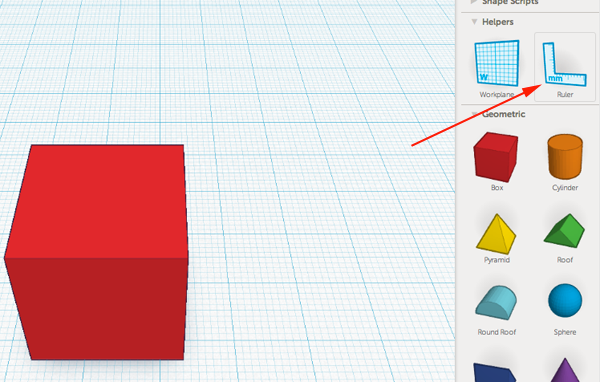
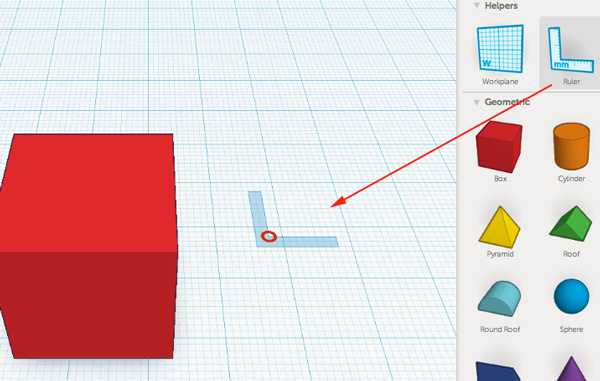
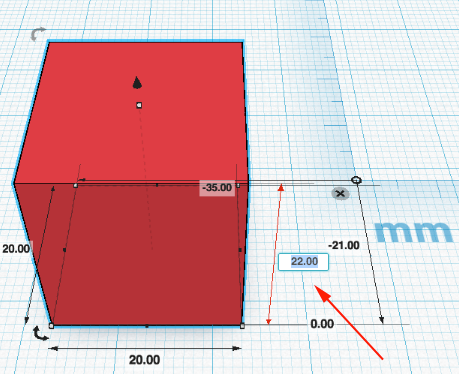
- Drag the ruler to the corner of an object and click on the circle to select a quadrant to measure. This is helpful when you want to measure distances between objects:
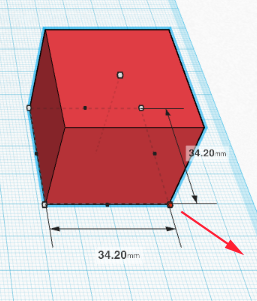
- You can resize your form by dragging the corner points (nodes) or using the ruler and editing the field:


- Dragging the corner node while holding shift will increase the X,Y and Z axis proportionally:
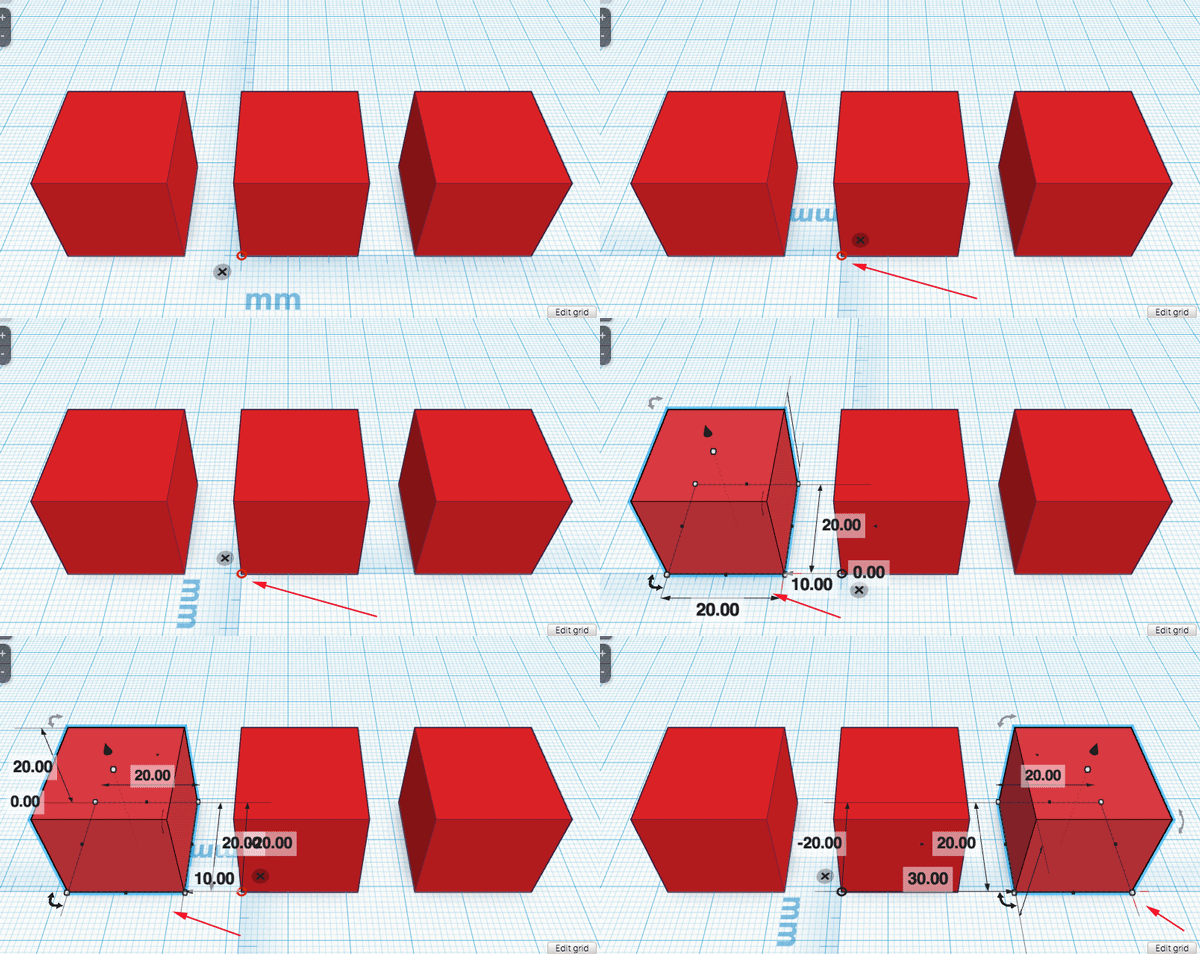
- You can copy and paste your forms using the standard keyboard commands. When you paste, Tinkercad will move your new form to the right:
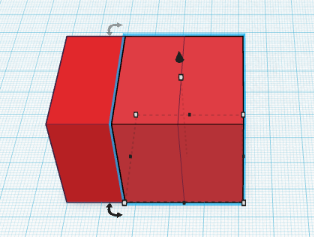
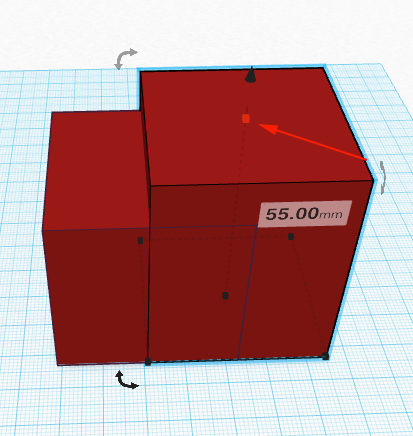
- You can raise the height of your form by dragging the node below the cone
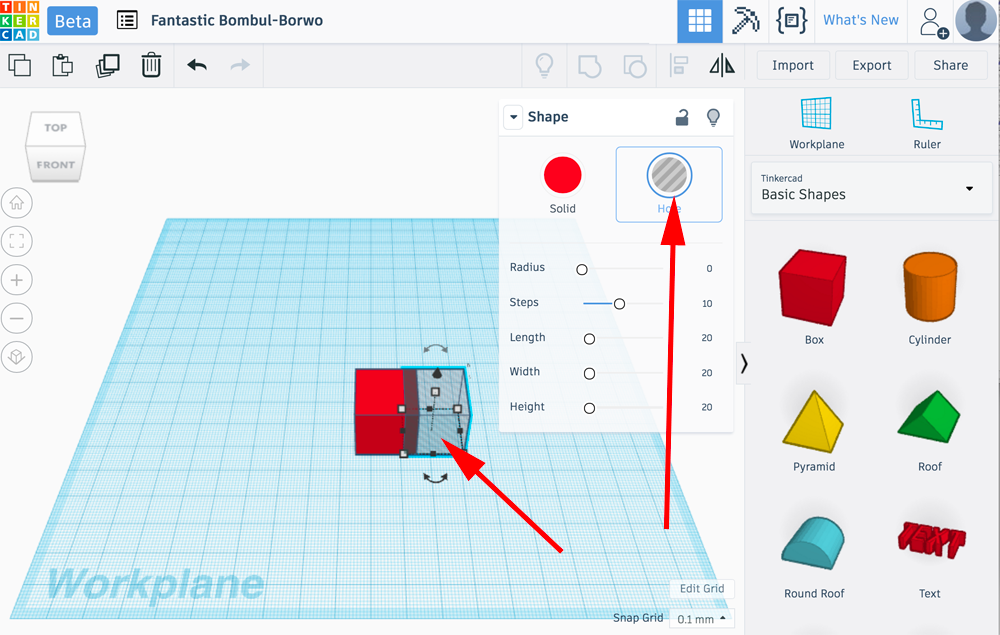
- You can subtract shapes from each other by placing the shape you want to remove, selecting it and then clicking on the the hole icon
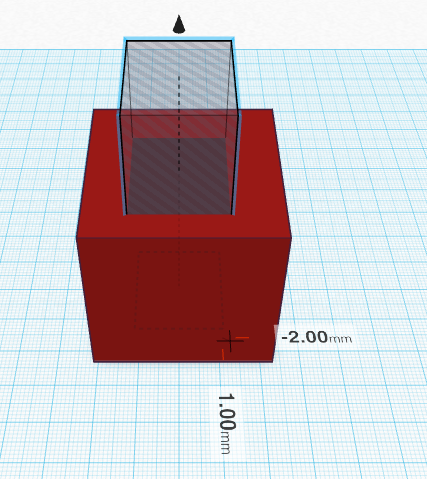
- You can still adjust the location of the hole by dragging the form
-
When you want to remove the shape, drag your cursor over or Shift+Left Click on both objects (what you want to keep and what you want to remove)
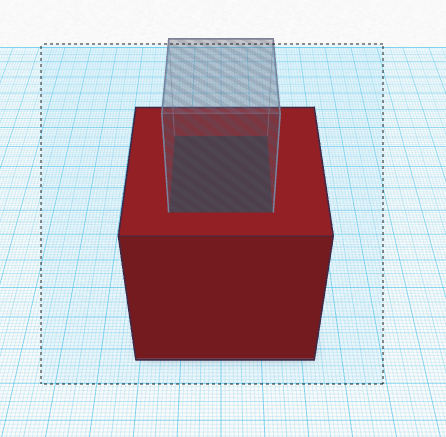
- When both are selected, click on Group
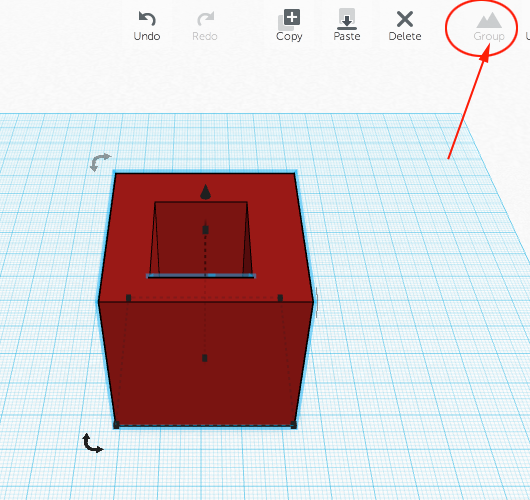
- To view the hole, rotate with the mouse:
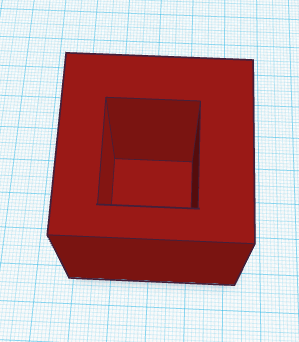
- Tinkercad's rotate tool allows you to change the angle of your model or part of your model along the x, y or z axis.
Tinkercad allows you to choose your resolution by providing three rings. Once you start the rotation you can move your mouse over the appropriate band. The center band allow you to adjust the rotation by full degrees. The inner band adjusts the angle in increments of 22.5° (half of 45°) and the outer band allows you the most precision.
You can easily rotate your objects by clicking on the rotation icons and then selecting the band: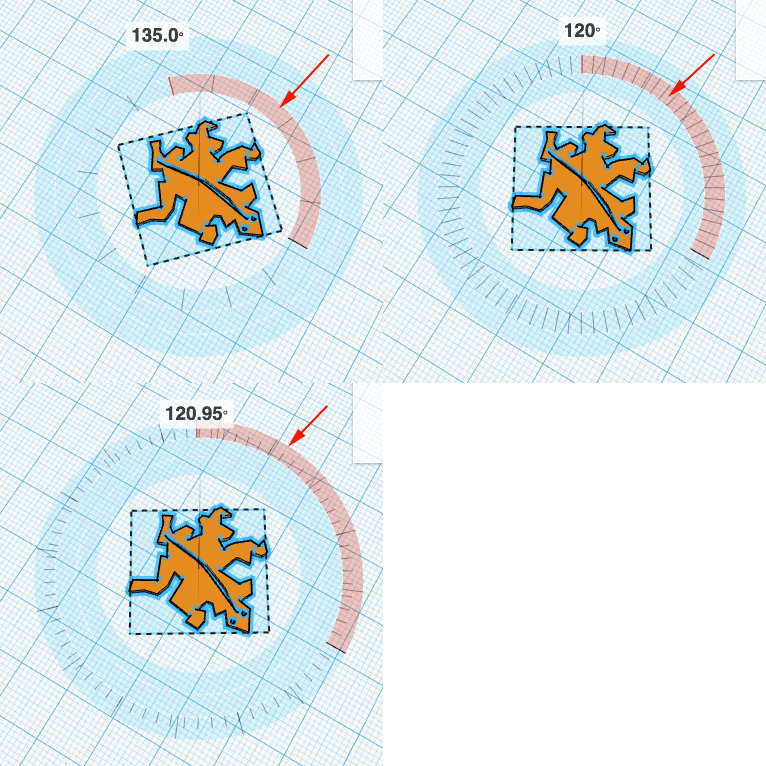
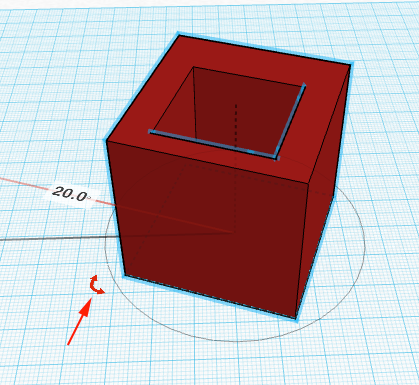
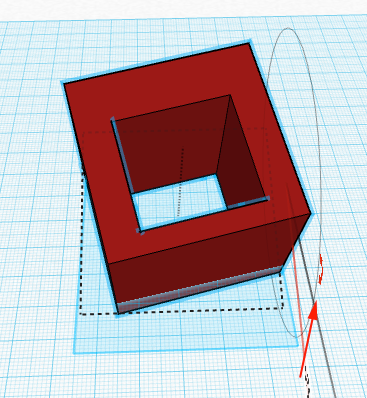
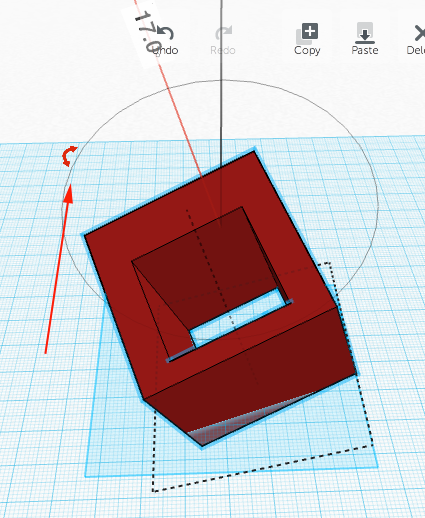
- You can move the workplane by placing it on a side of any of your forms. This allows you to add more forms on an angle:
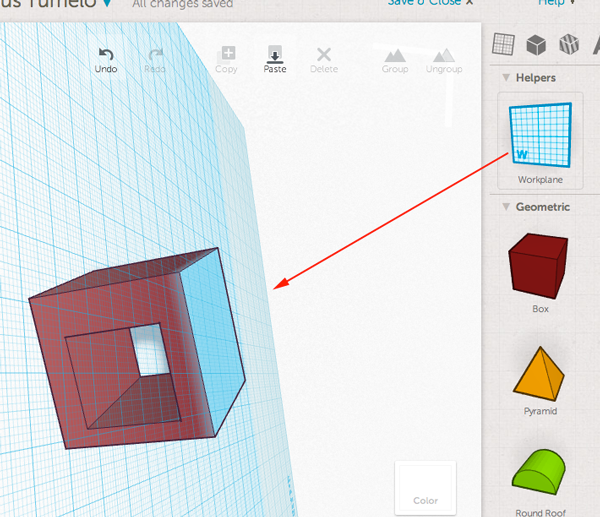
- To reset the workplane, just drag the workplane from the palette to the work area:
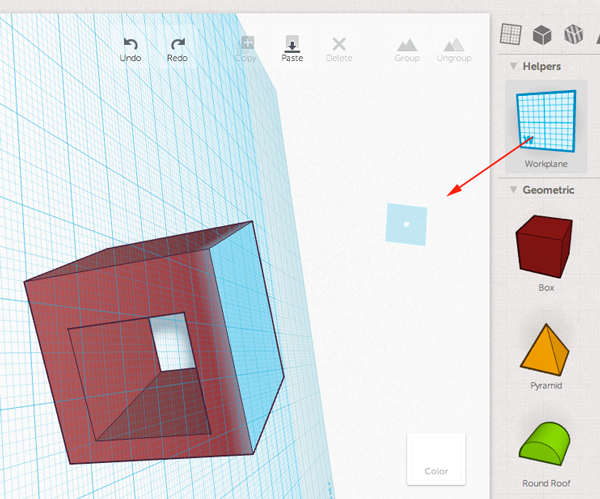
- Tinkercad's Align tool allows you to align multiple objects.
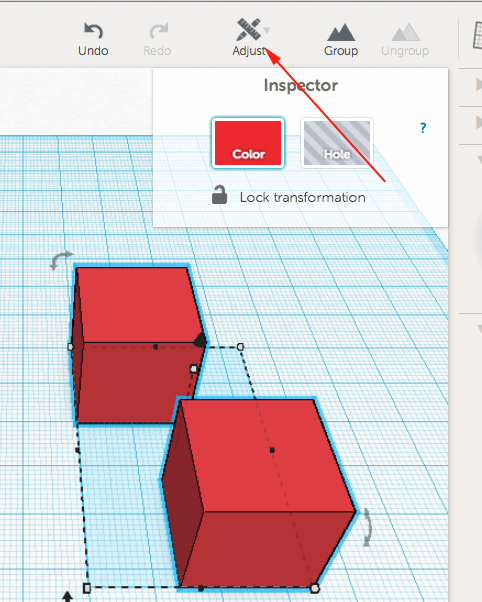
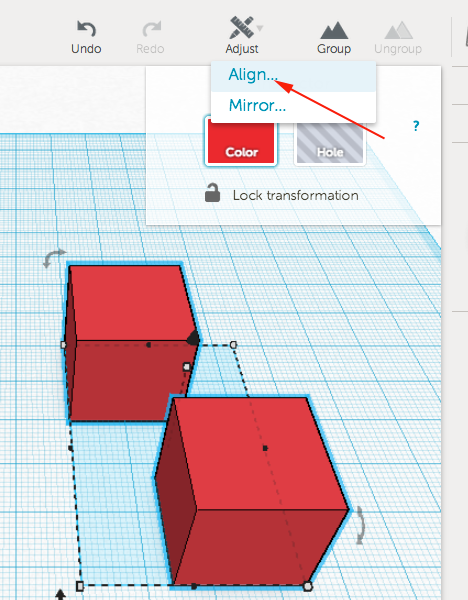
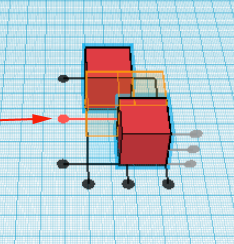
To use the Align tool. Select at least two objects by Shift left-clicking on them or by dragging a box around them. Once selected click on the Adjust Option at the top. Then select Align and move your mouse over a node to preview the move. Click the node to align the objects.
- Select objects and click Adjust:
- Now select Align
- Click on the node you would like the forms to align with:
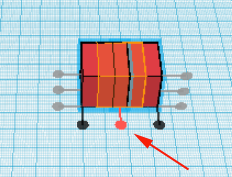
- Select objects and click Adjust:
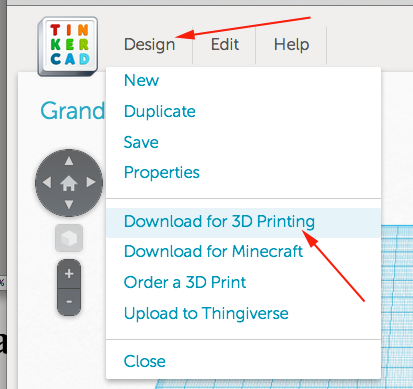
- To save the STL file, click on Design and select Download for 3D Printing:
Then select on the STL button: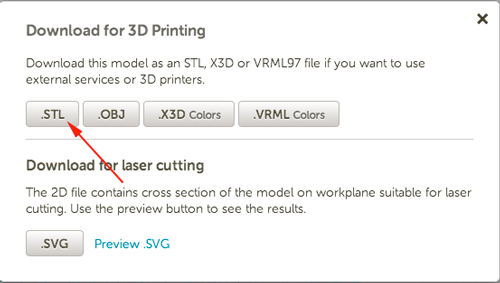
- Experiment, have fun, print
- When you are ready to print your object, click on the Design menu and select Properties.
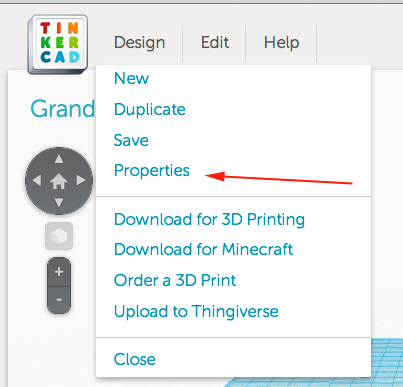
- Rename your file and save the changes
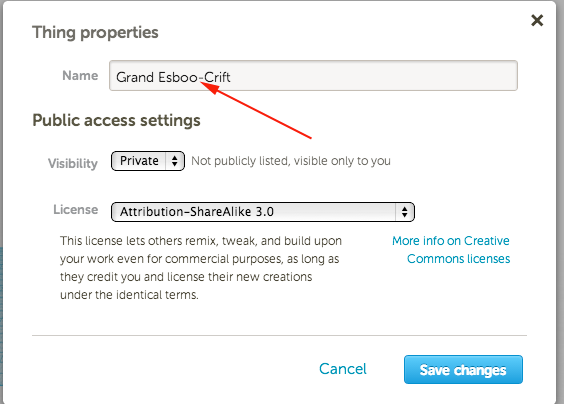
- From the Design menu select Download for 3D Printing:

- Select on the STL button:

Slicing
MakerBot Desktop
- Open MakerBot Desktop. If you have not installed this software, you can find it here.
If the Application is open, but you don't see anything, press File>New - From Desktop you can Explore Thingiverse, your Thingiverse files or upload from your computer.
- If Uploading from your computer click on the Prepare:

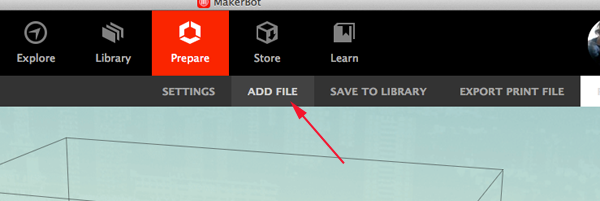
- Click on Add File button and navigate to or just drag your stl file on to the virtual platform.
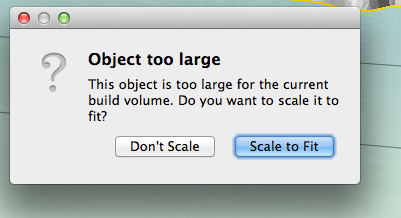
- If your stl file is too large you will see this pop-up. You do not have to scale the model at this point (even if it is too large). Scaling later will allow you to select a percent of the original, if that is important to your project
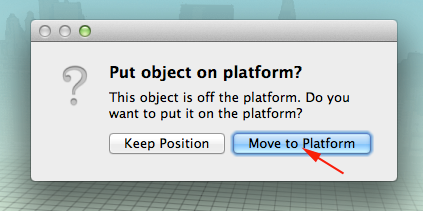
- If you see this window, click on the move to platform button
- To use any of the transformation tools, your STL file must be selected (i.e. highlighted in yellow)
- Press M to move the model on the platform:

- Press T to rotate the model on the platform:

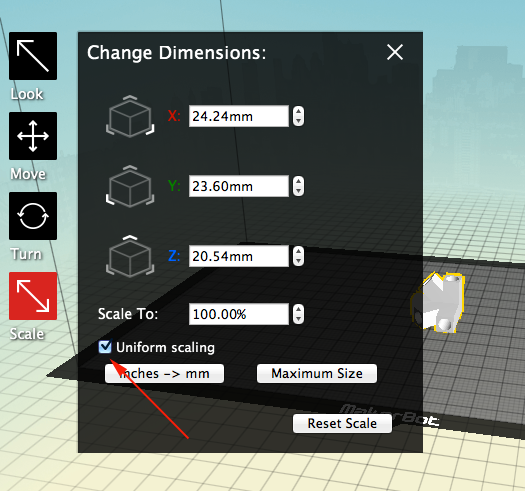
- Press S to scale the model on the platform:

- Click on Uniform scaling to toggle this option. When deselected you can scale along each axis:
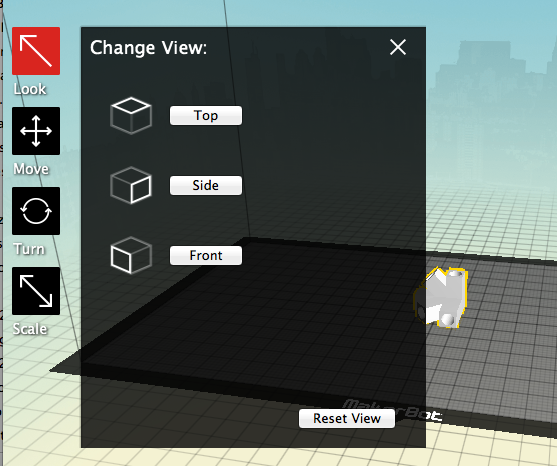
- Press L to change the view:
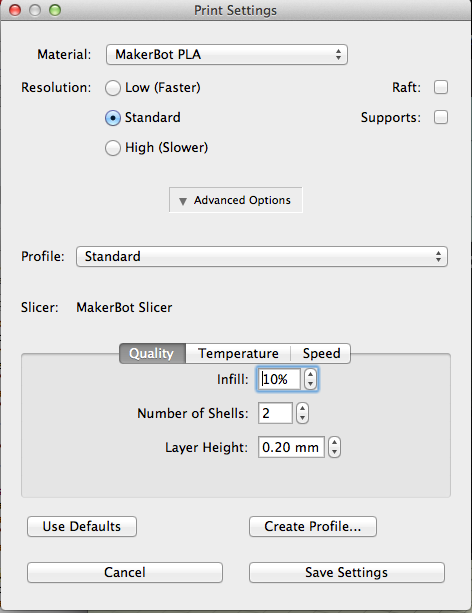
- Click on the Settings
button to set up your slicing parameters:

- Generally the default settings are fine for most prints. Click on Save Settings:
- Click on the Export button to slice the stl file:

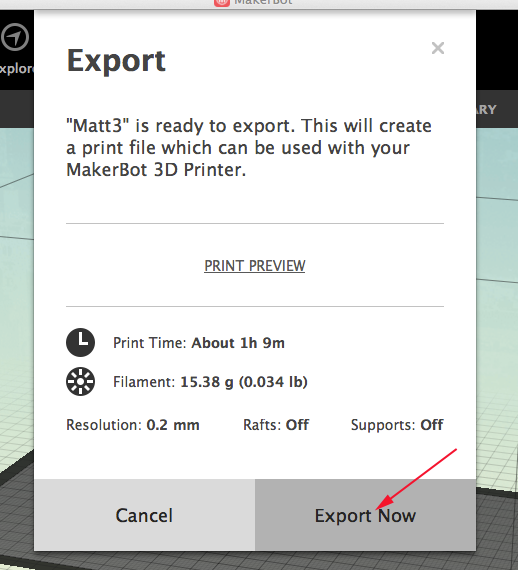
- When slicing is complete select Export Now:
- To save the x3g file to an SD card select the SD card:
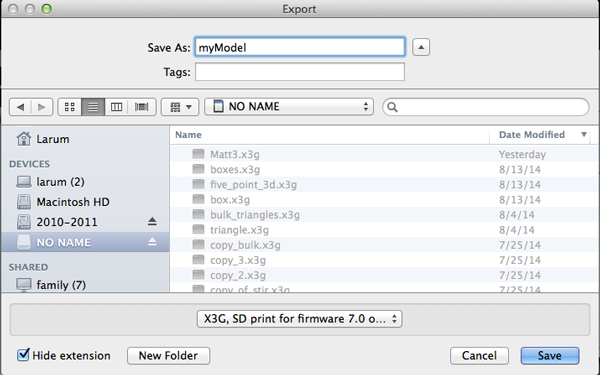
- If you are using a fifth generation Replicator, you will have the option to connect to the printer over wifi.
- To save all your transformations, save the thing file by clicking on the Save to Library.
Thingiverse
30 minutes including slicing- Navigate to Thingiverse and log in or create an account.
- Find an object that interests you.
Art
Music
Tools
Threaded
- Download the object.
- Open in Makerware or Desktop
- Scale the object so that it is small and can be printed in under half an hour.
- Export for printing
Importing SVGs
5 minute demo- Find an svg image on the internet or create one of your own.

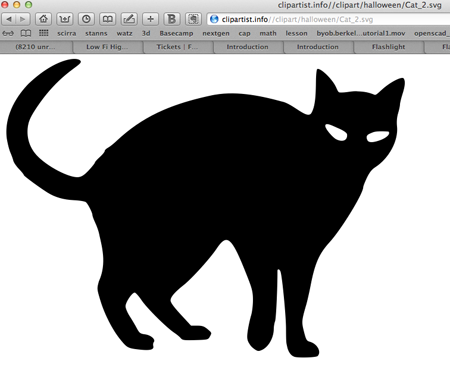
- In Tinkercad navigate to the Import option

- Select file
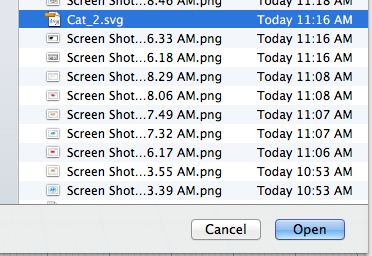
- Adjust size of import:
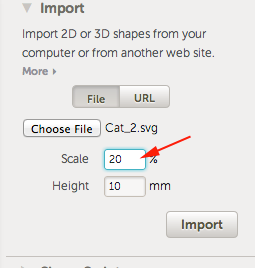
- Scale the image in Tinkercad

More Ideas
-
DesignMakeTeach's PERSONALIZE A GIMBAL
Tinkercad Gyro Maker by Mathgrrl (Laura Taalman)
learn to move, align, and group objects and use that knowledge to put together a customized gyro from pre-made pieces.
Choose one small inside hole and use the sliders in the Shape Script to change the number of sides/petals or the amount of twist in the shape. Then Align the small hole with the small blue gyro center and Group them together. For the outside, choose a large shape and customize it to your liking, then Align and Group the large shape with the large hole. Finally, select the customized outer ring together with the orange, yellow, green, and customized blue gyro rings, and Align and Group together to make the final gyro. - Coin Trap
Pause the printer, drop the coin and resume printing
Laura Taalman's Coin Trap Tutorial - Customize the Hinged Buterfly
Ungroup and modify or just start with the hinge - Create your own nets with these hinges or download and print Mathgrrl's (Laura Taalman ) Triangular polyhedra nets
The nets are made to have .2mm (one layer) base thickness plus another .2mm (another layer) for the faces themselves, which are inset just a bit from the base layer so that fold lines develop naturally. Thicker nets did not fold very well and tended to snap along the edges.
Even better, make your own nets.
Look at Origami Heavenfor inspiration. - Explore Mathgrrl's (Laura Taalman ) Tiles for Stellated Octahedron
Optimized to work with the low/.3mm settings - From a drawing to a model (inspired by DesignMakeTeach's SHARPIE TO 3D PRINT IN 30 MINUTES
- Draw a small picture on an index card with a Sharpie marker.
- Take a photo of the drawing
- Upload to your computer
- Open in Inkscape
- Select Path>Trace Bitmap. Click Update and close the pp-up window
- Save file as .svg
- Open a new model in Tinkercad
- Click Import, select file, scale the file
- Download and print
