123D Catch
123D Catch is an Autodesk Application that allows you to use a digital camera, mobile device or iPad to capture images of an object in the real world and transform those images into a 3D printable model.
- Open a browser and navigate to http://www.123dapp.com
- Sign in or join.
- Select Catch from the list on the left
- Select Try it online
- Select Start a New Project
- Add your images.
- Wait a bit for the service to process your images.
- View the mesh.
- Install the 123D Catch plugin on your computer.
Guidelines for capturing
- Rotate around your object, capturing a frame every 5-10 degrees. You are trying to get at least 50% overlap between images.
Move the camera at regular intervals and in a predictable pattern (left to right and from top to bottom).
- If using a camera take 30-50 photographs. If using the iPad you are limited to only 40 frames. You will get a ten frame warning. While it seems counter-intuitive, a point and shoot camera may take the best capture because of the algorithm used.
- Decide on a focal length. Once you start capturing frames, avoid zooming in or out. Zooming will distort your capture and will make it impossible for the application to align your set of images. Try to fill the frame with your image.
- Avoid reflective surfaces or objects with glare. Mirrored or transparent surfaces will not work either.
- Before you start, plan out the order in which you will take the frames. Work consistently from high to low, and from left to right. If you keep your sequence consistent you will be able to to identify errors (if they happen) later.
- Consider using some sort of marking system when your subject lacks discernable features. You need four points for registration between any one image and two other images in the collection. Consider using a high contrast tape. Place enough markers so that at least four are always visible from any of the positions you plan to shoot from.
- Your subject should be motionless.
- You can choose the resolution quality when you upload your captures at 123d catch.

MeshMixer
Clean Up
So, you've got your 3D model back from the cloud. But, wait, there are some serious problems. There are hole, disconnected parts and there is no way that model is manifold. Don't panic, there is a quick fix.
MeshMixer is a free tool that can fix all your woes, and do it quickly.
- MeshMixer works on a PC and OSX 10.7, but seems to particularly buggy on Snow Leopard 10.6.
I couldn't install it on a Mac with Snow Leopard, but visit the FAQ page, and maybe you'll have more luck . Download MeshMixer and install it.
- Open the application.
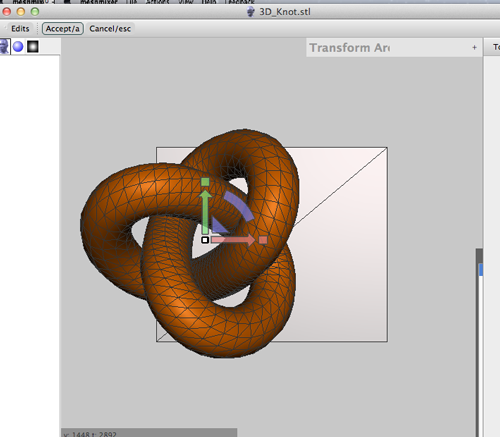
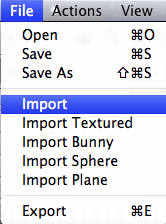
- Click Import to open your stl or obj file.

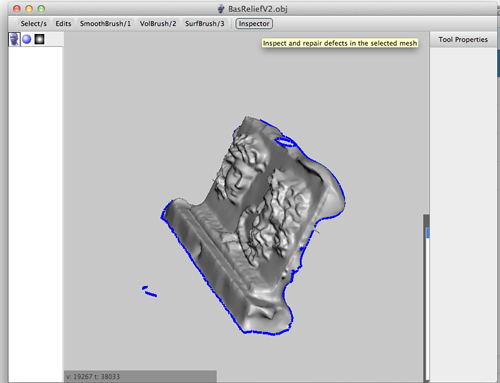
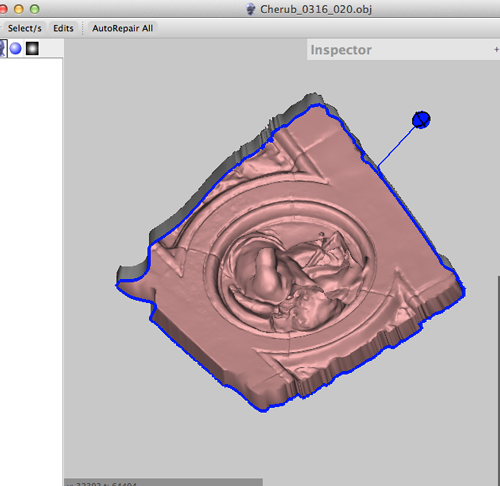
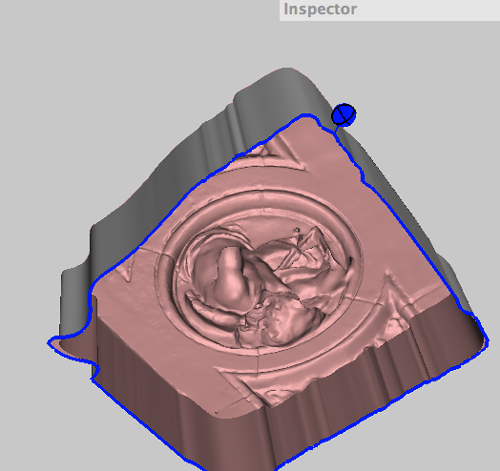
- Click Inspector.You'll see your model with a number of spheres attached to it.
Blue spheres represent holes
Red spheres represent non-manifold areas
Magenta spheres represent disconnected components
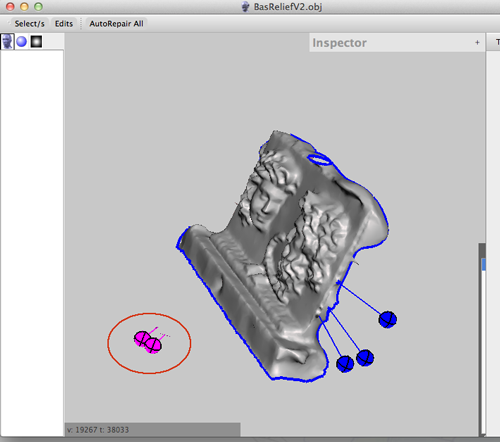
- Left clicking on a sphere will repair the problem.
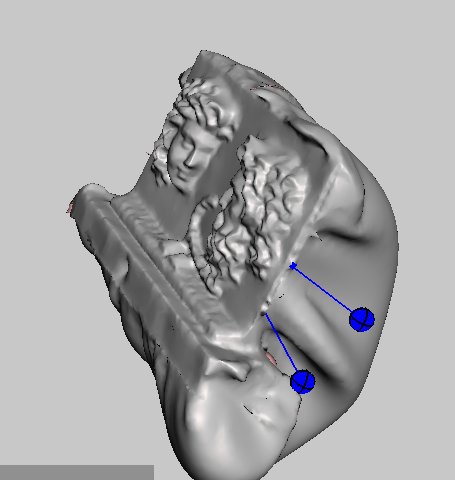
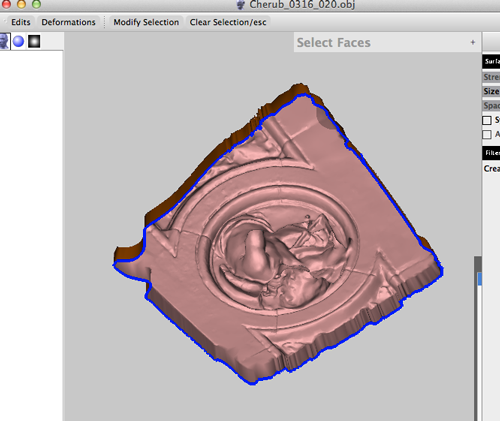
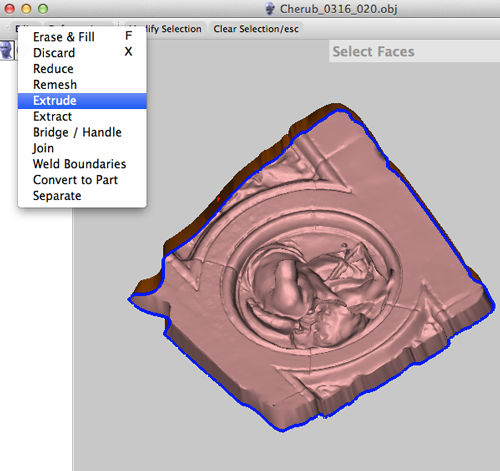
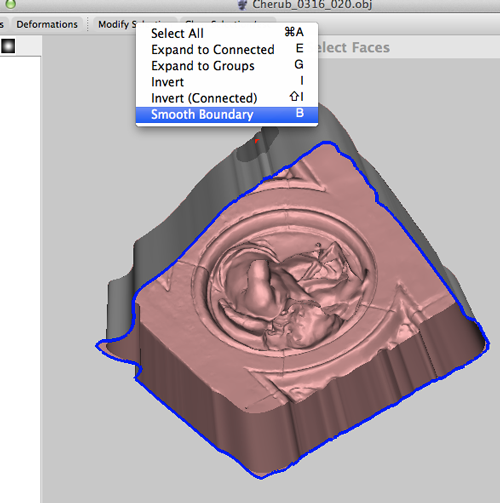
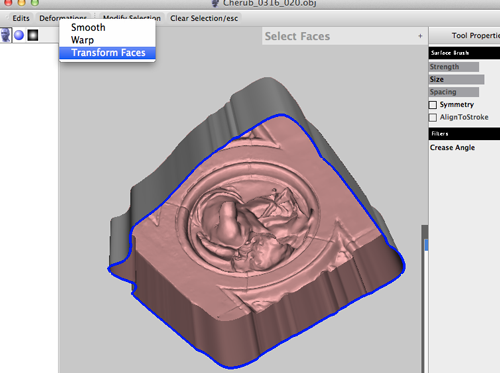
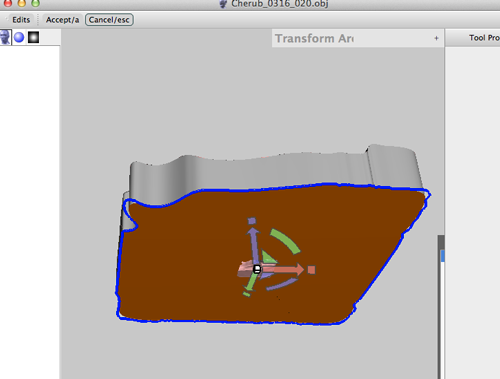
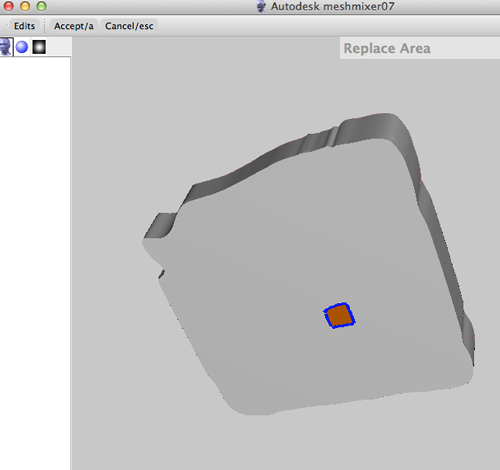
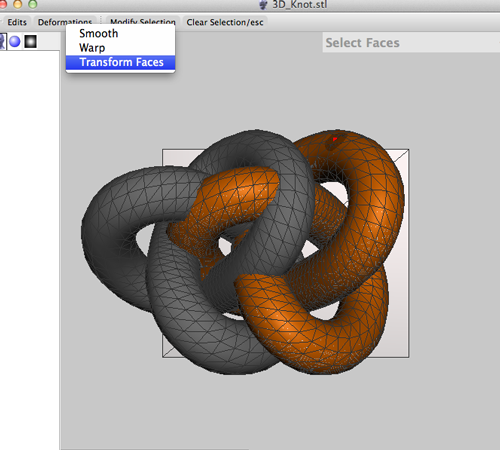
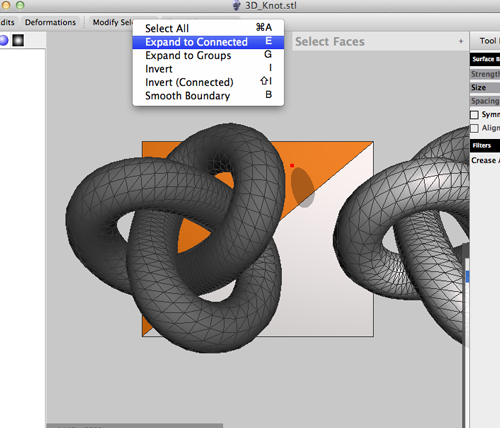
- Right clicking on the sphere will select the area and allow you to edit that part of the mesh.
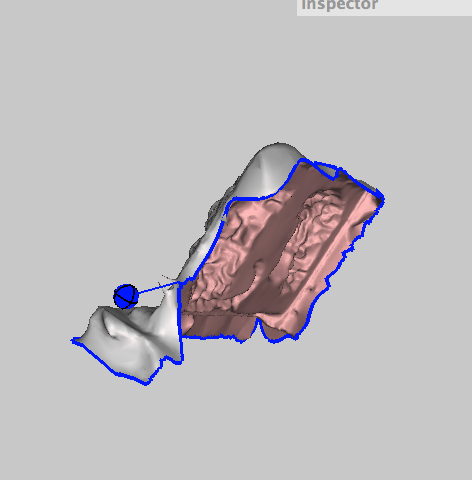
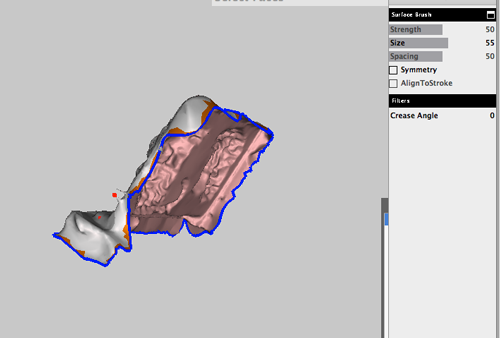
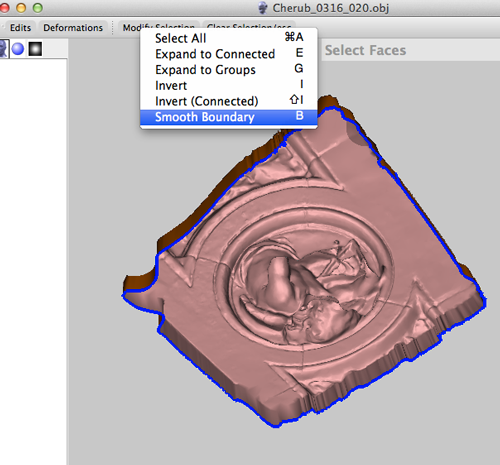
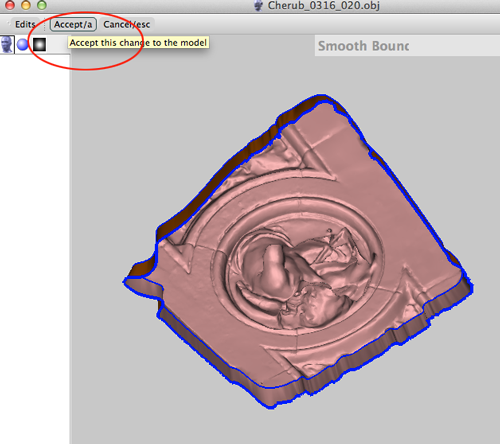
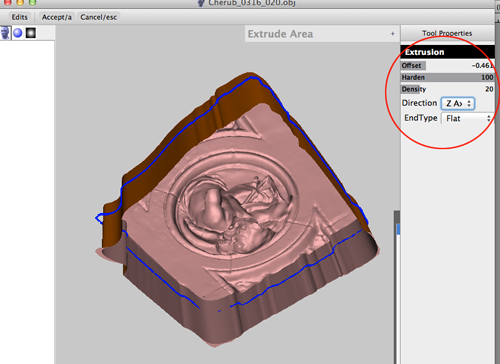
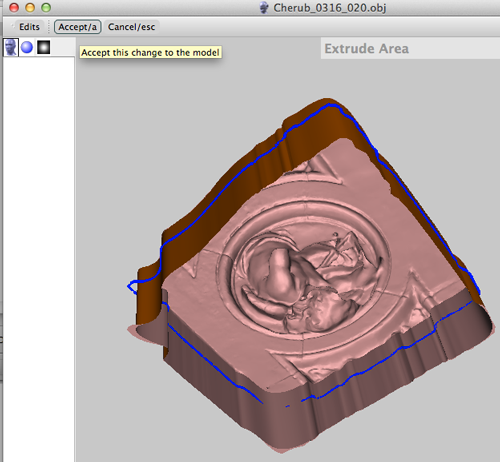
- Now you can Smooth Boundary (press Accept).

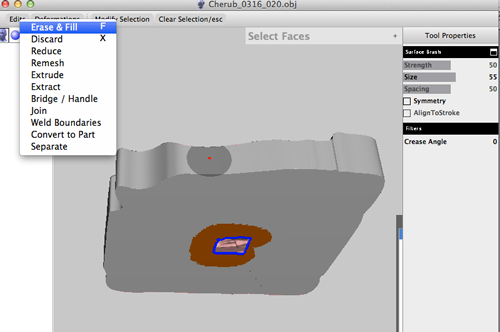
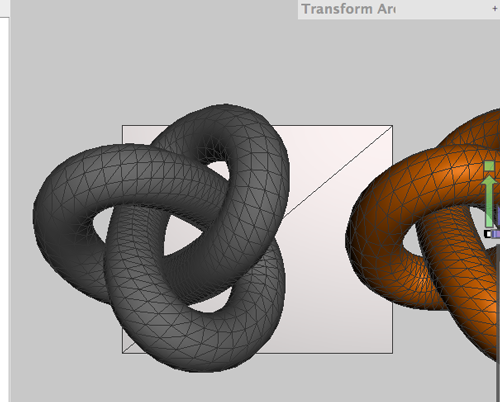
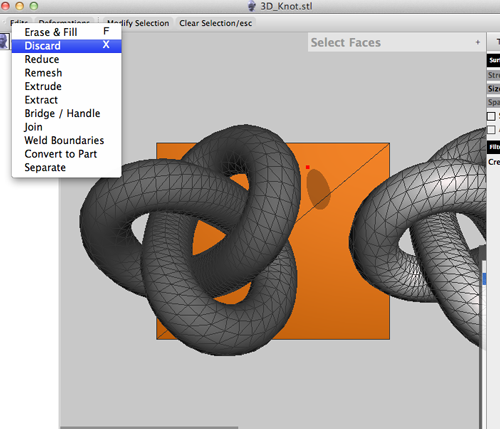
- You can do a brute force fill and use plane cuts to fix:
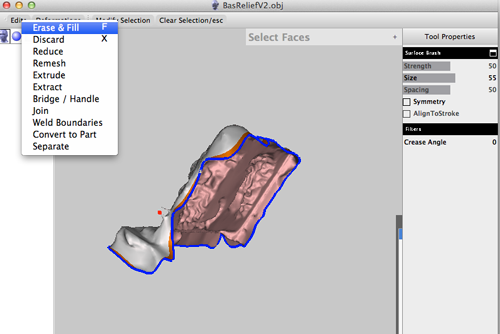
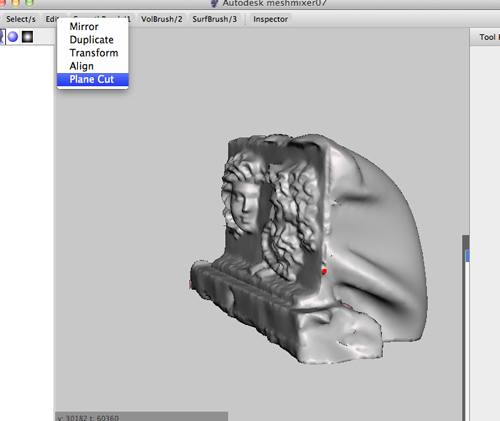
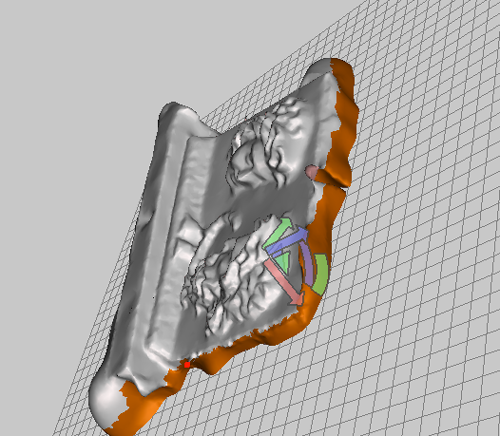
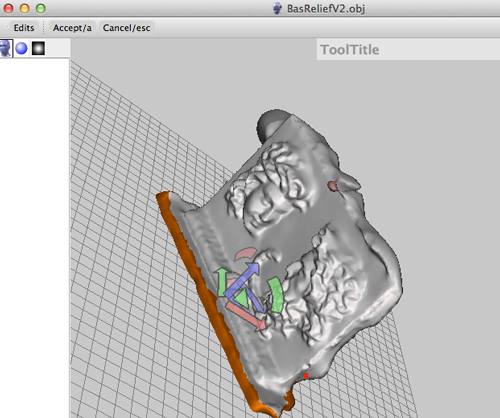
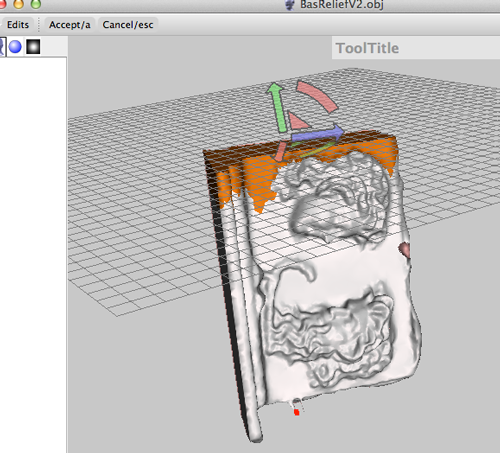
- When you're done, you can export your file as an STL.
Workflow
- Capture with 123d Catch.
- Fix model with MeshMixer
- Add details with the program of your choice:
- Maya
- Blender
- mudBox
- Inventor
- 3DSMax
- AutoCad
- ZBrush
- Open in Replicator G, skein the model.
- Print!
Hotkeys
Basic Controls
-
Alt+LeftMouse: tumble camera around object (turntable mode)
-
Alt+MiddleMouse: pan camera
-
Alt+Shift+LeftMouse: pan camera
-
Alt+RightMouse: zoom camera
-
Alt+Ctrl+LeftMouse: zoom camera
-
f: import new mesh (mesh)
-
e: Export current mesh
-
Ctrl+S: Save current .mix file / save as new .mix
-
Ctrl+O: Open existing .mix file
-
Ctrl+Z: Undo
-
Ctrl+Y: Redo
-
Alt+Left: Undo
-
Alt+Right: Redo
-
ESC: cancel current operation (selection, cut/fill, drop)
a: Accept current action
-
s: switch to Selection tool
-
w: toggle Wireframe
-
b: draw Boundary edges (useful for debugging)
-
(: previous view
-
): next view
Selection Tool
-
LeftMouse (+drag): add to selection (click, or drag to paint)
-
Shift+LeftMouse: remove from selection (click, or drag to paint)
-
RightMouse+drag: grow/shrink selection
- mouse wheel: brush size
Volume Brush Tool
- LeftMouse: apply primary brush
-
Shift+LeftMouse: apply secondary brush
-
Ctrl+LeftMouse: invert brush (only certain brushes)
-
mouse wheel: brush size
-
[: decrease brush size
-
]: increase brush size
Smoothing Tool
- left/right arrows: increase/decrease Scale parameter
- up/down arrows: increase/decrease Smooth parameter
- mouse wheel: increase/decrease Smooth parameter


